Use case: Mobile provider onboarding
This tutorial shows you how to create a flow to simulate a basic end-user onboarding.
Picture a potential end-user interested in signing up for a new mobile plan. As a mobile provider, you want to collect the end-user's mobile plan preference, their personal details and verify their identity. This is just one of many possible scenarios.
The goal is to build a flow that allows end-users to fill in a web form and authenticate with an electronic identity method (ID method). For example, the flow would lead to the following user journey:
User journey overview
Overview
This tutorial employs the following Signicat services:
- Form API (native) to create web forms.
- Authentication REST API to connect to an ID method.
- ID methods to authenticate and verify end-user identity.
On a high level, the workflow looks like this:
- Create a web form for end-users to enter personal details and choose a mobile plan.
- Get end-users to authenticate with an ID method.
- Show the data collected back to end-users for confirmation.
- Redirect end-users to a custom landing page.
- Review and monitor completed user journeys.
Prerequisites
This tutorial assumes you have completed the following initial preparations:
- Sign up to the Signicat Dashboard.
- In the Signicat Dashboard, set up an Organisation, an Account and a Domain. If not, see Initial setup instructions.
- Add at least one ID method in the ID Methods. This guide uses Norwegian BankID.
- Get access to Signicat Mint.
We recommend that you create a sandbox account to test our services before implementing them in production. Be aware that you must set up the sandbox and production accounts separately.
Create a new flow
In the Signicat Mint Dashboard:
- Select Create new flow from the sidebar on the left of the screen.
- In the “Create new flow” pop-up window, enter a name and a description and select Create to create a new flow.
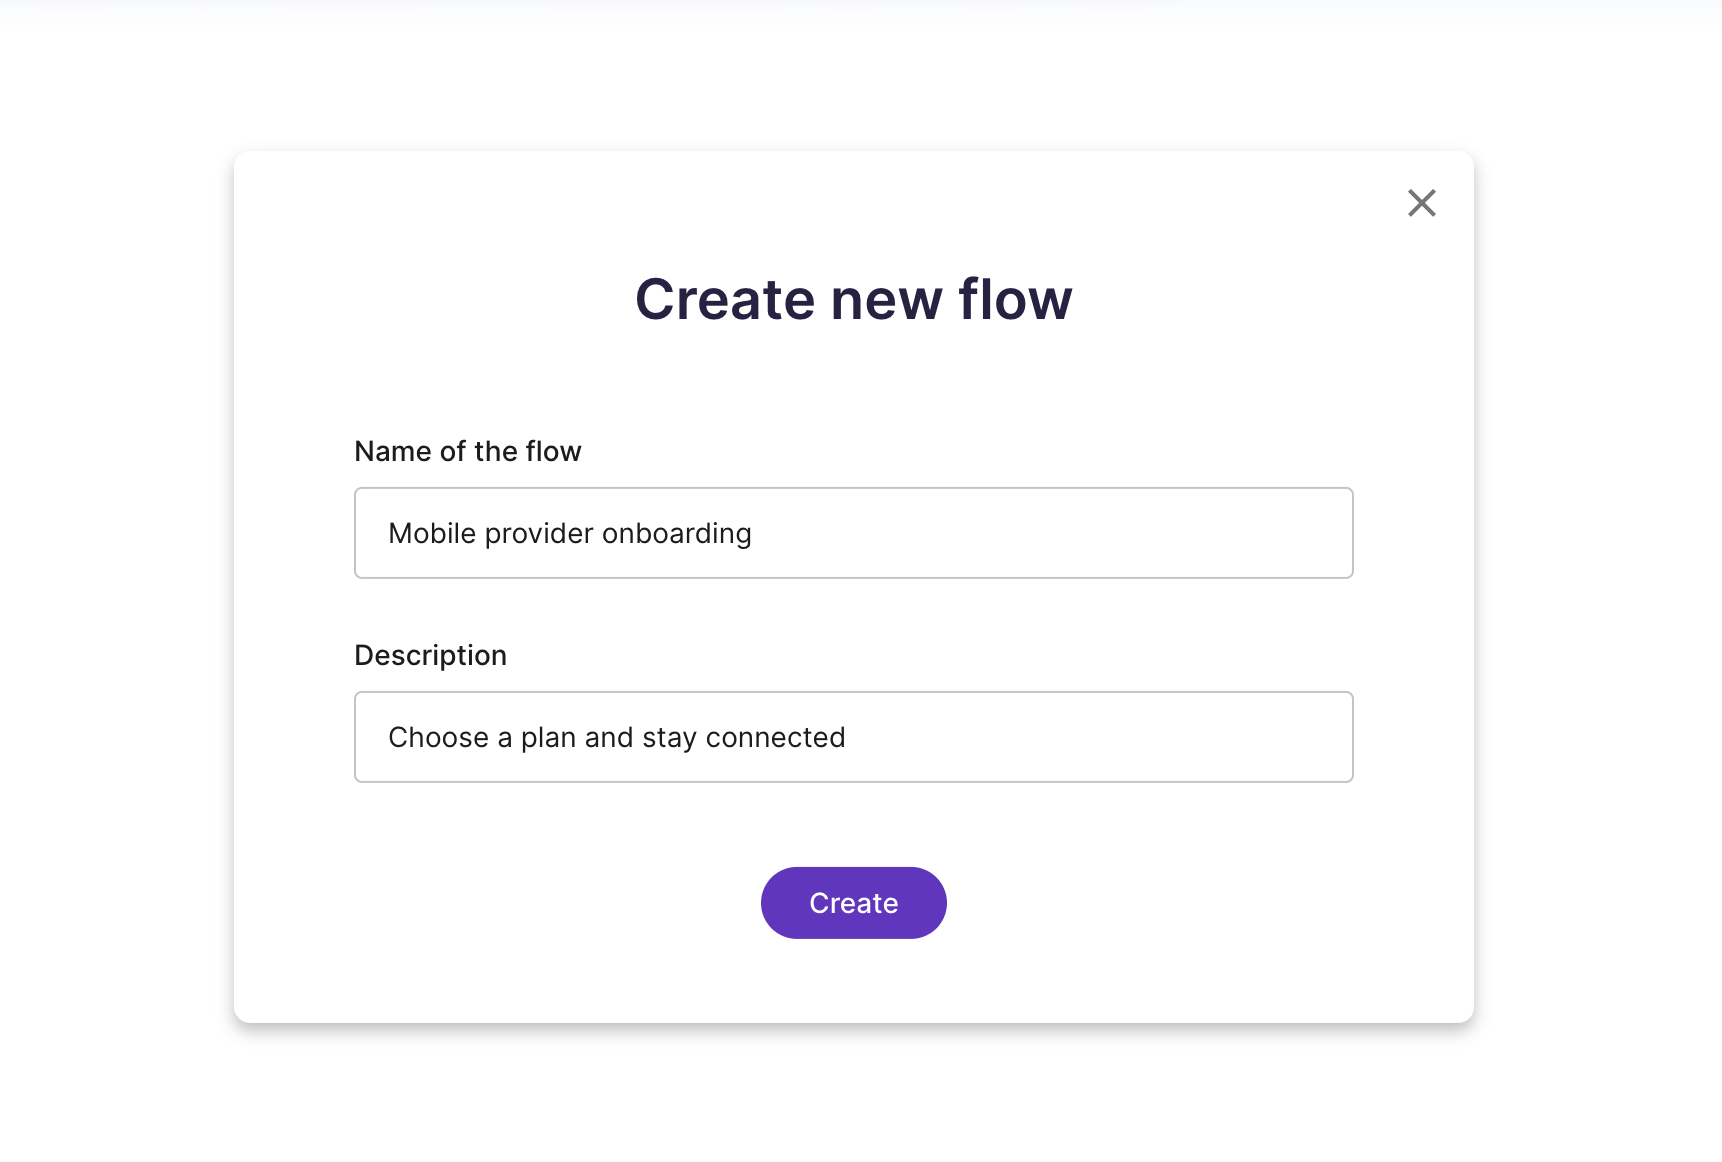
Create new flow
The “Name of the flow“ and the “Description“ fields will be visible to end-users in the rendered web form.
Take the first step
Steps are the building blocks of your flows. Each step represents a modular piece of functionality, such as to authenticate your end-users with an ID method from the Signicat eID Hub. To build your desired flow, you can chain as many steps as you want.
Add a step
To create a web form for end-users to enter their personal details and choose a mobile plan:
- In the Flow Builder UI, select the plus icon and Add new step.
- In the "Steps" tab on the left sidebar, select Signicat > Form to add a web form step to your flow.
You have now added an empty Form step. This is a scaffold to build and customise your web form. Now, you can add and configure elements, such as an input text field or a checkbox.
Add elements
Elements are the atomic units of a flow. You add elements to your steps to expand their functionality. Examples of elements are: a text box, a checkbox, a dropdown menu.
Add a header
- In the "Form elements" tab, select Special elements > Header. A default "Placeholder" value is present at first. If you click the element in the UI, you can edit the element settings.
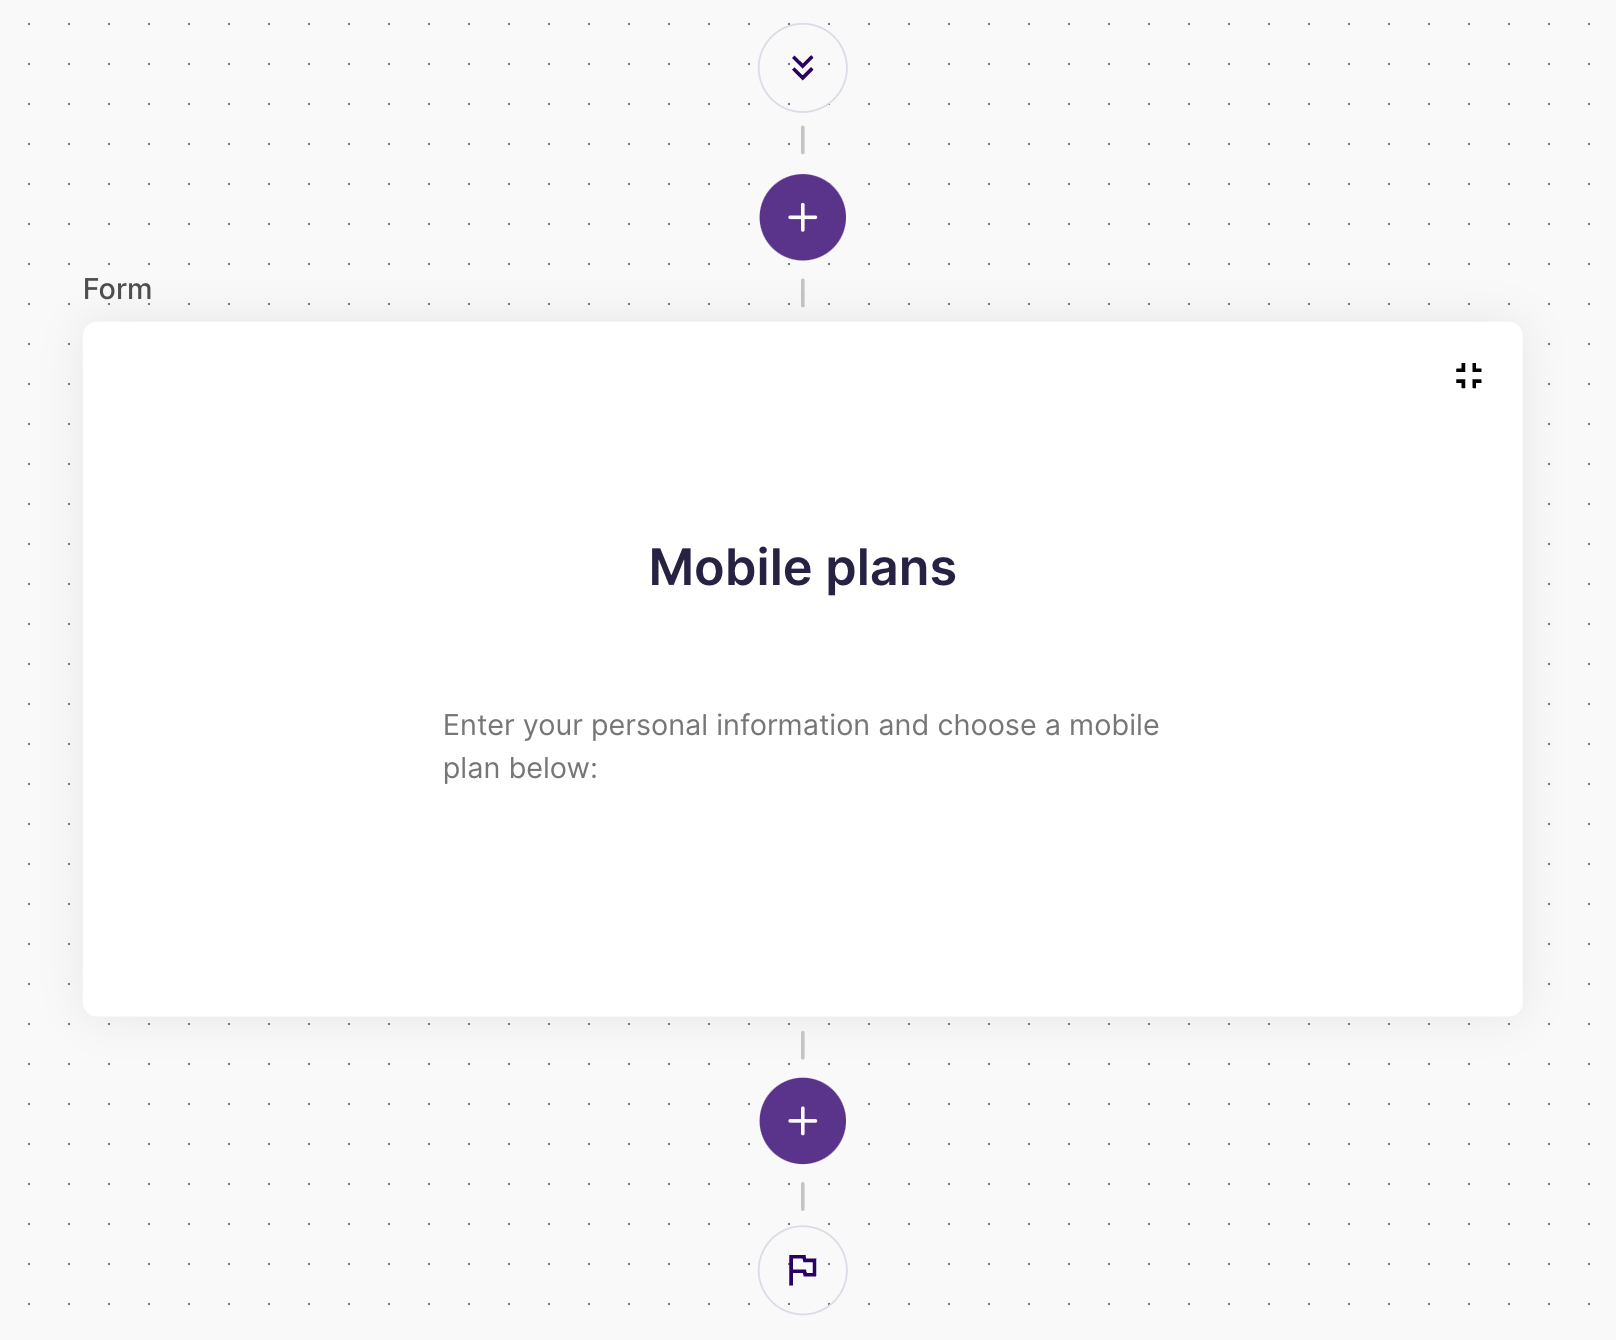
- In the left sidebar menu, enter “Mobile plans“ in the empty "Text" field to change the header value. Note how the text in the Form step in the UI changes accordingly.
Add a header
Add a description
- In the "Form elements" tab, select Special elements > Text Block to add a text element to the form. Then, click the text block element in the UI.
- In the left sidebar menu, enter a description in the Text field. Your form should now look similar to the following:
Add a description
Add input fields
Input fields allow end-users to submit information. Data submitted during the user journey can be reused to prefill other steps within a flow. At the end of a user journey, you can access all the data in the Journey Manager.
In the web form, add a few elements for end-users to submit:
- First name
- Last name
- Phone number
- Email address
To do this:
- In the "Form elements" tab, select Inputs > Text to add a text input element. Then, click the text block element in the UI.
- Change the "Label" field in the left sidebar menu to "First name".
- Click the copy icon at the top right of the element to duplicate the element (text input). Now, change the "Label" field of the new text input element to “Last name“.
- To an email field, select the Inputs > Email element.
- Then, add a phone number field by selecting the Inputs > Phone element.
Add a dropdown
To add a dropdown for end-users to choose a mobile plan from a list of options:
- Select the Inputs > Dropdown element. Click the element in the form UI to edit the settings.
- In the left sidebar menu, change the "Placeholder" field to "Select a plan". This is the default value displayed in the rendered web form.
- In the left sidebar menu, add the names of the plans to the "List of options". To do this, type "Basic" inside the "Add new option" field and click the plus sign next to it.
- Repeat the previous step to add "Plus" and "Unlimited" as options.
Add a consent checkbox
To add a consent checkbox for end-users to give consent to the processing of personal data:
- Select the Special elements > Consent element. Click the element in the form UI to edit the settings.
- In the left sidebar menu, change the "Checkbox text" field to a consent text. For example, "I agree to the Terms and Conditions.".
(Optional) Edit step options
You can edit the title of a step to keep your workspace tidy. You can also customise some generic features of a step, such as the text of the submit button in a web form.
To view the main settings of a step:
- Click on a step and select the "Step options" tab in the left sidebar menu.
- Edit the “Step title” field to change the title of the step displayed in the UI.
- Rename the step to “Mobile form“.
When you compress your flow in the UI, you can see the custom name displayed.
Save your flow
Before continuing with the next step, save your flow. In the top right of the screen, click Save to save the flow. While building a flow, you can save anytime you want to make sure you don't lose any progress you make.
You have just added your first step! Your web form should look like this:
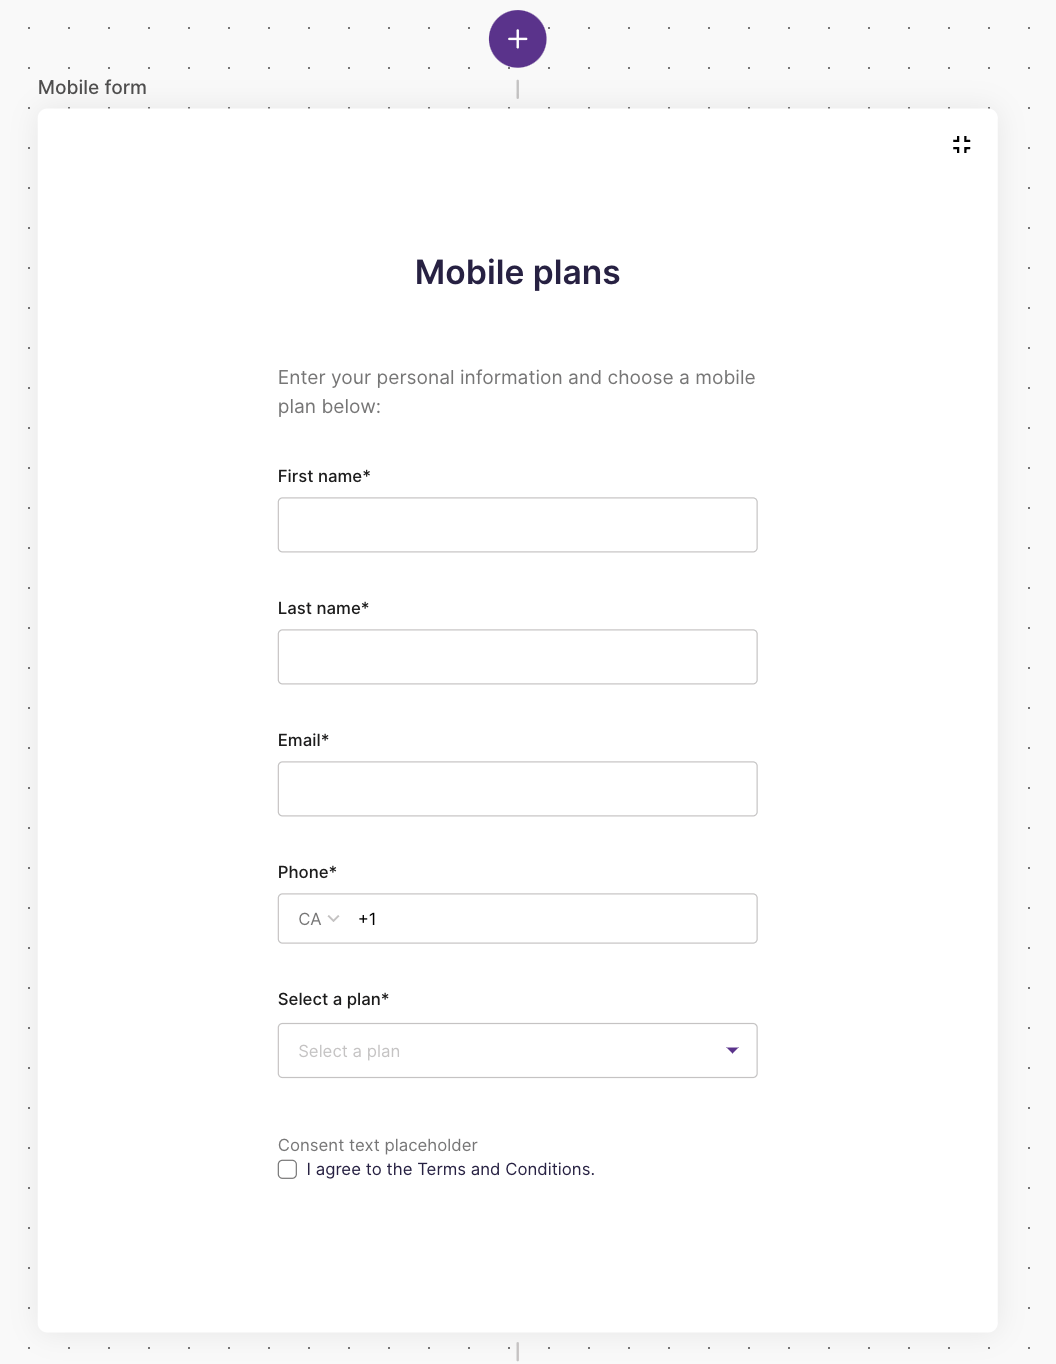
Web form
Add Authentication
Authentication is a step that allows you to verify the identity of users - for example, when they log in to an online service. This is achieved through the use of electronic identity methods (ID methods).
Signicat Mint offers access to all the ID methods supported by the Authentication REST API.
You can access the list of eID methods enabled for your account in the Signicat Dashboard at eID Hub > ID Methods.
Signicat Mint supports a step to connect to the Authentication REST API (in the background) and create an authentication workflow for end-users to verify their identity digitally.
To add the Authentication step to your flow:
- In the Flow Builder UI, select the plus icon below the web form step. Then, click Add new step.
- In the "Steps" tab on the left sidebar, select the Signicat > Authentication step.

Add Authentication
Configure the step
The Authentication step allows you to build the request to the Authentication REST API from the Mint interface, without the need to write any code. This includes selecting which ID method(s) to use and defining the attributes in the payload object of the request. For example, the fields in the "Requested attributes" map one-to-one to the requestedAttributes of the Authentication REST API to Create a session.
To configure the Authentication step:
- Select “FirstName“, “FirstName“, “DateOfBirth“ and “Nin“ from the list of "Requested attributes". These attributes correspond to the data retrieved from the Identity Provider (and returned in the session
subjectobject) when end-users authenticate.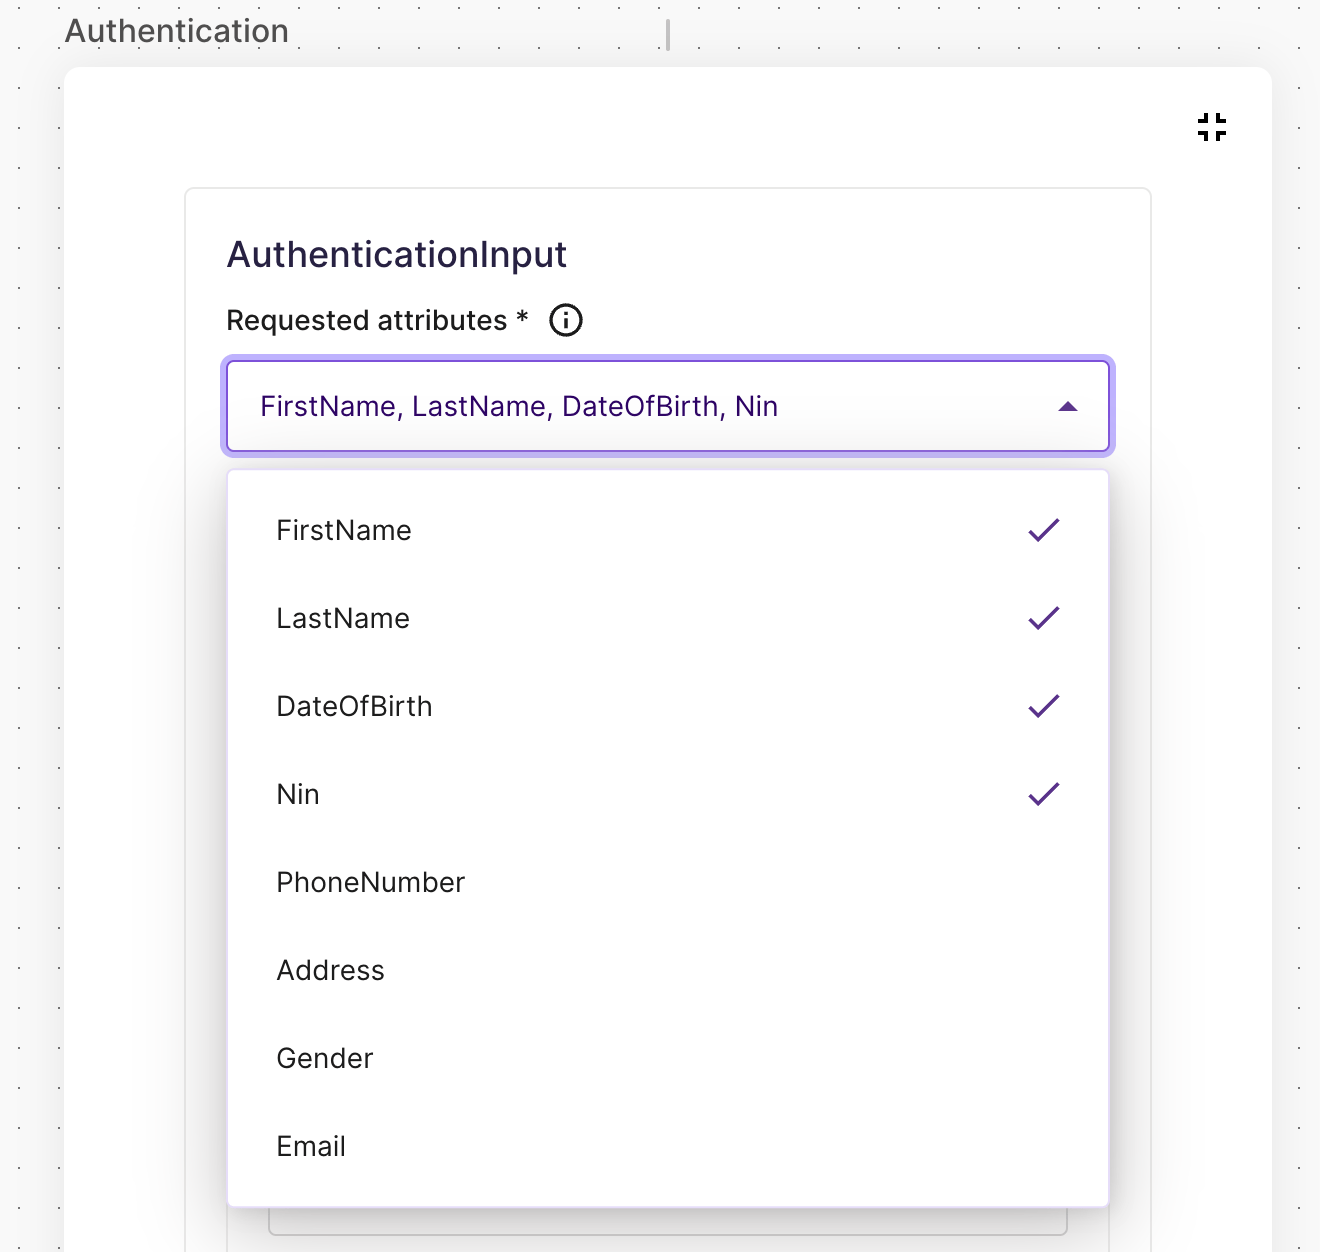
Authentication settings
- Select “Nbid“ (Norwegian BankID) from the list of "Allowed providers". This means that Norwegian BankID is the ID method end-users can choose to authenticate with.
You have just enabled your end-users to authenticate with Norwegian BankID using the Signicat Authentication REST API. Next, let's add a step to display the personal data collected in the process.
Workflow overview
With Mint, you can use variables to bring that data collected in a step into later steps and reuse the information. For example, the name of an end-user submitted in the authentication step can be referenced with a variable and used in web form (step) later in the flow.
Show the data
After authentication, you might want to show the data gathered during the onboarding journey back to the end-user. This way they can review their application and confirm that the information is correct.
To show the data in a web form:
- In the Flow Builder UI, add a new step and select Signicat > Form in the "Steps" tab.
- Add a Special elements > Header to the web form and change the "Text" to “Your mobile plan summary“.
- Add a Special elements > Text Block to display data from the previous steps. For example, edit the Text to “First name: “ and select Mobile form.First name from the list of variables. These will show the first name of the end-user after the text “First name: “.
- Add more Text Block elements for all the other data variables of your choice. For example, your form could look like this:
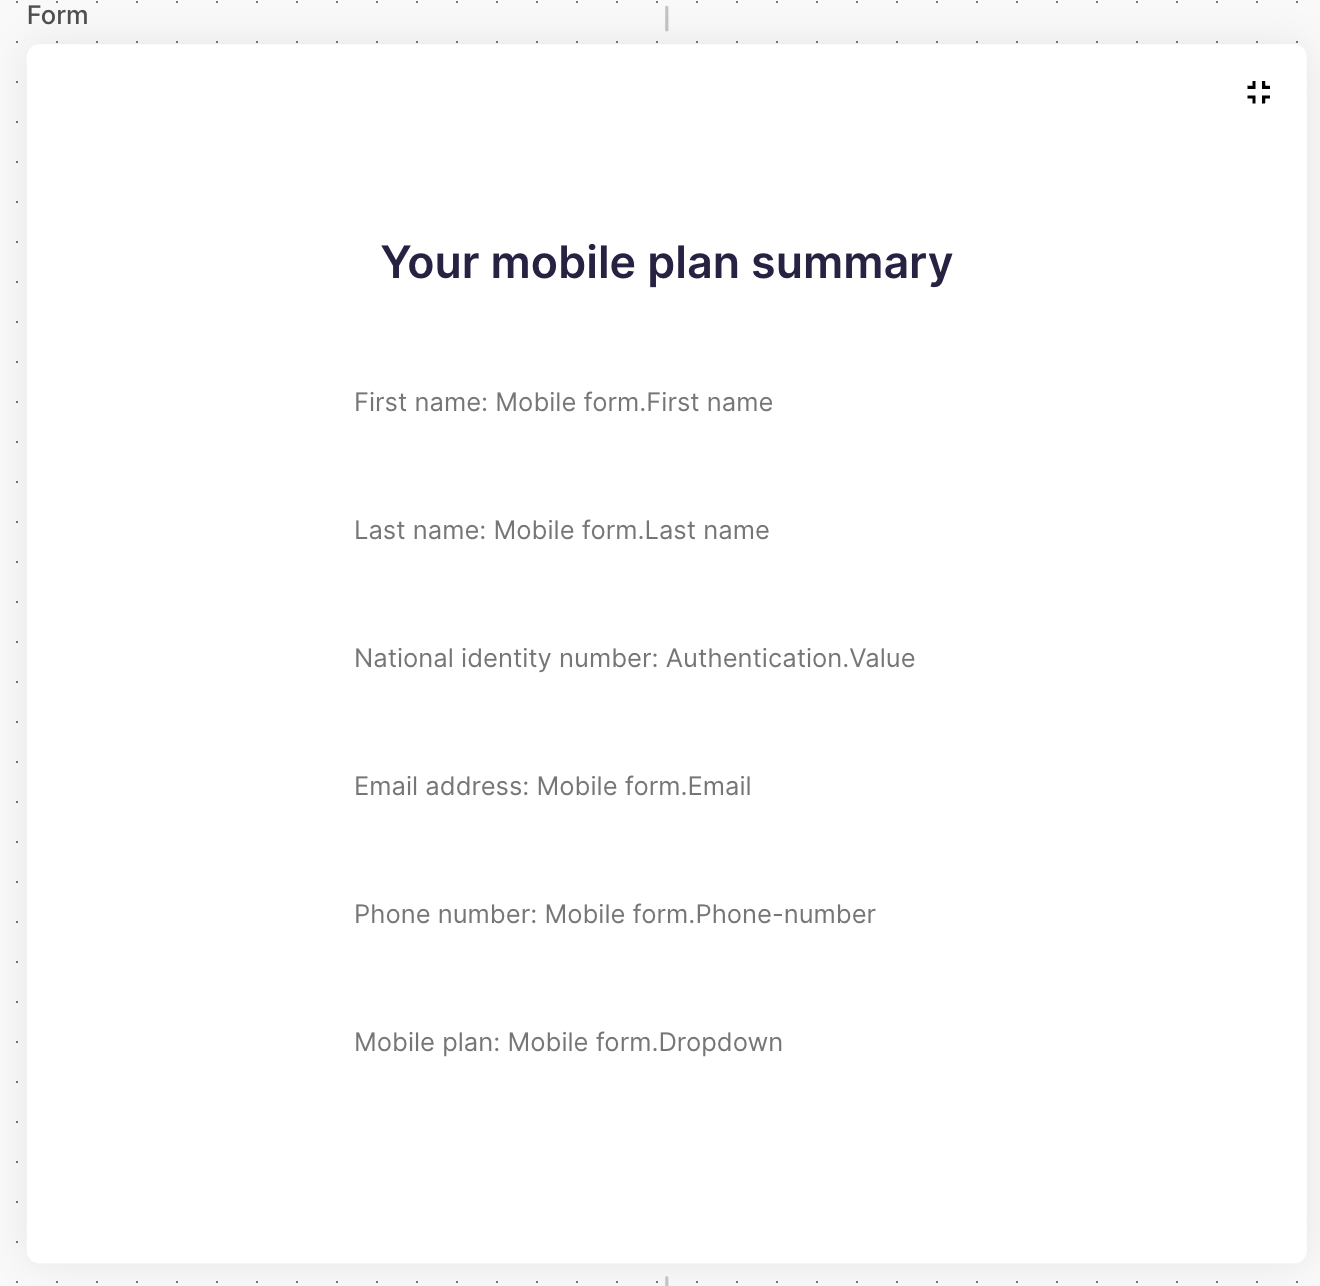
Data in web form
You have completed yet another step! Let's save and add a redirect link that sends end-users to another webpage once they complete the user journey.
Add a redirect link
Once end-users complete all the steps, a confirmation screen is displayed, by default.
To customise where to redirect your end-users at the end of a user journey:
- In the Flow Builder UI, add a new step and choose Signicat > User Redirect in the "Steps" tab.
- Enter the URL of a webpage in the "Redirect URL" field. For example, https://www.signicat.com/products/trust-orchestration/mint.
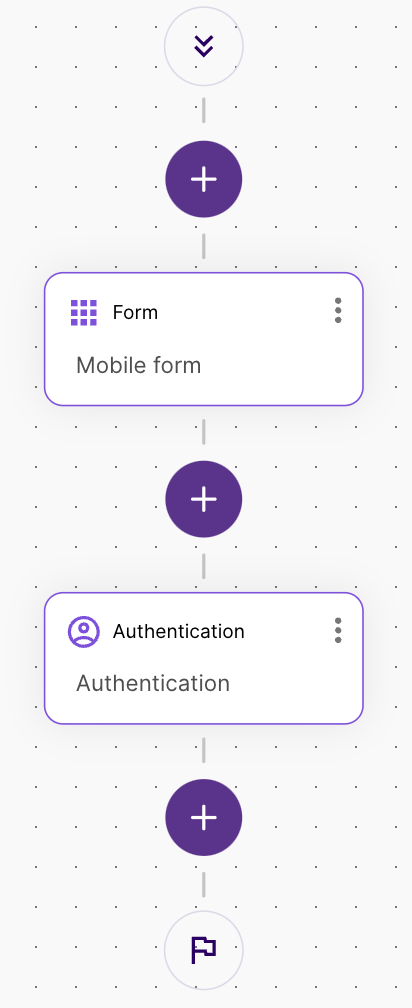
Your flow should now look similar to this:
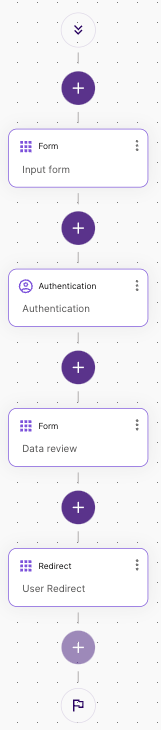
Workflow overview
Save and Publish
You have just built your first flow! Now, it's time to save, publish it and share it with your end-users.
- Click Save on the top right of the screen.
- Click Publish to generate a public URL that you can share with your end-users. When you publish a flow, the start URL is automatically copied to your clipboard.
You just published your first flow with Signicat Mint. Go ahead and test it!
See it in action
In your browser, open a new window and paste the URL of the flow you've just built. This is the user journey that your end-users will follow.
If you lost the URL saved to your clipboard, click to go back to the flow dashboard on the top right. In the Overview page, click the three-dots menu of your flow and click Copy start URL.
You can test your flow with Norwegian BankID using a test user as follows:
| National identity number | One time password | Password |
|---|---|---|
29090816894 | otp | qwer1234 |
Here is a video that shows what the end-user journey looks like:
User journey overview
View and monitor user journeys
In the Signicat Mint Dashboard, select Journeys in the left sidebar menu. Here, you can review all the finished, suspended and failed user journeys. Click on any journey to view the flow steps, details and data in JSON format.