Passing data between steps
You can reuse data created in a previous step of your flow. This page explains how to pass data between steps.
Signicat Mint allows you to persist state from one step of a flow for use in subsequent steps. In any step you can import data from a previous step. This property allows you to perform actions such as prefilling a field in a step configuration, reusing data or displaying data back to the end-user.
Data created in a step is stored in key-value objects within the Mint engine, thus allowing you to retrieve the value of the object by specifying its key in any downstream steps in the same flow.
By default, you can pass most data types, such as text, email and numbers, between steps. When dealing with data in other formats, such as lists or dictionaries, use Advanced mode.
How it works
Any data created when you run a step persists as a data object for the duration of the session. The following events generate data that you can reuse in later steps:
- End-user input in the user journey
- Setting variables
- The output of a (background) step
To reuse data from a previous step, you specify the key of the data object as input in the step configuration. When you run the flow, the value (that maps to the key) will be used.
Data objects from previous steps follow the format StepTitle.Key, where:
StepTitleis the title of the upstream step.Keyis the key or label of the data field you want to invoke.
Some steps may create data that is organised into nested structures. Therefore, nested objects use the following syntax: StepTitle.Field1.Field2...Key, where FieldN represents nested levels.
Prerequisites
To proceed with the tutorial, you must have completed the following initial preparations:
- Sign up to the Signicat Dashboard and register your profile. For more details, see the Get started with Signicat guide.
- In the Dashboard, make sure you have set up an organisation and an account.
- Additionally, to use this product, you must set up a domain.
- Have access to Signicat Mint. If you require assistance, you can contact us by creating a support ticket.
We recommend you create a sandbox account to test our services before going live. Sandbox and production accounts must be set up separately.
How to pass data into a step
When passing data from previous steps, you always reference the data object in the same way, regardless of the type of step that created the data.
When configuring a new step, you can view all the data available for import by doing this:
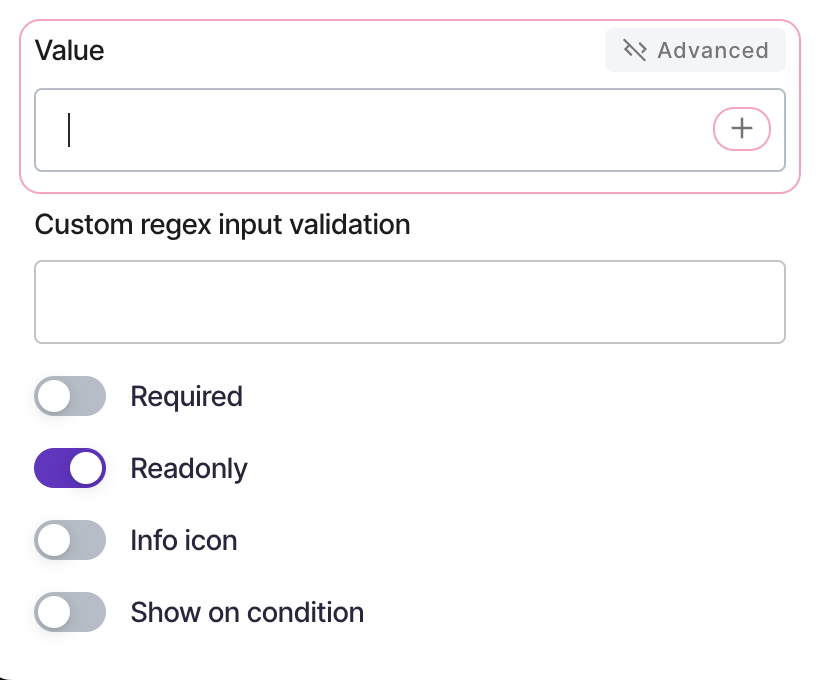
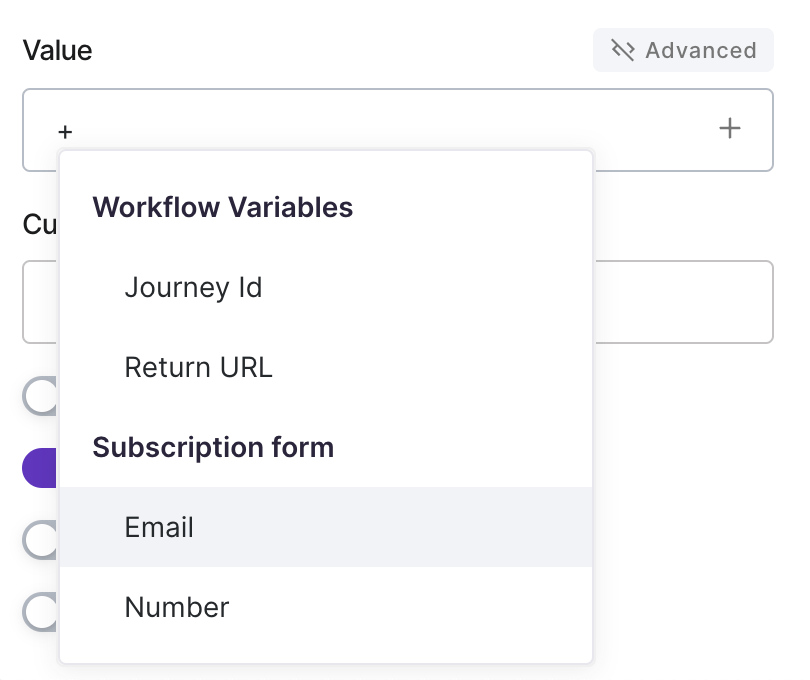
- Select the + (plus) icon or type the + (plus) key inside the input field. This expands the list of values you can reuse from previous steps. Typing any letter allows you to filter.
- Choose the step key to import.
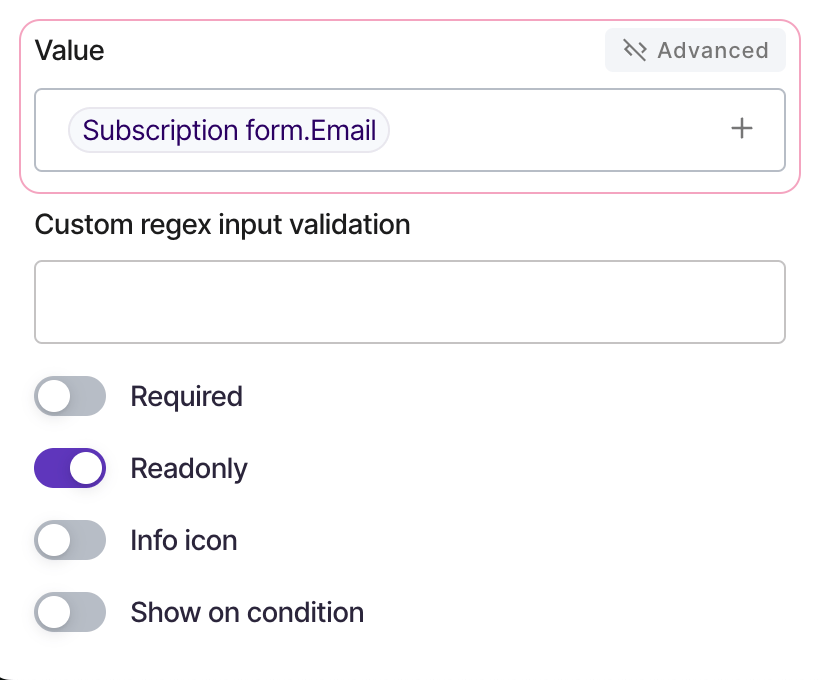
- Review the data object with format
StepTitle.Key.
For example, in the image below the "Value" field loads data from a previous step, with title "Submission form" and key "Email". Upon running the flow, the value stored in the "Email" field (an email address) populates the step.
The sections below show examples of passing data created by different sources or types of steps. Note that you always import data in the same way regardless of the source.
Passing data using end-user input
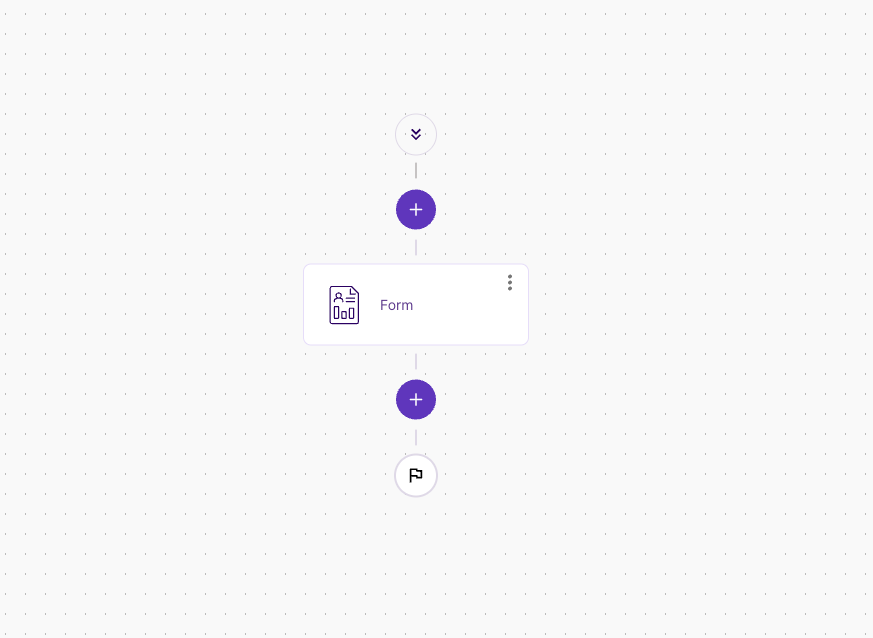
You can pass data that you receive from the end-user during the user journey. For example, when you create a web form (using the Form step), you can pass the data submitted by the end-user in the form to subsequent steps in the flow.
For example, you could ask your end-users to submit their email address so that you can send them email messages.
To store an email address (or any other data) in a web form and use its value in a subsequent step, do the following:
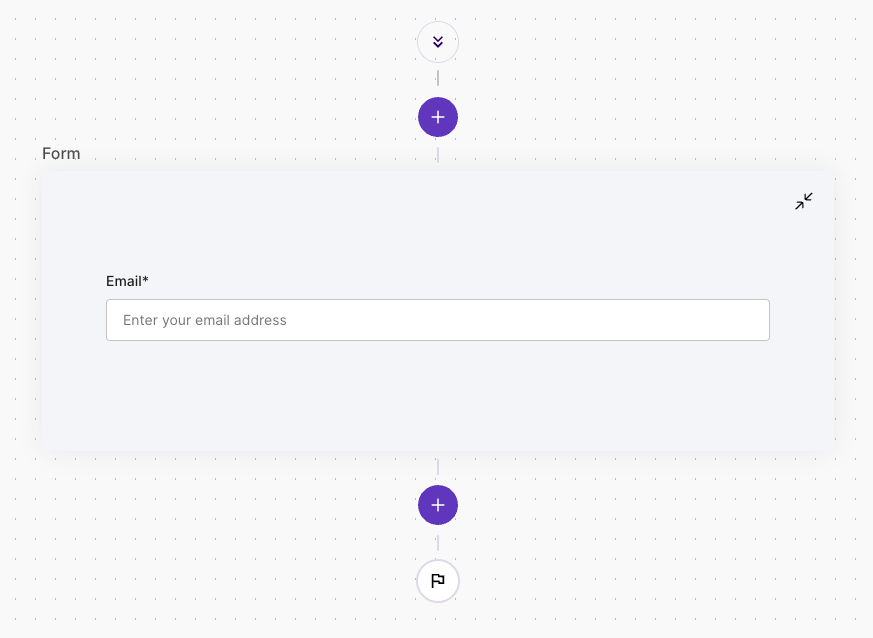
- In the Builder UI, add the Form step to your flow.
- Add the Email element inside the Form step.
- In the Builder UI, add the Communication > Send Email step.
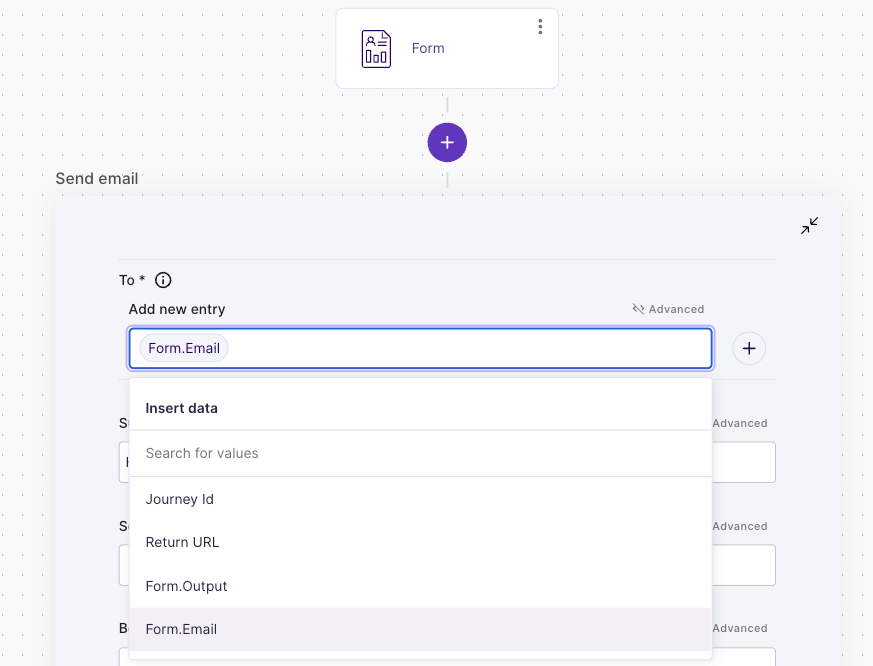
- In the input box under To, type + (plus) key to expand the dropdown with all available input data. Select "Form.Email" from the list and select the plus icon (+) outside the input field to add the key.
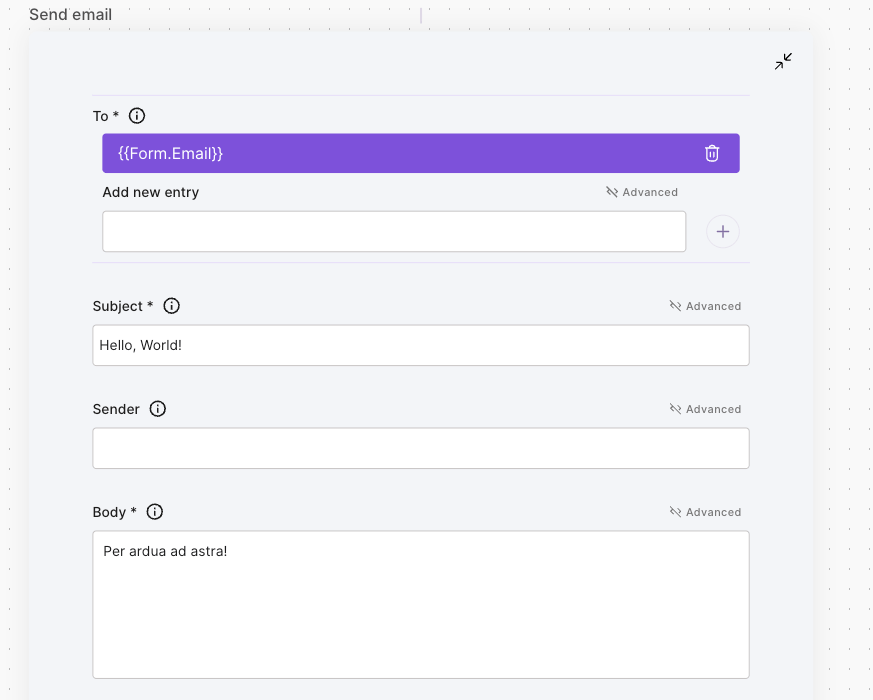
- Then, fill in the other fields to complete the step configuration.
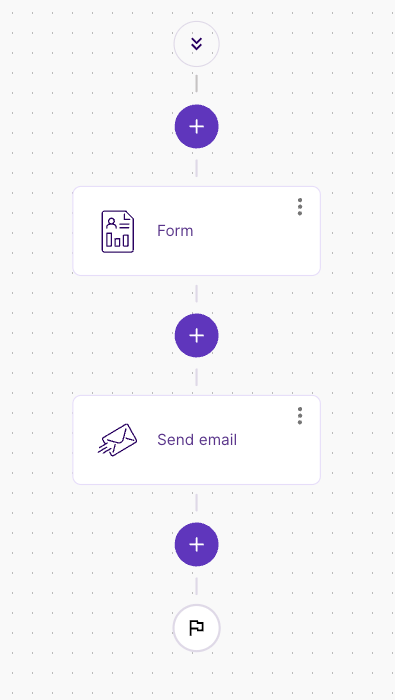
You have now created a web form for the end-user to submit an email address during the user journey. Then, you pass the value into the next step that sends an email to the address submitted previously.
Passing data using variables
The Set variable(s) step allows you to declare and store variables directly in the flow configuration.
To store a variable and reference it in a subsequent step, do the following:
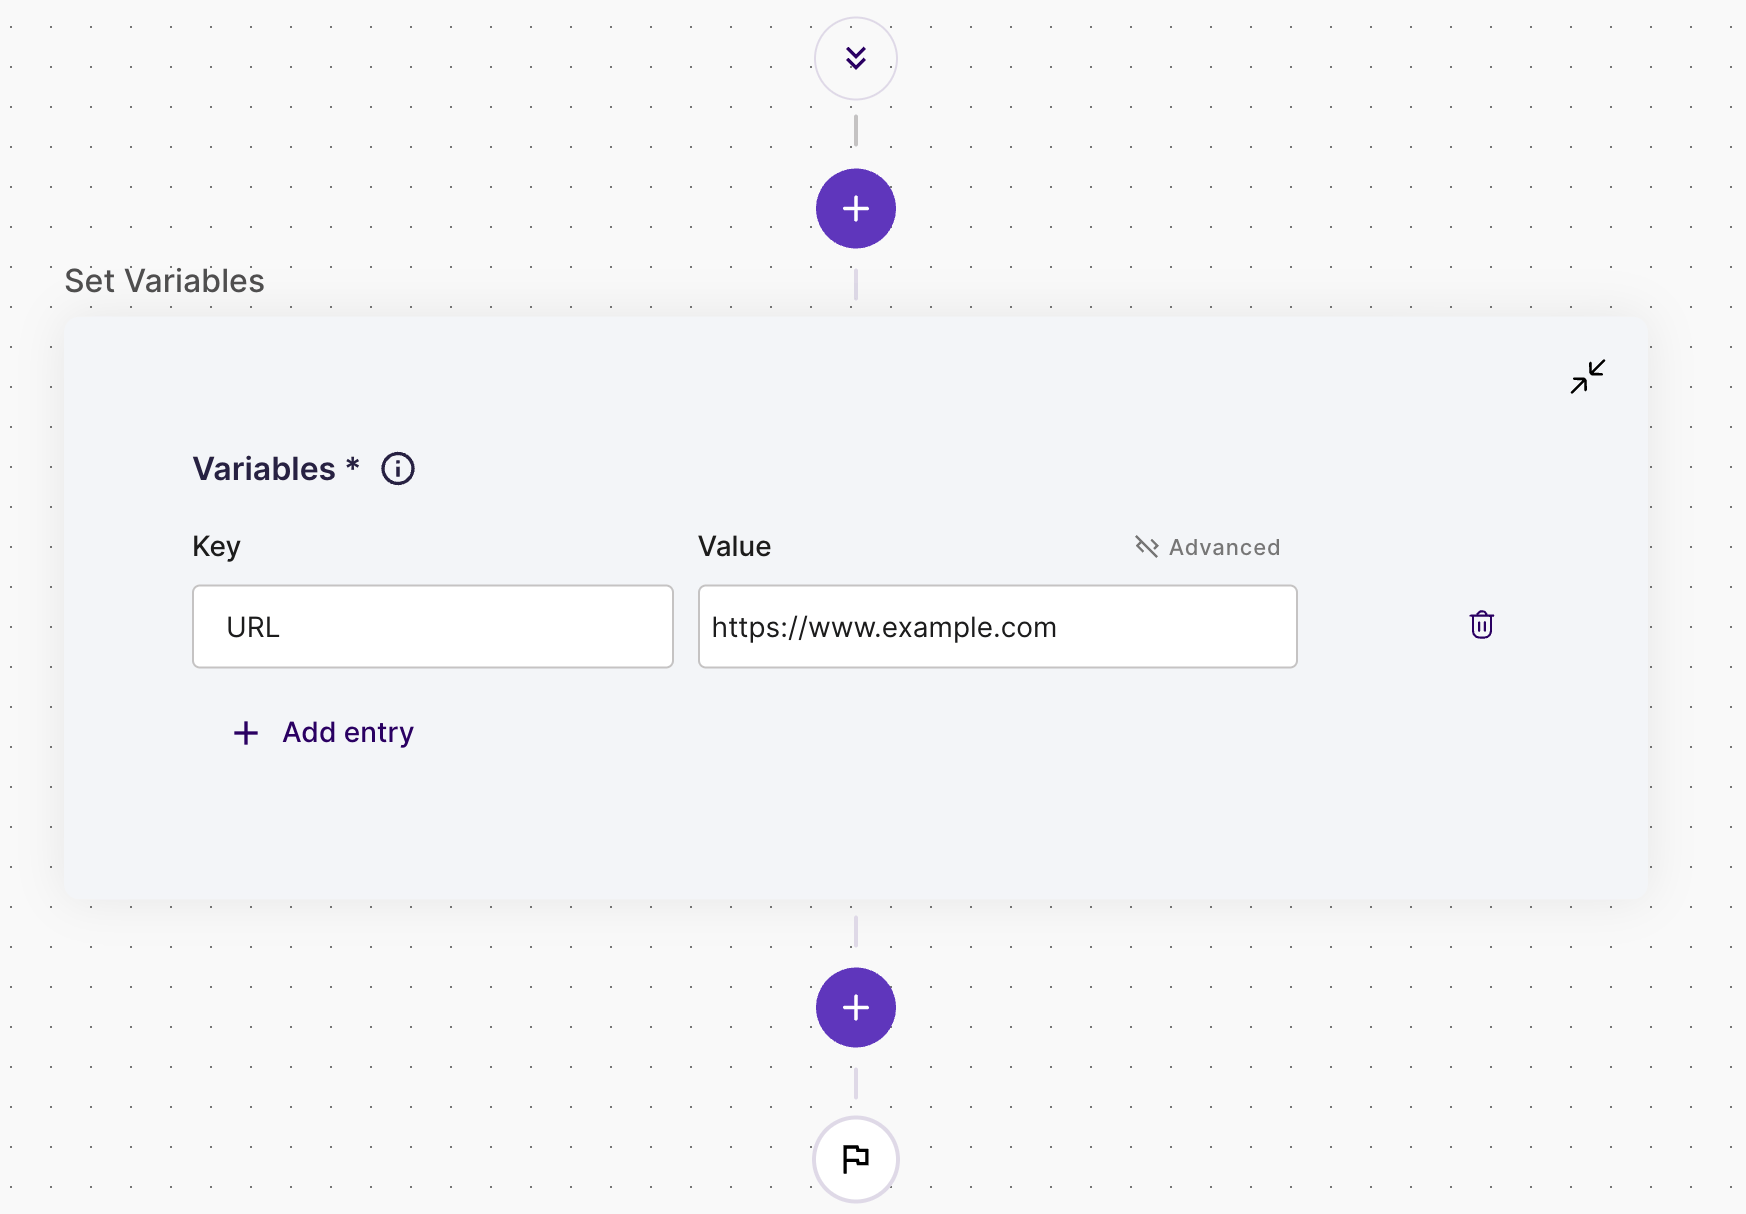
- In the Builder UI, add the Set Variables or Set Variable step to your flow.
- Enter "URL" in the Key field and set the Value to
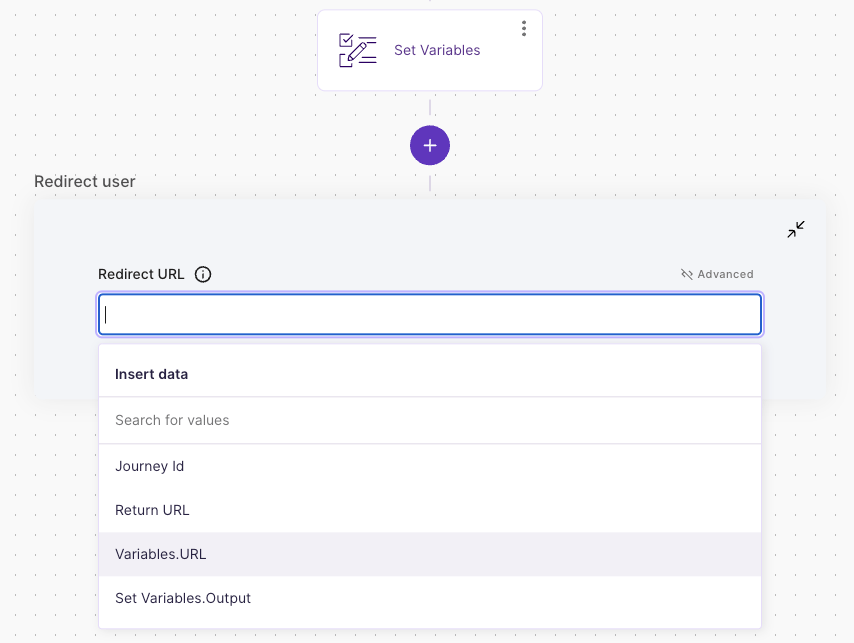
https://www.example.com. - In the Builder UI, add the Signicat > Redirect user step.
- In the step configuration in the input box under Redirect URL, select the + (plus) icon. Then, select "Variables.URL" from the list.
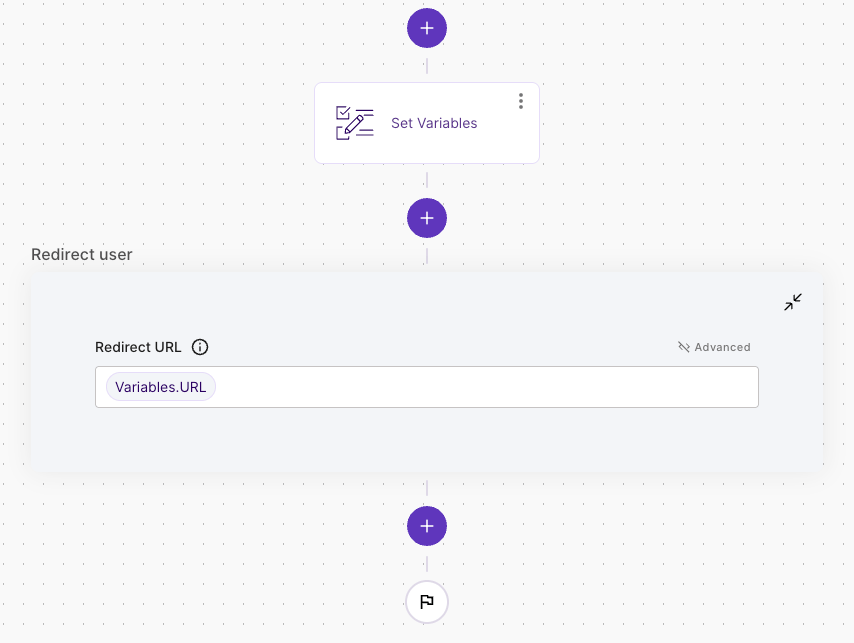
You have now set a variable and passed its value into another step. In the user journey, the end-user will be redirected to https://www.example.com.
Passing data using a step output
You can pass any data created in a previous step, including steps that run in the background, such as when retrieving data from a registry or authenticating the end-user.
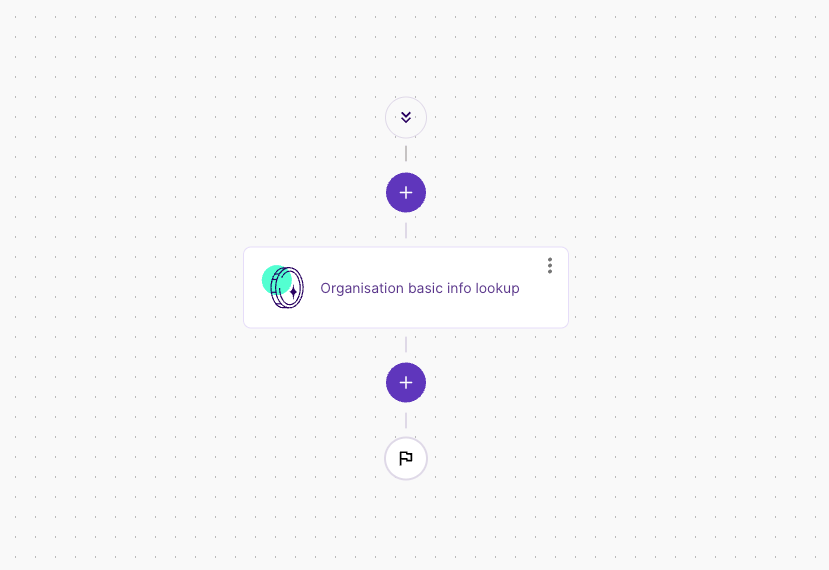
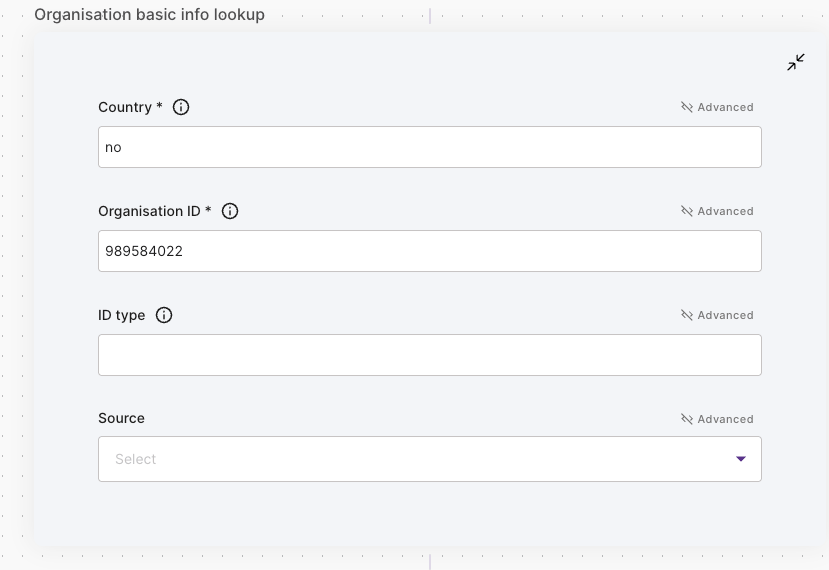
In the following example, the Organisation Basic info lookup step returns information about an organisation, given the country and the organisation ID. Then, the Create DEM record step takes the data retrieved by the upstream lookup step and stores it in the Signicat Digital Evidence Management (DEM) database.
To reproduce this, do the following:
- In the Builder UI, add the Organisation basic info lookup step to your flow.
- Enter
noin the Country field and989584022in the Organisation ID field. - In the Builder UI, add the Create DEM record step.
- In the step configuration, do the following:
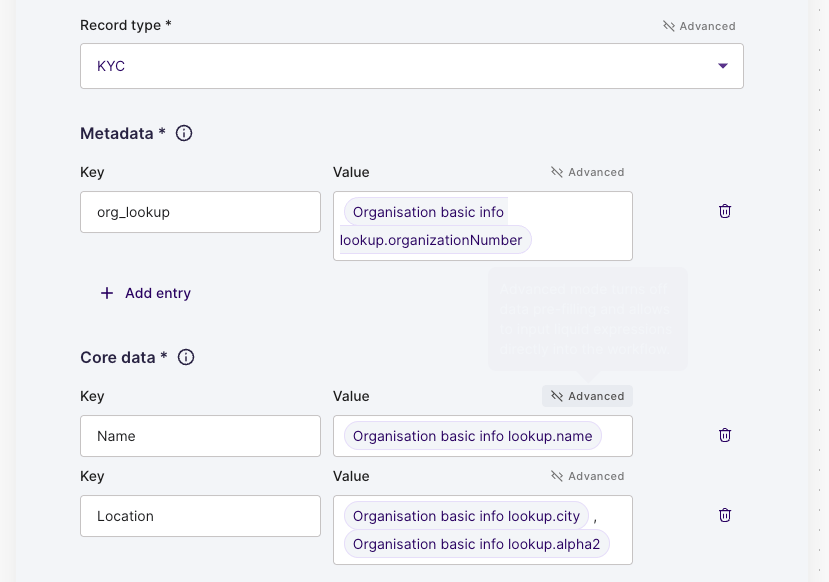
- Set Record type to KYC.
- In the Metadata section, set the Key to "org_lookup" and import "Organisation basic info lookup.organizationNumber" in the Value.
- In the Core data field, do the following:
- Set the Key to "Name" and import "Organisation basic info lookup.name" in the Value.
- Select + Add entry to add a new key-value. Set the Key to "Address" and import "Organisation basic info lookup.businessAddress.city", then type a colon (
,) and import "Organisation basic info lookup.country.alpha2" to fill in the Value.
Your configuration would look as shown below:

After you save, publish and execute (either through the API or by opening the workflow URL in a web browser) your flow, you can access the record in the Dashboard at Products > Digital Evidence Management (DEM). The DEM record will contain the values obtained in the Organisation basic info lookup step:
...
  "metadata": {
    "org_lookup": "989584022"
  },
  "systemMetadata": {
    "type": "KYC",
    ...
  },
  "coreData": {
    "name": "SIGNICAT AS",
    "location": "TRONDHEIM, NO"
  },
...
Advanced mode
To perform more complex data transformations within a step, you can enable Advanced mode for any input field. Signicat Mint integrates the Liquid template language, which lets you create conditions, loops and filters to further process complex data objects in any input field.
With Advanced mode, powered by Liquid, you can:
- Reference data objects enclosed in double curly braces
{{and}}, such as{{Variable.name}} - Use Liquid Tags by using the curly brace percentage delimiters
{%and%}.
Using Advanced mode
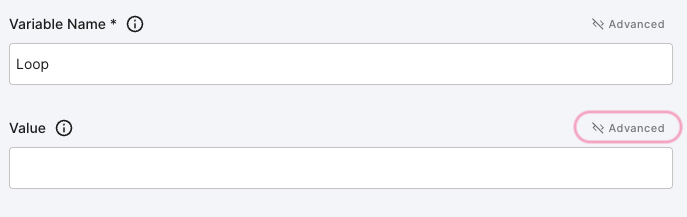
To activate and use Advanced mode in an input field, do the following:
- In a step configuration, select the Advanced icon above an input box.
- Enter a valid Liquid expression.
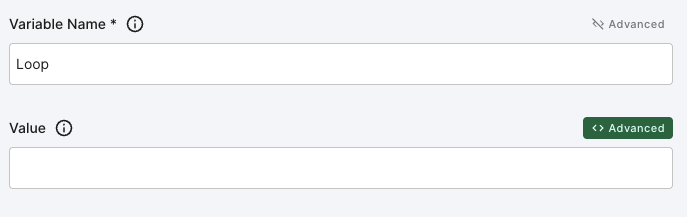
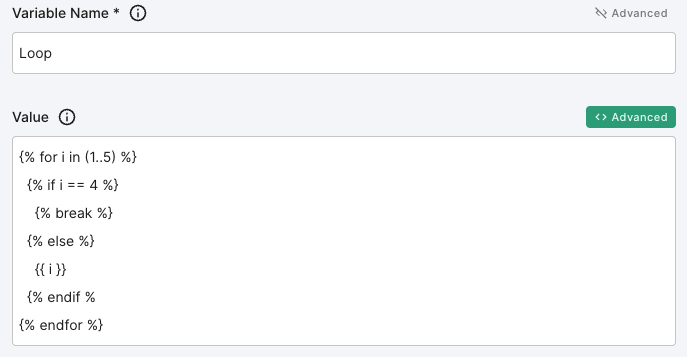
In the following example input configuration, the input field is set to "Advanced". Then, the liquid expression:
{% for i in (1..5) %}{% if i == 4 %}{% break %}{% else %}{{ i }}{% endif %}{% endfor %}
returns integers between 1 and 5 but stops when 4 is found.
Passing data using Advanced mode
In the following example, the Add to List Variable step builds an array with two items. Then, the Form step, loops over the array and displays the items in a text element.
To do this in a new flow:
- Add the Add to List Variable step.
- In the step configuration, set the Key to "list" and the Value to 1.
- Add another Add to List Variable step.
- In the step configuration, set the Key to "list" and the Value to 2. Note that you must use the same key as in step 2 to add items to the same array.
- Add the Form step. In the step configuration, add a Text element.
- In the Value of the Text element, select Advanced mode to activate it. Then, enter the following Liquid expression:
{%for item in Variables.list%}{{ item }}{%endfor%}.
After you save, publish and run the flow, the web form will display the items of the list variable in the user journey.
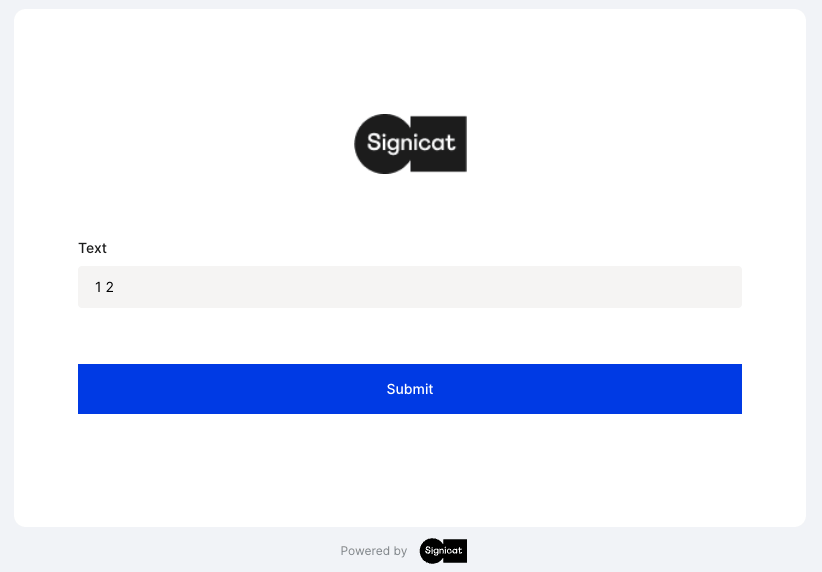
Using Advanced mode to display list items in a web form.