# Set up MobileID for CIBA
Contents
# Overview
This page describes what you need to do in order to be able to use MobileID through the Signicat OIDC CIBA APIs.
What is CIBA?
You can find further information about CIBA in our developer documentation (opens new window).
# Initial preparations
The setup descriptions below assume that you have completed the following initial preparations:
- Sign up to the Signicat Dashboard (opens new window).
- In the Signicat Dashboard, set up an organisation, an account and a domain.
- Set up a MobileID identity store and populate it with users and devices. See Prerequisites for further information.
Sandbox account
We recommend that you create a sandbox account to test our services before implementing them in production.
# Add MobileID as an ID method
You need to add MobileID as an ID method for your Signicat Account. To do this:
- Log in to the Signicat Dashboard (opens new window)
- In the top navigation bar, use the dropdown menu next to your organisation name to select the account that you want to make changes to.
- Go to eID-Hub > ID methods (opens new window)
- Click the ID Methods button.
- Click Add new.
- Choose MobileID from the list and click Save.
# Create an OIDC client with MobileID scopes
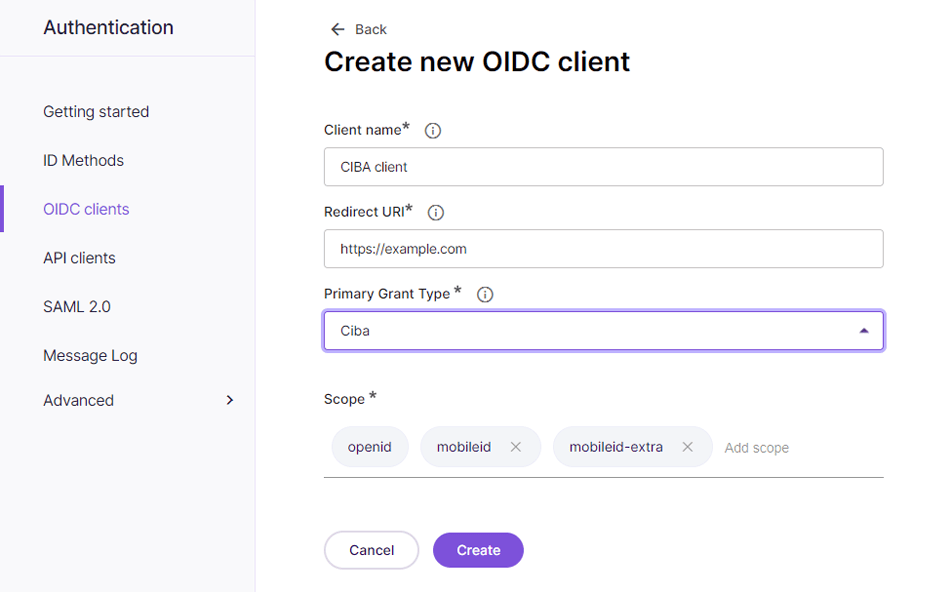
You need to create an OIDC client for CIBA with the MobileID-specific scopes of your choice.
There are two MobileID-specific scopes:
mobileidmobileid-extra
Note
For more details on which claims each scope contains, see MobileID claims.
To create an OIDC client, you can follow the steps in our Add a new OIDC client guide.
You must make sure that you:
- Select CIBA as the Primary Grant Type.
- Add the MobileID-specific scopes that you want this OIDC client to have access to.
# Set up MobileID claims in the ID token
By default, OIDC clients return a limited set of claims in the ID token.
If you also want to get the MobileID claims as a part of the token, then you need to configure this in the OIDC client.
To do this, you can:
- Navigate to your OIDC client in the Signicat Dashboard.
- Click on the Advanced tab, then select Security from the dropdown menu.
- Click the ID token user data field. A dropdown menu will appear.
- Select All from the dropdown menu.
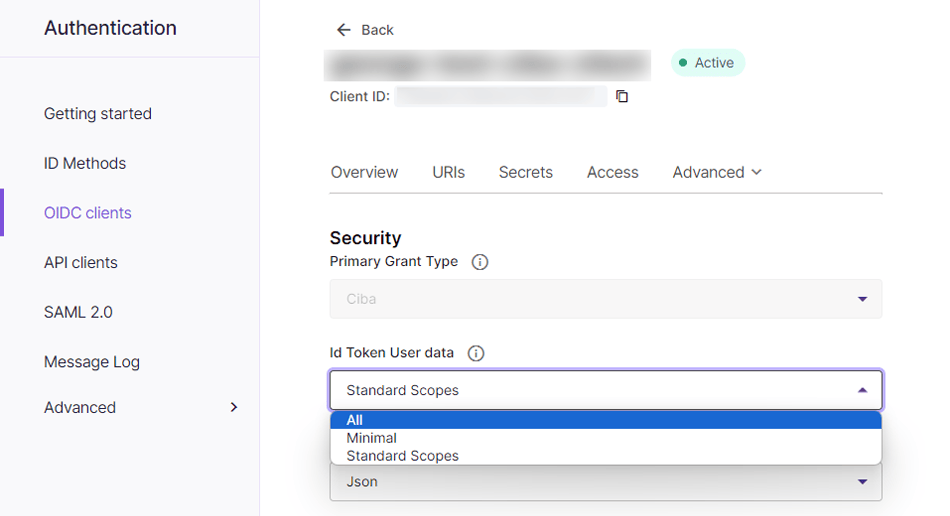
- To save your changes, click the Update button.