# Quick start guide
Learn how to verify information about natural persons or organisations in just a few steps.
This guide shows you how to connect to the Data Verification API and make calls to the endpoints using Postman.
Page contents
# Prerequisites
To use the Data Verification services, you need to have configured at least:
- Organisation and account in the Signicat Dashboard
- API client credentials
The subsections below explain how to configure each requirement.
# Configure the Signicat Dashboard
This guide assumes you have completed the following initial preparations:
- Sign up to the Signicat Dashboard (opens new window).
- In the Signicat Dashboard, set up an organisation and an account. For instructions how to do this, see the Initial setup page. It is also possible to add a domain, but this is not required for this product.
Sandbox account
We recommend that you create a sandbox account to test our services before implementing them in production. Be aware that you must set up the sandbox and production accounts separately.
# Set up an API Client
To use to the Data Verification API, you need to set up an API Client (with a secret) and configure the correct permissions.
Follow the instructions to:
- Set up an API Client to obtain a Client ID and a Client secret.
- Select the correct Permissions to connect to the Data Verification API.
Permissions for Data Verification
- Data Verification for natural persons to connect to data sources about natural persons
- Data Verification for organisations to connect to data sources about organisations
# Get started with Postman
This guide provides steps for using Postman (opens new window) to make API calls.
We have created a Postman collection that lets you try the Data Verification API. Click the button below to get the collection for Postman.

For more detailed instructions on how to use the collection, refer to the instructions below.
# Import the collection to Postman
Download the Postman collection (opens new window).
Open Postman.
Click File > Import and browse to the collection file to import it.
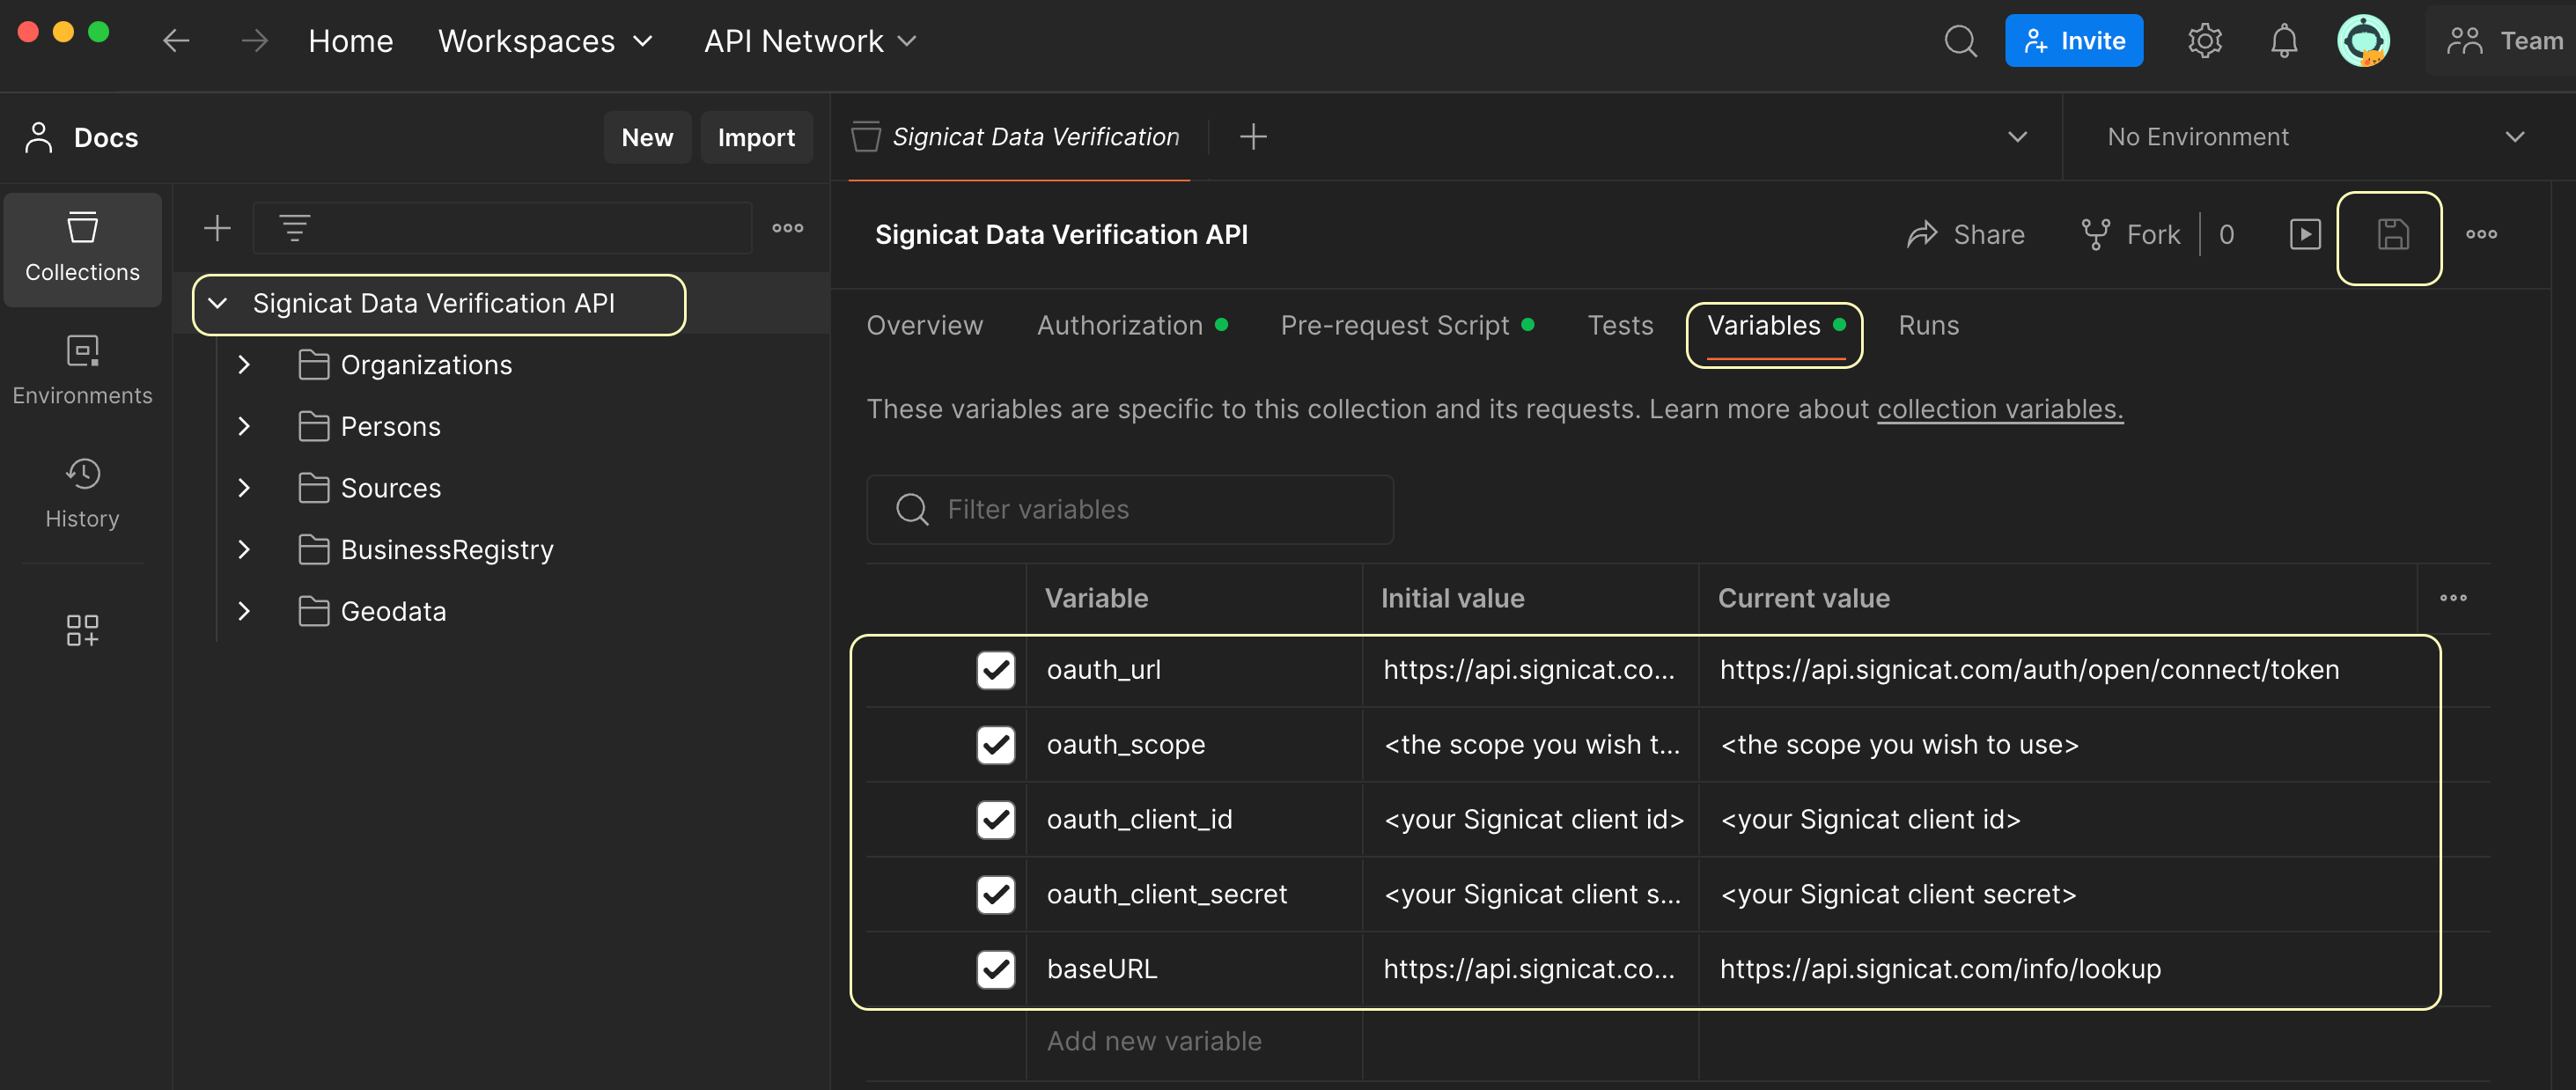
Click the name of the collection and edit the following variables:
Variable Value Description oauth_url https://api.signicat.com/auth/open/connect/tokenThe URL where to authenticate with Signicat APIs. oauth_scope signicat-apiThe API client scope you want to work with. oauth_client_id Your Client ID The Client ID obtained when you created the API Client. oauth_client_secret Your Client secret The Client secret obtained when you created the API Client. baseURL https://api.signicat.com/info/lookupThe base URL for the Data Verification API. Click Save.
# Get information
You can now retrieve information about a natural person or an organisation. The API reference contains information about each of the available endpoints. For example, to query basic information about an organisation, use the Basic endpoint like this:
- Go to the Basic endpoint in the Postman collection.
- Fill in the path parameters. For example, if you want to retrieve information about Signicat, write
NOin the country row and989584022in the organizationNumber row. Not sure how to find a company's organisation number? See this section. - Optional. Fill in the query parameters to extend functionality. For example, you can set
rawJsontotrueif you want to see the raw JSON output of the response. - Click Send.
For example, the request might look like this:
GET https://api.signicat.com/info/lookup/countries/NO/organizations/989584022
You will receive a response with the data you requested. For example:
{
  "name": "SIGNICAT AS",
  "names": [
    {
      "name": "SIGNICAT AS",
      "type": "registered",
      "start": null,
      "end": null
    }
  ],
  "organizationNumber": "989584022",
  "country": {
    "alpha2": "NO",
    "alpha3": "NOR",
    "numeric": "578"
  },
  "businessAddress": null,
  "addresses": null,
  "organizationType": {
    "name": "Aksjeselskap",
    "code": "AS",
    "url": "https://data.brreg.no/enhetsregisteret/api/organisasjonsformer"
  },
  "legalStatus": "active",
  "employees": 132,
  "industries": [
    {
      "code": "58.29",
      "description": "Other software publishing",
      "section": "J",
      "level": 4
    }
  ],
  "contact": null,
  "metadata": {
    "sources": [
      "no-brreg"
    ],
    "urls": [
      "https://data.brreg.no/enhetsregisteret/api/enheter/989584022"
    ],
    "lastChanged": null,
    "rawJson": null
  }
}
Note that some data is omitted for brevity. You can find a more elaborate example in the API reference.
# Data sources
If you want to know more about the data sources supported by the Data Verification API, you can get a list by using the Sources endpoints.
To view all the sources available for the organisation endpoints, use the Sources endpoint in the Organizations folder of the Postman collection.
GET https://api.signicat.com/info/lookup/sources/organization
To view all the sources available for natural persons, use the Sources endpoint in the Persons folder.
GET https://api.signicat.com/info/lookup/sources/person
The response will contain an updated list of the data sources used in the Data Verification API.
Data sources table
Visit the Coverage overview page to view all the data sources supported by the Data Verification API.
To learn more about each data source, go to the Data sources page.