# Events and webhooks
Page contents
# Overview
Events are our way of letting you know when something happens in one of our services. For example, when a document is signed, or if a change is made to your account, then we create an event.
The Signicat Events service lets you subscribe to these events from Signicat services. Once you have subscribed to an event, you can automatically receive business critical events from Signicat into your system.
We support delivering events using:
- Webhooks
- Microsoft Azure Service Bus
- Google Pub/Sub
Note
We plan to support more connections in the future. You can see the full list of subscription types available when you set up a new subscription in the Signicat Dashboard.
See How to add a subscription to find out how to do this.
# Example use case
When a document is signed, your system could automatically download the signed document without the need for polling our APIs when the documents are ready for download.
# What does an event look like?
A DTP event is comprised of 9 fields, as illustrated in the table below.
All events follow the same structure, except for the event data (eventData) field. This is given as a JSON object, which varies depending on which event is sent.
| Field name | Description | Type |
|---|---|---|
id | The ID of the event. | string |
timestamp | The timestamp when the event was created. | ISO 8601 date string |
sender | The service which is sending the event. | string |
eventName | The name of the event. | string |
eventData | The event data. You can see the structure of this for each event type in the Signicat Dashboard. | JSON |
accountId | The account ID which the event is sent in the context of. | string |
organizationId | The organisation ID which the event is sent in the context of. Note: This can be null. | string |
expiresAt | The timestamp when the event expires. Note: There are no more retries after this timestamp. | ISO 8601 date string |
tags | Optional tags that can be included in the event. You add tags by setting them in the request to the service publishing the events. | string array |
Example: Structure of a DTP event
{
  "id": "82fa52a9bc7549438b8c6aee71569fa7",
  "timestamp": "2023-11-13T11:38:10.7302363Z",
  "sender": "signature-api",
  "eventName": "order.completed",
  "eventData": //Json object,
  "accountId": "a-spge-IL9J9flqic18sh4TsUAo",
  "organizationId": null,
  "expiresAt": "2023-11-13T11:38:40.7302345Z",
  "tags": [
    "mock"
  ]
}
# Get started with the events service
You can create and manage event subscriptions in the Signicat Dashboard. To do this:
- Log in to the Signicat Dashboard (opens new window).
- In the top navigation bar, use the dropdown menu next to your organisation name to select the account that you want to make changes to.
- On the Topics page select Events.
- You are now in the events section of the Signicat Dashboard.
The events section of the Signicat Dashboard is comprised of two main pages, Events and Subscriptions. You can navigate between these sections using the left-side menu.
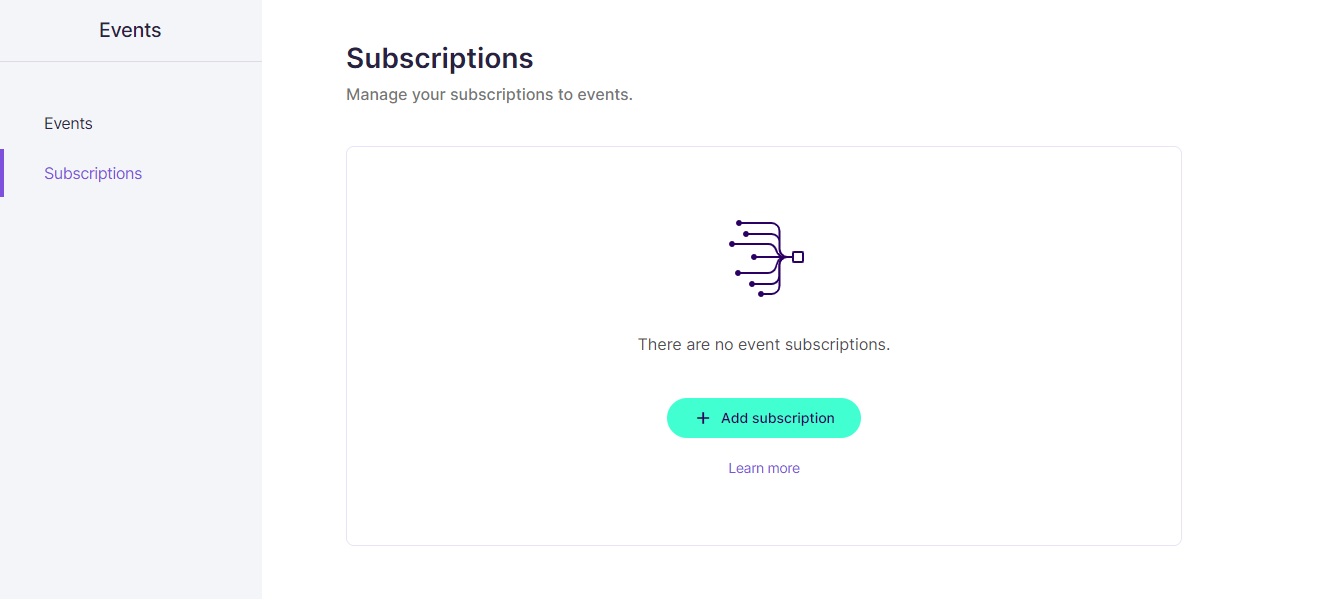
# Subscriptions
On the Subscriptions (opens new window) page, you can create new subscriptions, manage existing subscriptions and also test your events.
# Subscription types
# Webhooks
If you have a public endpoint that we can reach, then you can use webhooks to subscribe to certain events on your Signicat account. This is done by sending a payload to the webhook's configured URL.
The URL must respond with a HTTP status code of 200-299 within 15 seconds, otherwise the webhook delivery is considered failed and may be retried. For further details, see the error handling section.
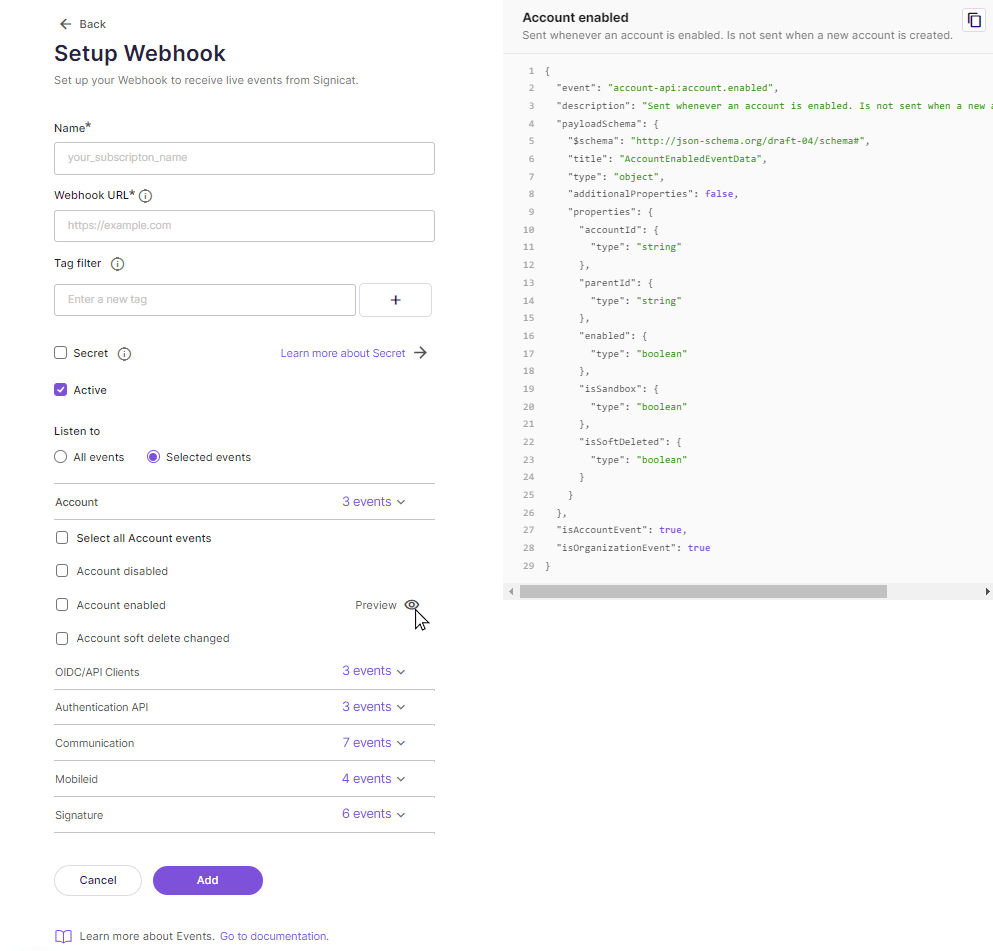
# Set up a new subscription
To set up a new subscription with a webhook, you can follow the steps outlined in How to add a subscription.
Our recommendation
For webhooks, you have the option to add a secret token; we recommend that you do this. You can find out how to do this in the next step.
# Creating your secret token
We recommend that you add a secret token to your webhook. This can be done in the Signicat Dashboard when you are creating the subscription.
- On the Setup Webhook page, tick the box marked Secret.
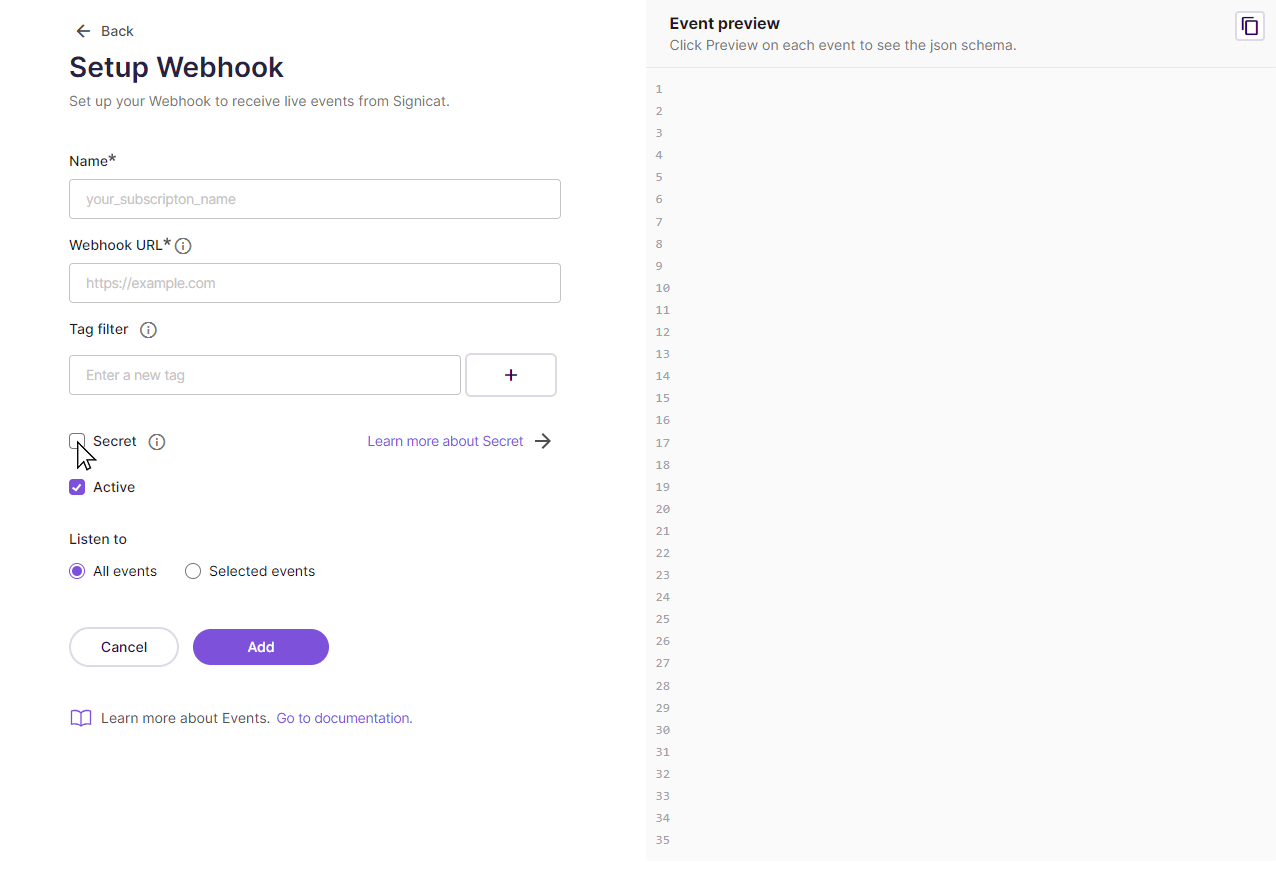
- A secret token is automatically generated for you.
- Copy the secret token. You can then use it to validate that the event payload is coming from Signicat.
# Validating payloads
Using your secret token, we create a HMAC-SHA256 signature of the request body. All requests include a X-Signicat-Signature header containing this signature, which you then can use to validate the integrity of the payload and its origin.
To validate the request, compute the HMAC digest using your secret token as the signing key and ensure that it matches the signature from the header.
Below is an example of how to generate the signature with Node.js:
const crypto = require('crypto');
const secret = 'your-secret-token';

// It is important to use raw request body and not deserialize it
const payload = '{"message":"Hello, world"}';

const hmac = crypto.createHmac('sha256', secret);
const signature = hmac.update(payload).digest('hex');
console.log(signature) // => def564b8df06ae55c788493cb414068b2cf017385d96ecb39aa3e844fdbbcdea
# Azure Service Bus
You can subscribe to certain events on your Signicat account to push events to your Azure Service Bus queue.
# Google Pub/Sub
You can subscribe to certain events on your Signicat account to push events to your Google Pub/Sub topic.
# How to add a subscription
- You can add a new subscription by clicking the Add subscription button in the middle of either the Events (opens new window) or Subscriptions (opens new window) page.
Note
If you already have an existing subscription, then you can add a new one using the Add subscription button on the top right of the Subscriptions (opens new window) page.
You must now select a subscription type from the list of connections.
See Subscription types for more specific information about each connection type.Add a name for your subscription in the Name* field.
Complete the required information specific to that connection type. For example, if you were setting up a webhook connection, you would need to complete the Webhook URL* field.
Optionally, you can add tags in the Tag filter field. This means that we will then only forward events that include the specified tags. Note that:
The event has to include all of the specified tags in the tag filter in order for it to be forwarded.
If you end the tag with an asterisk, it will pick up all events that start with that tag. For example, the tag
test-*would be able to pick up events that start withtest-tagortest-event.
Select whether you would like the subscription to be immediately active or not.
Use the radio buttons to select whether you would like to listen to events from all available Signicat services, or selected events of your choosing instead.
If you have chosen Selected events, then you will be presented with a list of dropdown menus which correspond to different services and corresponding events. Tick all of the boxes that you wish to listen to for this subscription.
Click the Add button to create the subscription.
Success!
You have now set up a subscription. You will be taken back to the Subscriptions (opens new window) page where you can view and manage all of your subscriptions.
You can view the event deliveries on the Events (opens new window) page.
# How to manage a subscription
You can make changes to existing subscriptions that you have set up. To do this:
Go to the Subscriptions (opens new window) page.
Click on the subscription that you wish to make changes to. You will be taken to the subscription details page.
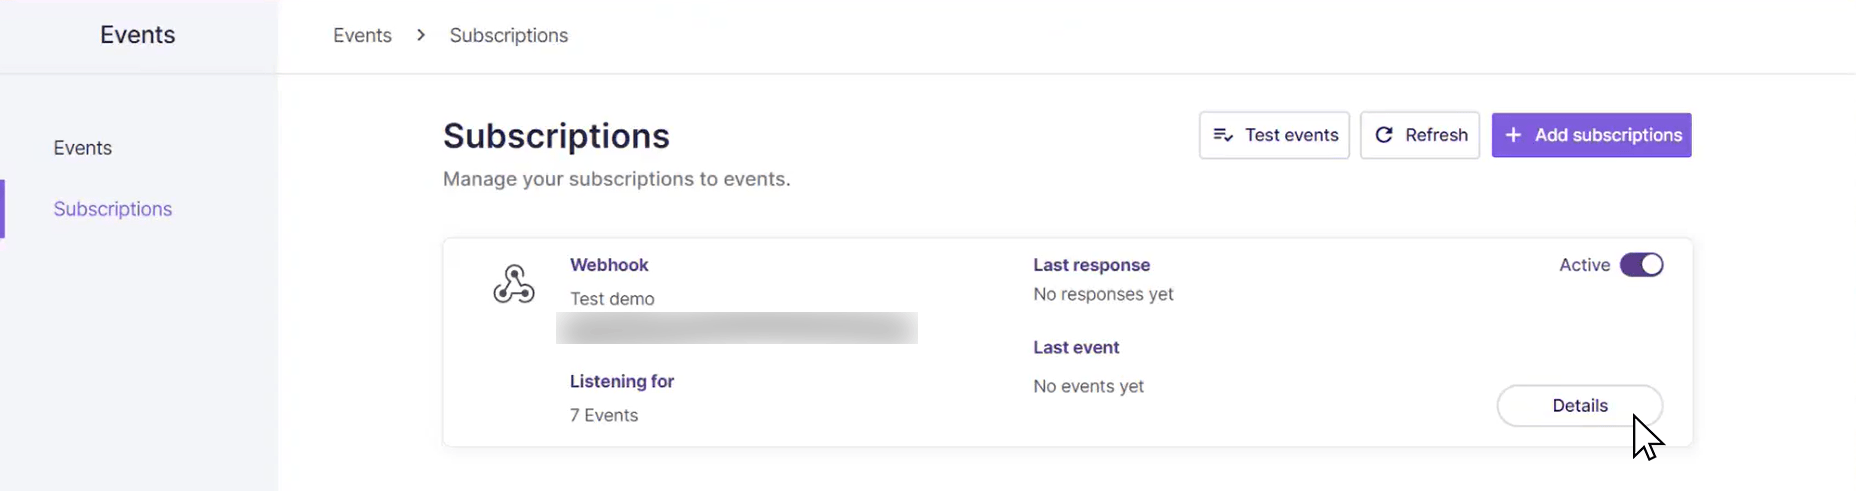
Make your desired changes.
Click the Update button to save these changes.
# How to test your events
We have integrated a feature for events in the Dashboard where you can test certain events. This means that when you are integrating, you can create a mock event instead of triggering the actual event. You can use this to test your subscriptions and event code handling.
To do this:
Go to the Subscriptions (opens new window) page.
Click the Test events button.
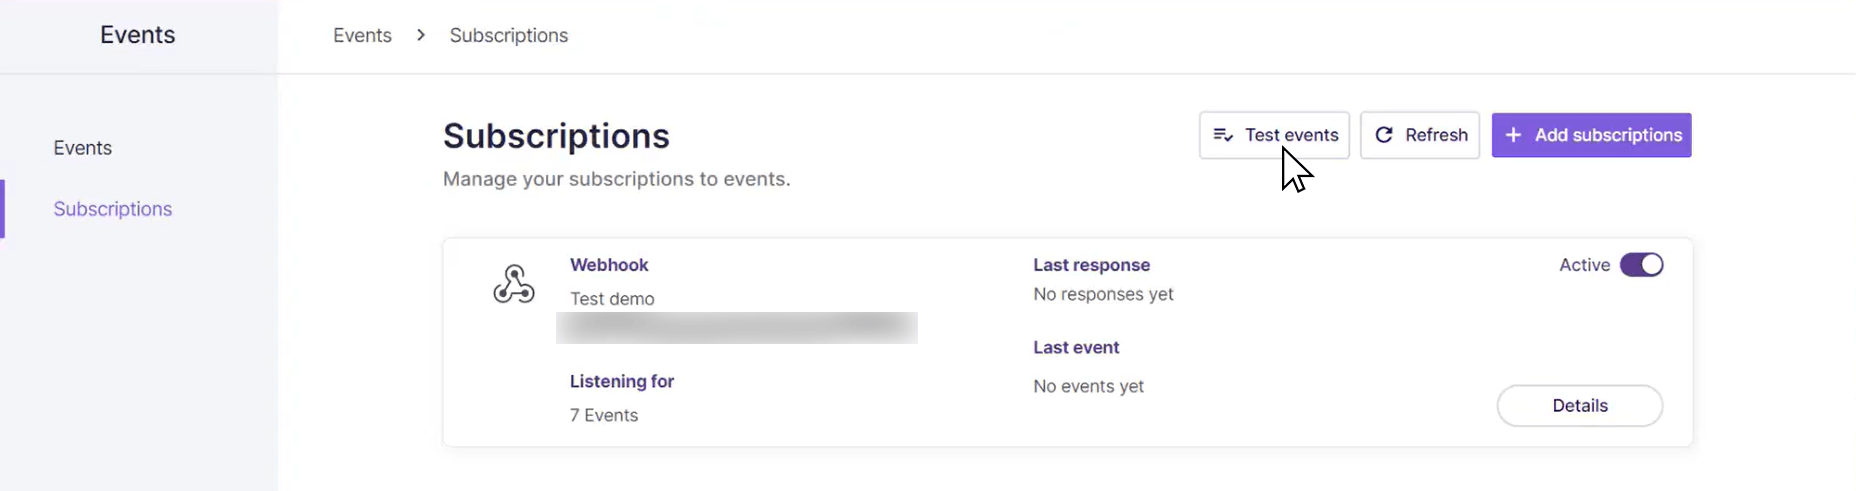
Select a subscription from the first dropdown menu.
Select an event type from the second dropdown menu.
Click Send.
Success!
You have now created a mock event. You can view the request body that has been produced for this mock event, so that you can see how it looks before you test.
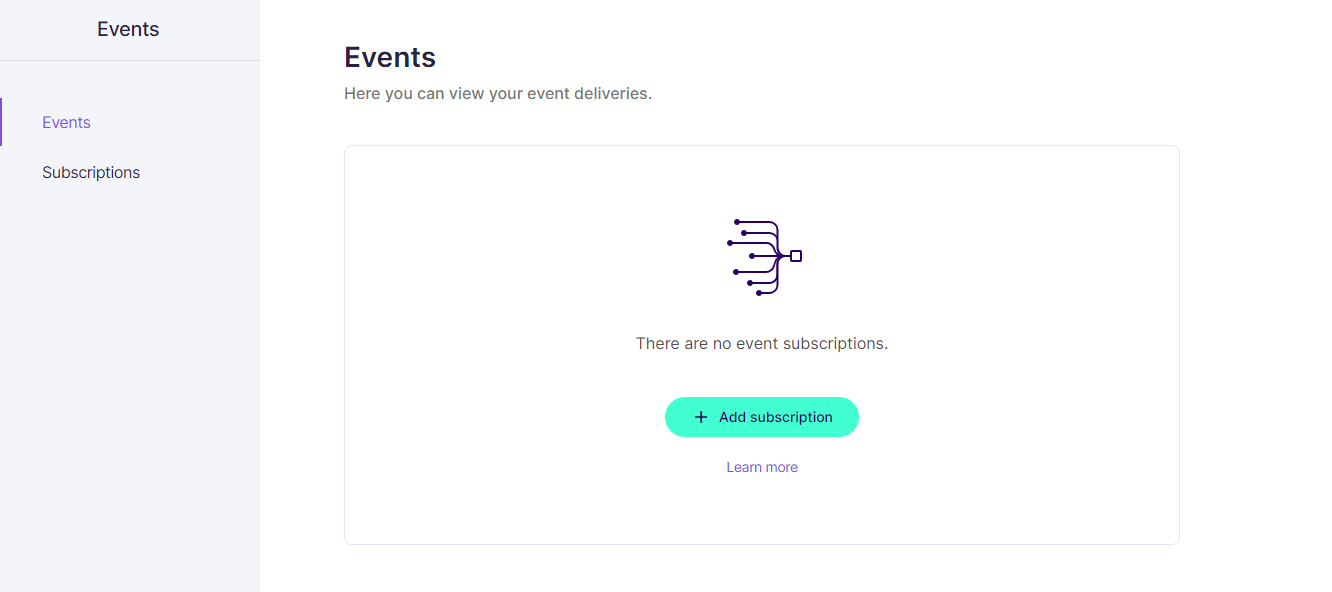
# Events
On the Events (opens new window) page, you can view a list of your event deliveries from the events that you have subscribed to. You can view the details of a particular event by clicking on it.
Note
You will find the request and response body for the event in the event details.
# Event types
The list of event types that we support will constantly evolve. You can see the full list of supported events available when you set up a new subscription.
Click the Add subscription button.
Choose the subscription type that you want to set up.
Click the Selected events radio button under the Listen to section.
Here you can see a list of the events that we currently support.
# Preview the JSON payload
You can preview what the JSON payload will look like for each event when you set up a new subscription.
Click the Preview button next to the event that you would like to preview.
The JSON payload will appear on the right-hand side.
# Error handling
An event delivery is considered failed if we are unable to deliver the event. This includes network issues, timeouts and HTTP status codes other than 200-299.
In general, failures caused by network errors are retried, whereas failures caused by misconfiguration are not retried. This means that only HTTP status codes of 429 and 500-599 are retried.
If a webhook responds with the HTTP status code 410 Gone, then the subscription will be disabled and no further events will be delivered.
The time between each delivery attempt starts at approximately one second and rapidly increases towards 24 hours, for up to five days.
If a webhook responds with a Retry-After header, then the next delivery attempt will not be retried for at least the duration specified in the header.