Configuration
You can configure the following for Swedish BankID in the Signicat Dashboard:
Define intention text
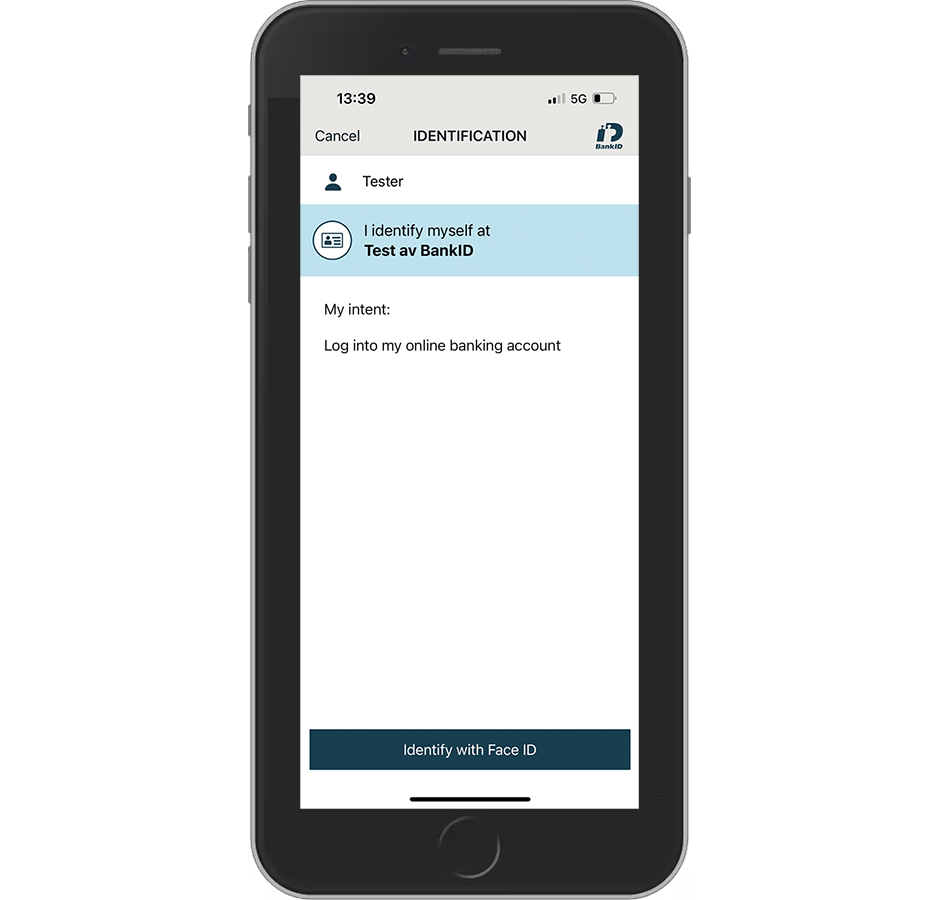
You may add an intention text on the IDENTIFICATION screen of the BankID app to underline the purpose of the authentication for the end-user.
Your intention text will always be prefixed with "My intent", as shown in the following example, where the intention text is set to Log into my online banking account:

Front matching
You may also add security related information (see a screen example in the next section).
Swedish BankID does not allow using this text space for other than intention of the identification and security-related information.
You can define the intention text in two ways:
Add intention text in the Dashboard
- Open the Swedish BankID configuration page in the Dashboard.
- Add your intention text in the Intention text input field.
If the intention text is long and needs a scroll bar, the end-user must scroll to the bottom before they can proceed.
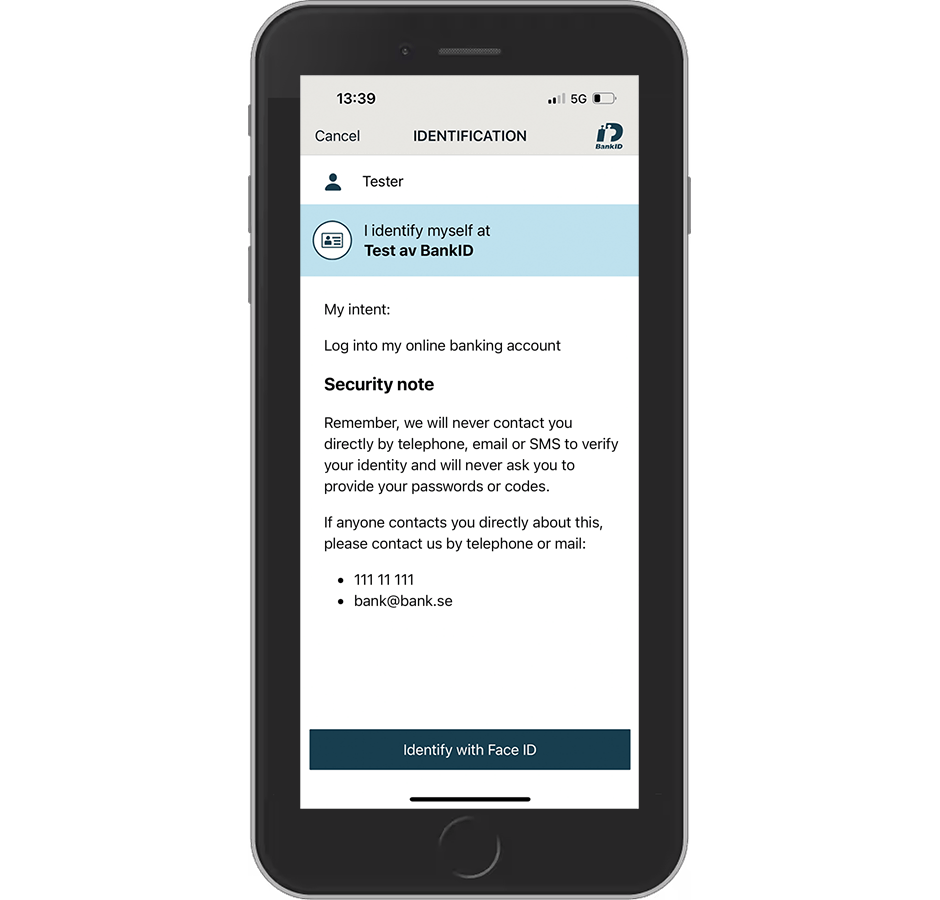
- Optionally, you may add formatting to the text in simple markdown format (simpleMarkdownV1). This allows you to add headings, bullets and more (for details, see Swedish BankID's guide). Here is an example text in markdown format:
Log into my online banking account

### Security note
Remember, we will never contact you directly by telephone, email or SMS to verify your identity and will never ask you to provide your passwords or codes.

If anyone contacts you directly about this, please contact us by telephone or mail:
+ 111 11 111
+ bank@bank.se
This would look as follows:

Front matching
- If the intention text contains formatting, choose simpleMarkdownV1 from the Intention text format drop-down menu.
Add intention text using prefilling
You may also add intention text per transaction by using prefilling of the two additional parameters, sbid_intention_text and sbid_intention_text_format.
- You cannot mix prefilled and configured (in the Dashboard) values. Prefilling will override the intention text you have defined in the Dashboard (see the above section).
- The additional parameters must be trusted. The Authentication REST API makes this easy, since it always provides trusted parameters. For OIDC, you must use signed authorisation requests (see the general eID Hub documentation on how to do this).
To add the intention text in your integration code:
- Create your intention text. You may format the intention text using simple markdown format (see the above example).
- Encode the text into UTF-8 Base64 format. The maximum length of the the Base64 encoded string is 1500 characters.
- Include the Base64 encoded intention text into your request. For protocol specific setup and examples, see the separate Authentication REST API and OIDC sections.
- You can verify that the text looks as expected by testing a transaction in the sandbox environment.
BankID in telephone calls (Phone)
The main steps for configuring "BankID in telephone calls" (Phone) are:
- Enable it by selecting Allow PHONE flow on the Dashboard configuration page.
- Define the phone parameters,
sbid_auth_type(PHONE) andsbid_phone_initiator(USER or OPERATOR) in your protocol setup. For details, see the integration guides for OIDC and Authentication REST API.
iOS redirect mode
You can define how to redirect the user in a browser after a successful authentication with the BankID app on iOS mobile devices.
On the Dashboard configuration page, select one of the following options from the iOS redirect mode drop-down menu:
default: The user is redirected to the default browser.no_redirect: The user is not redirected anywhere and is instructed to manually switch back to the app/browser they came from.detect_browser: Signicat attempts to detect any non-safari browser and the user is instructed to manually switch back to the app/browser they came from.
Alternatively, you can set the iOS redirect mode in the authentication request. For details, see either Authentication REST API Redirect flow or OpenID Connect.
Theming
You can set your own theme with logo and colours in the Dashboard. For more details, see Theming.