Quick start guide
Learn how to test out a ReuseID onboarding or step-up flow using the Authenticator App and the ReuseID API.
This quick start guide shows you how to:
- Perform a ReuseID onboarding or step-up flow.
- Review the identity proofing process.
- Reuse the ReuseID.
- Manage the users.
This guide requires that you make API requests using a tool of your choice.
If you want to try out ReuseID without making API requests, then you can use the Try it out page in the Signicat Dashboard. Here, you can use a button to trigger ReuseID operations instead.
Prerequisites
1. Initial preparations
Before you start, you need to have:
- Created a user account for the Signicat Dashboard.
- Created an organisation and an account in the Signicat Dashboard.
It is also possible to add a domain, but this is not required for ReuseID.
We recommend that you create a sandbox account to test our services before going live. Sandbox and production accounts must be set up separately.
How do I complete the initial preparations?
To sign up to Signicat for free and complete the initial preparations:
- Sign up to the Signicat Dashboard and register your profile.
- Ensure that you have created an organisation.
- Create an account. To do this:
- Go to Signicat Dashboard > Organisation, then click the + Add account button.
- Enter an account name, choose the type of account that you want to create, then click the Create button.
2. Get client credentials
To authenticate against our APIs, you need to set up an API client. To do this:
- Go to Signicat Dashboard > Settings > API clients.
- Click the + Add client button.
- Enter a name for the client, then click the Create button.
- You must have at least once client secret, so click Add secret button. This take you to the Secrets tab on the client details page.
- Click the + Add secret.
- Enter a name for the client secret, then click Generate secret.
Make sure that you store the client secret in a secure place. This is the only time that you can view the client secret in clear text.
If you do lose your client secret, then you can always generate another one.
For more information about creating an API client, see the Accessing Signicat API products page.
3. Set permissions
To connect to this API, you need to configure the correct permissions for you API client. To do this:
- Go to Signicat Dashboard > Settings > API clients.
- Click the Edit button beside the client that you created.
- Click the Permissions tab, then click the + Select product button.
- Tick the box for ReuseID, then click the Update button.
If you cannot access the Permissions tab, then you do not have the correct role to manage permissions for your organisation. To receive access, contact your organisation administrator.
For more information, see the Managing roles and permissions page
For more information about setting permissions, see the Permissions section on the Accessing Signicat API products page.
4. Onboard to MobileID
Mobile authentication is a key part of ReuseID, where MobileID is the underlying authentication product. To test ReuseID, you must onboard your sandbox account to MobileID. To do this:
- Go to Signicat Dashboard > Products > MobileID.
- Click the + Add MobileID button.
Set it up
Next, you have to set up a tool for triggering operations and access our Authenticator App to perform them.
1. Set up ReuseID in Postman
This guide provides steps for using Postman as a tool for initiating the APIs, however, you can use the preferred tool of your choice.
To set up ReuseID in Postman and obtain an access token:
- Open Postman.
- Import the collection. To do this:
- Navigate to the Collections tab on the left-hand side of the screen, then click the Import button.

Screenshot showing import of ReuseID collection into Postman
- In the blank field in the dialogue box, paste the URL to our ReuseID API specification
https://api.signicat.com/reuseid/api-docs.Our recommendationWe recommend that you generate the request and response parameters from the examples in the schema, and that you create folders according to the tags. To do this:
- Click the View import settings button.
- In the Parameter generation section, select Example from the dropdown menu.
- In the Folder organization section, select Tags from the dropdown menu.
- Click the Import button in the dialogue box to finalise the import.
- Create variables. To do this, click the Variables tab, and add the following:
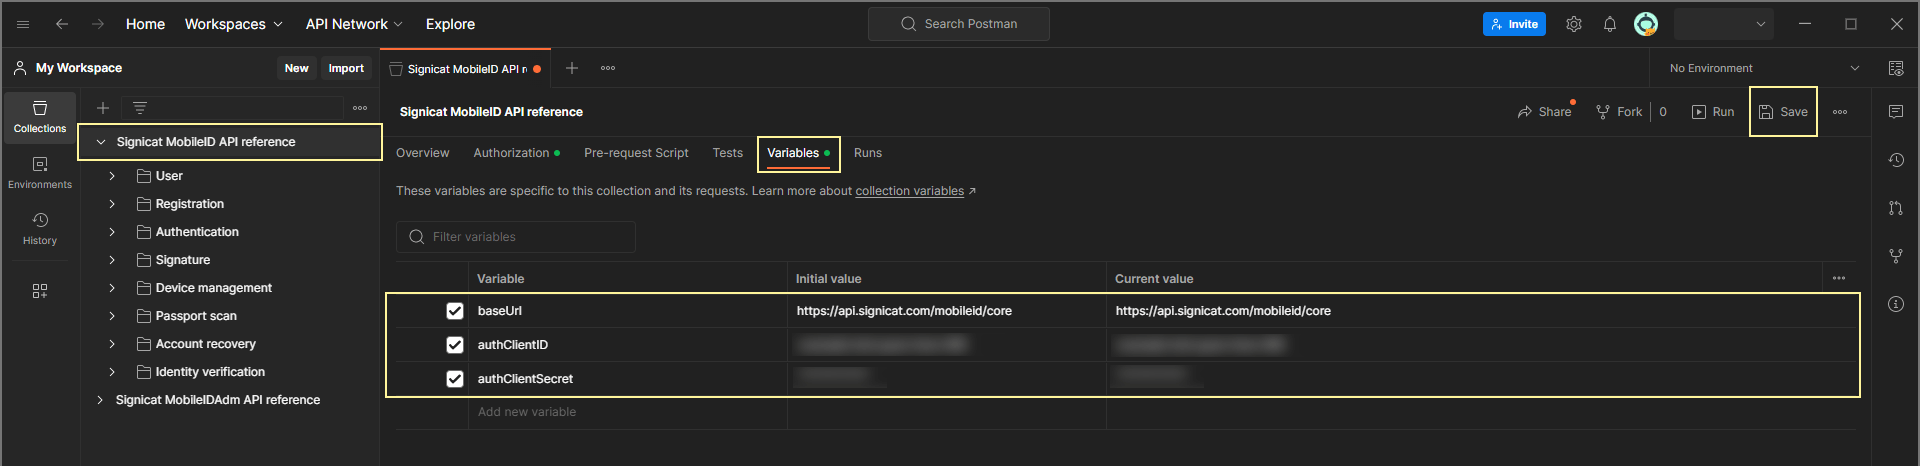
Screenshot showing creation of variables in Postman
- Set up authorisation. To do this, go to the Authorization tab and and update the following:
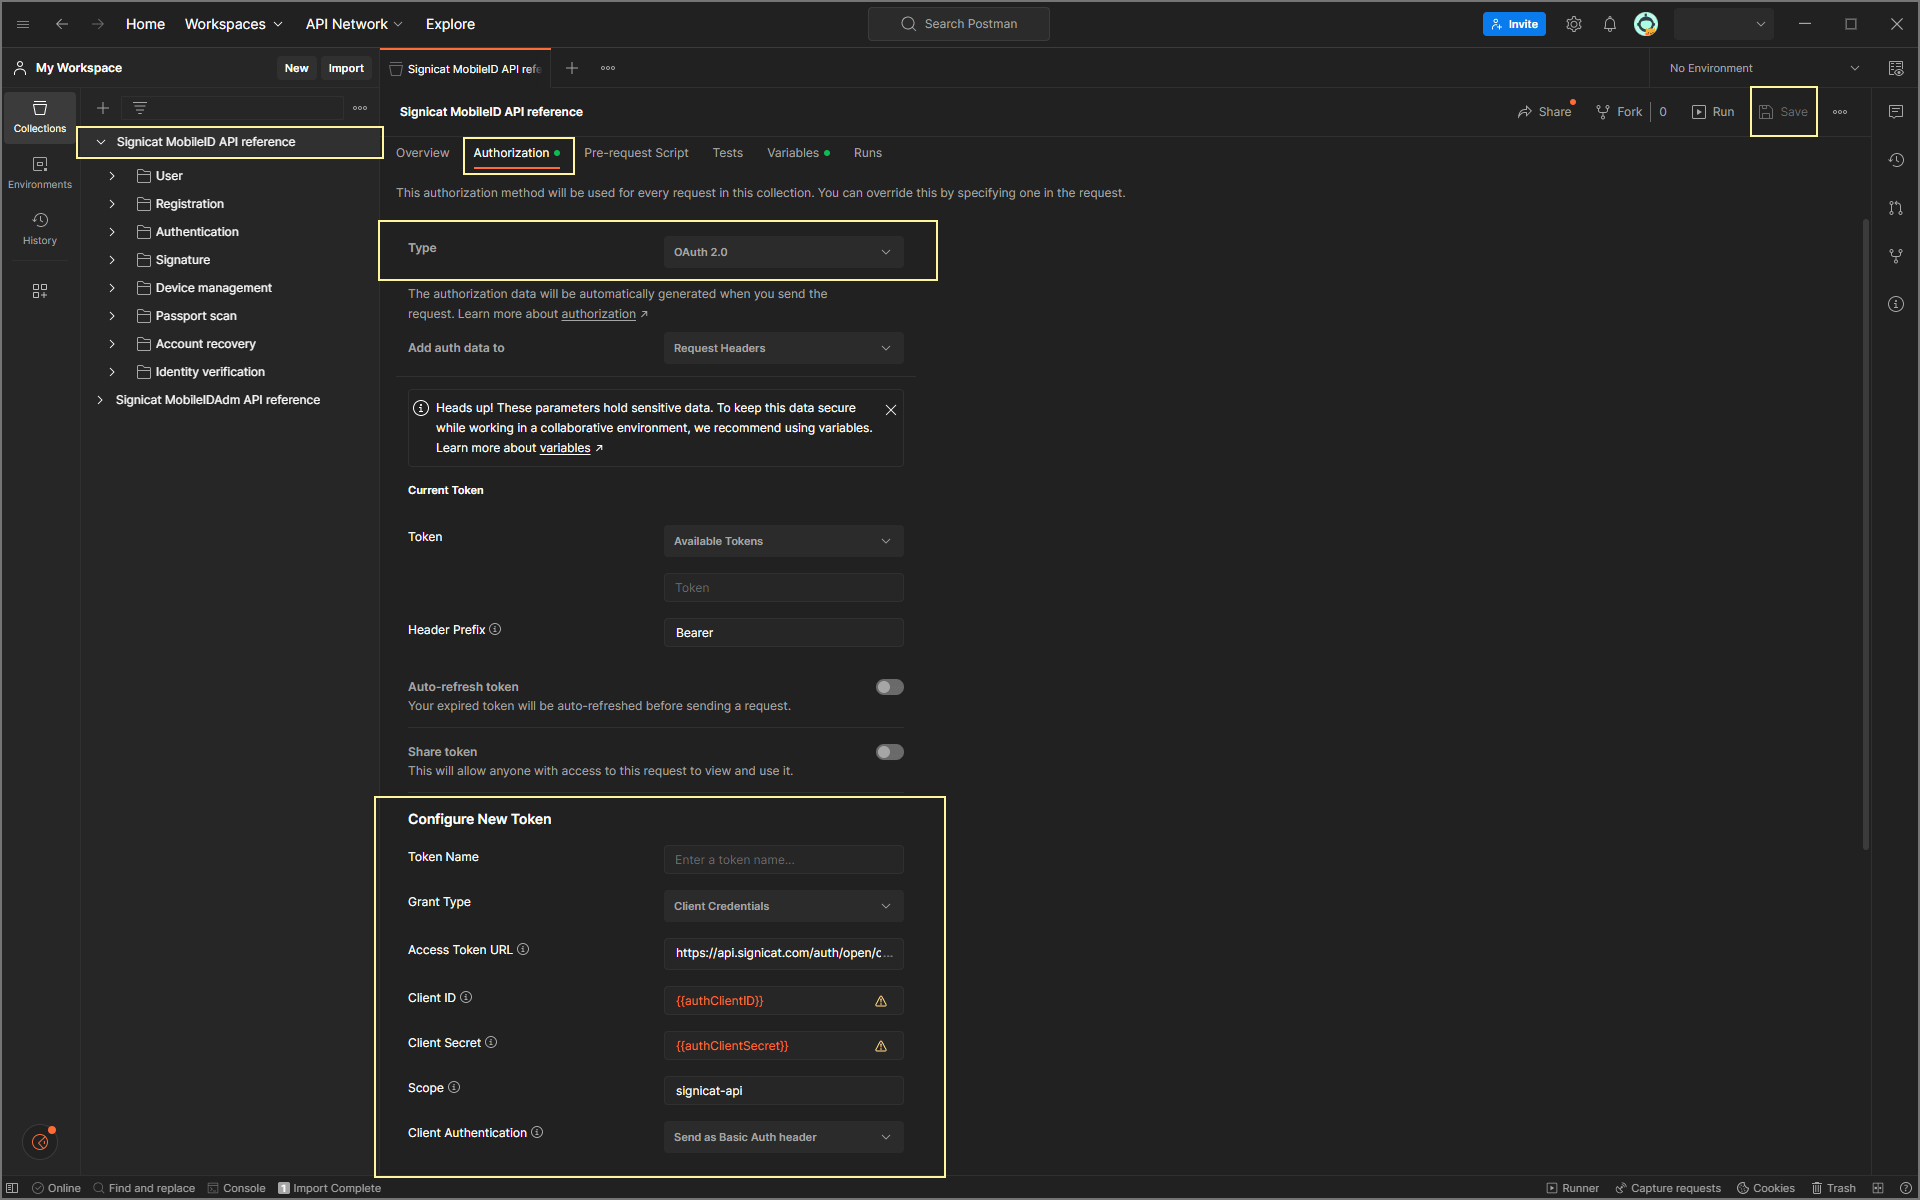
Screenshot showing set up of authorisation in Postman
- Click on the Get new access token button to get an access token.
- To add the token to the requests, click Proceed, then Use Token.
- Save your changes.
To automatically refresh your access token after it has expired, enable the Auto-refresh token toggle button under the Authorization tab.
You can only enable auto-refresh tokens after you have received your first valid token.
You have now set up Postman for the ReuseID APIs.
2. Install our Authenticator App
The Authenticator App is our white-label mobile application which enables you to perform operations on a mobile device, so that you can start testing out ReuseID as quickly as possible.
Want to use our SDK instead?
It is also possible to use our SDK and integrate it into your own app instead. To get access to the SDK, you can contact us by creating a support ticket in the Signicat Dashboard.
iOS
To install our Authenticator App on your iPhone, you have to:
- Install Apple's TestFlight app.
- Scan the QR code below on your mobile device:

QR code to install the iOS Authenticator App
- Install the latest version.
Android
To install our Authenticator App on your Android, you have to:
- Scan the QR code below on your mobile device:

QR code to install the Android Authenticator App
- Install the latest version.
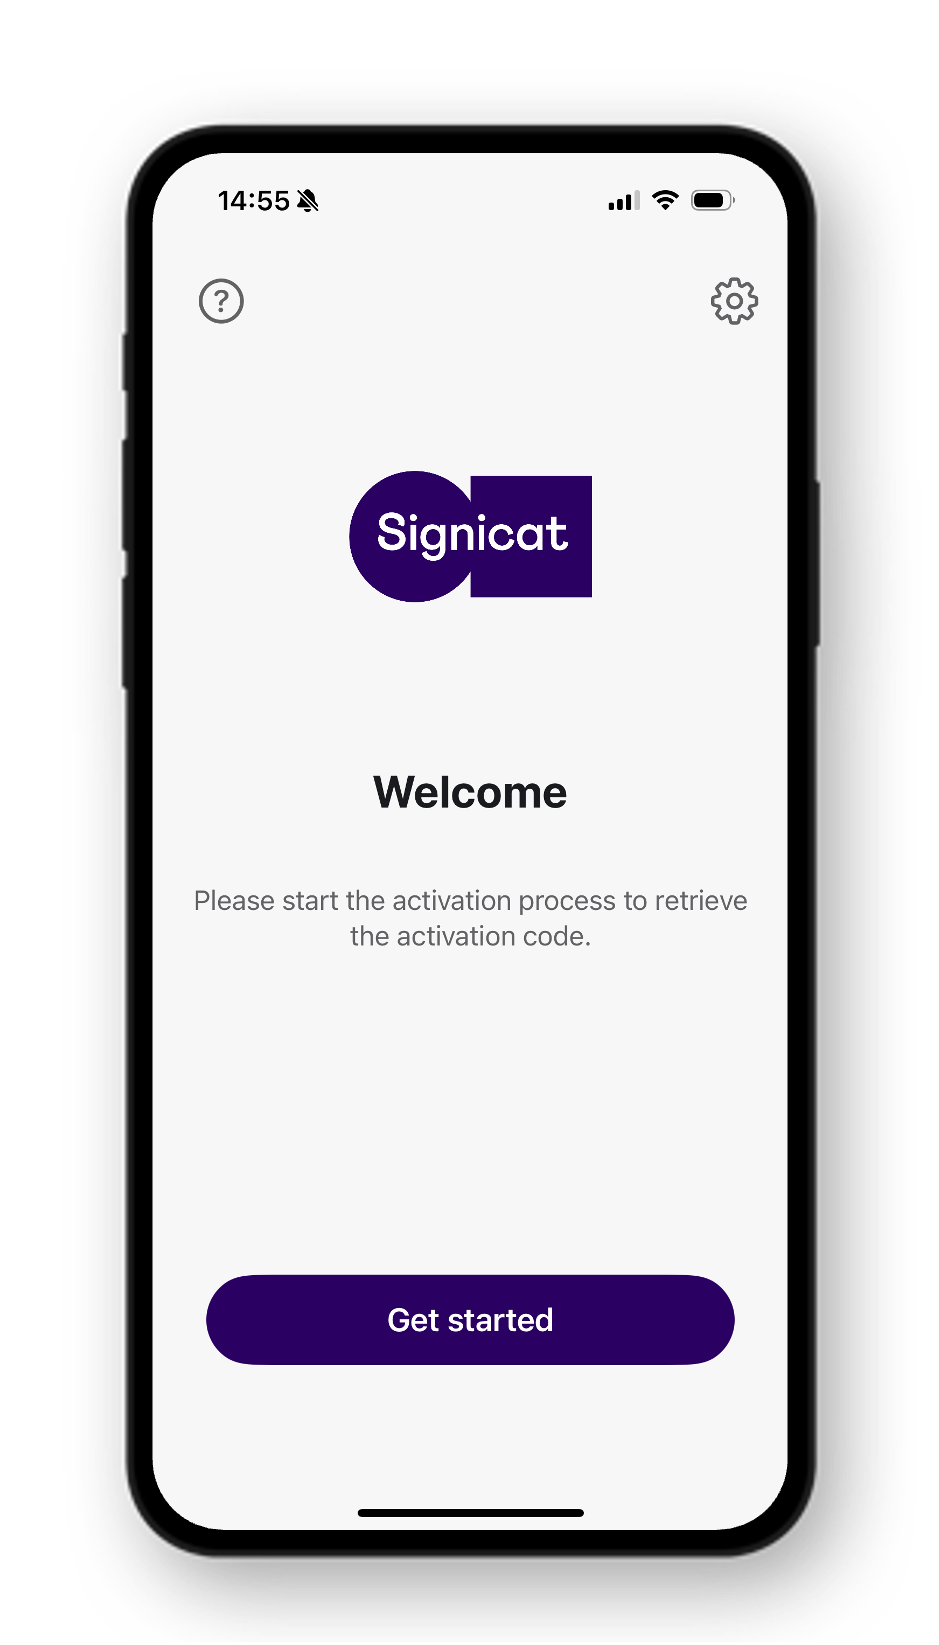
3. Configure our Authenticator App
Once you have installed the Authenticator App, you need to configure it to use your account.
To do this, you need to update the following values:
- Application ID (
applicationId) - Public E2E key (
publicKey) - Server URL (
https://api.signicat.com/encore/encap)
Our server URL is the same for both sandbox and production accounts.
How to obtain these values
To get your application ID (applicationId) and public E2E key (publicKey), you need to:
- Go to Signicat Dashboard > Products > MobileID > Details.
- Click on Quick configuration in the top-right corner.
If you do not wish to use the QR code scanner, then you can also find the Application ID value under the Account tab, and the Public key value under the E2E keys tab.
How to set these values
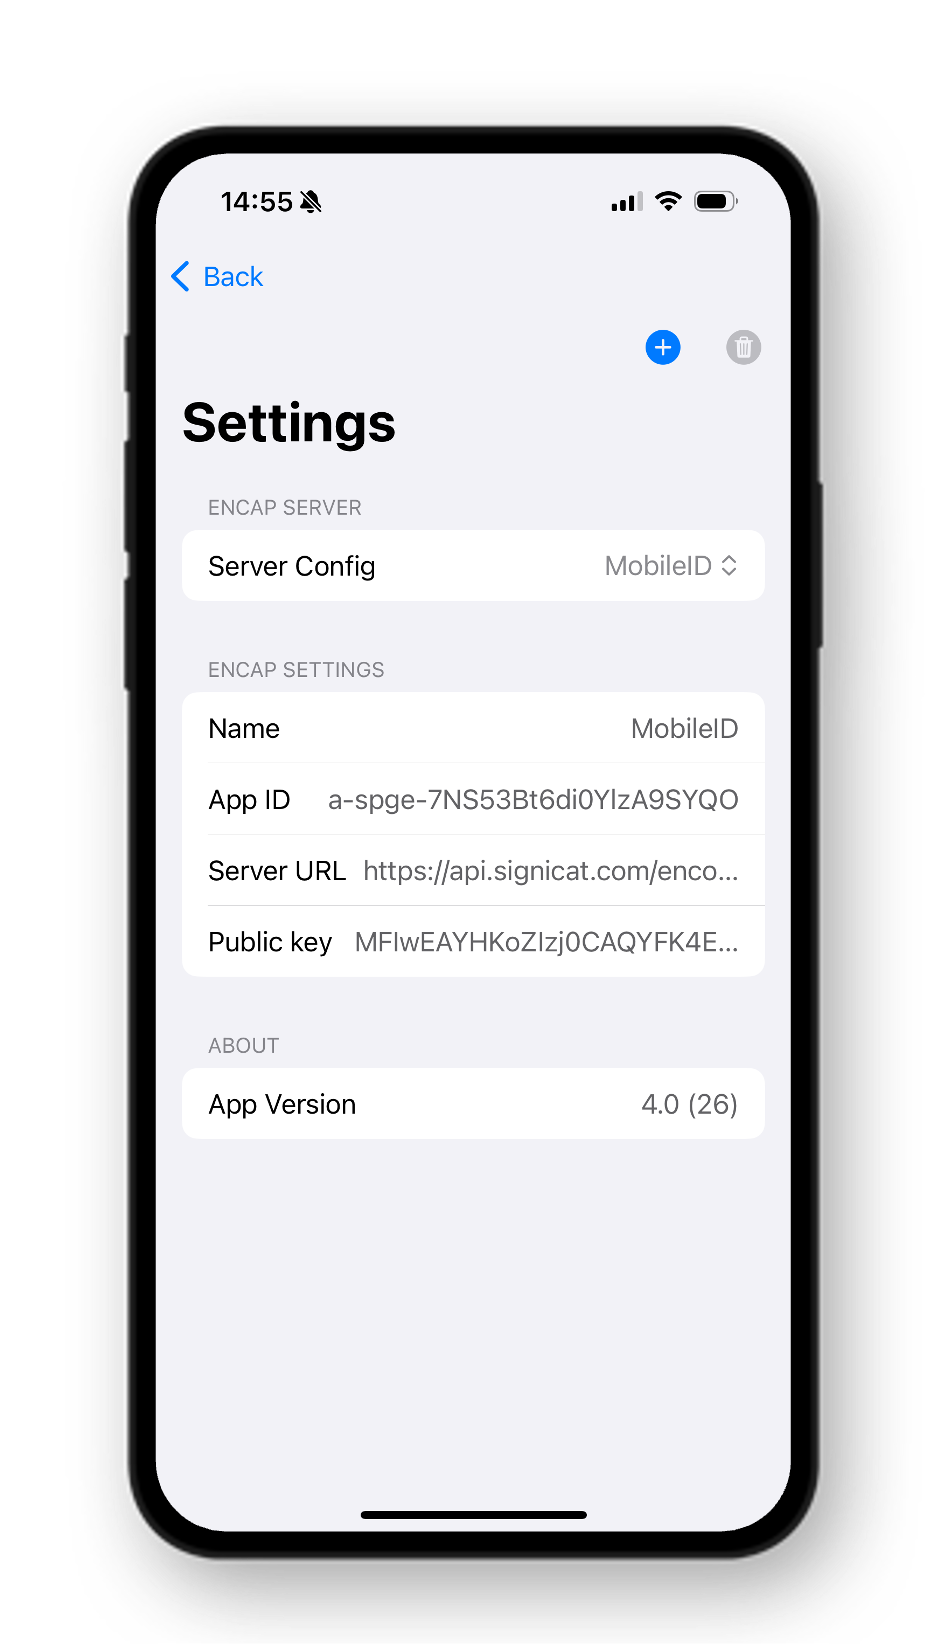
It is also possible to select a configuration from the dropdown list, or manually add your own configuration by clicking +.
Try ReuseID
You have now completed all required preparations and are ready to perform ReuseID operations.
With ReuseID, you can orchestrate two types of flow:
Flow type 1: ReuseID onboarding
A ReuseID onboarding flow:
- Creates a MobileID user.
- Activates a MobileID device.
- Performs a VideoID Substantial proofing.
- Creates a strong binding between the MobileID user and the VideoID process.
- Adds identity attributes to the MobileID user.
End-user flow
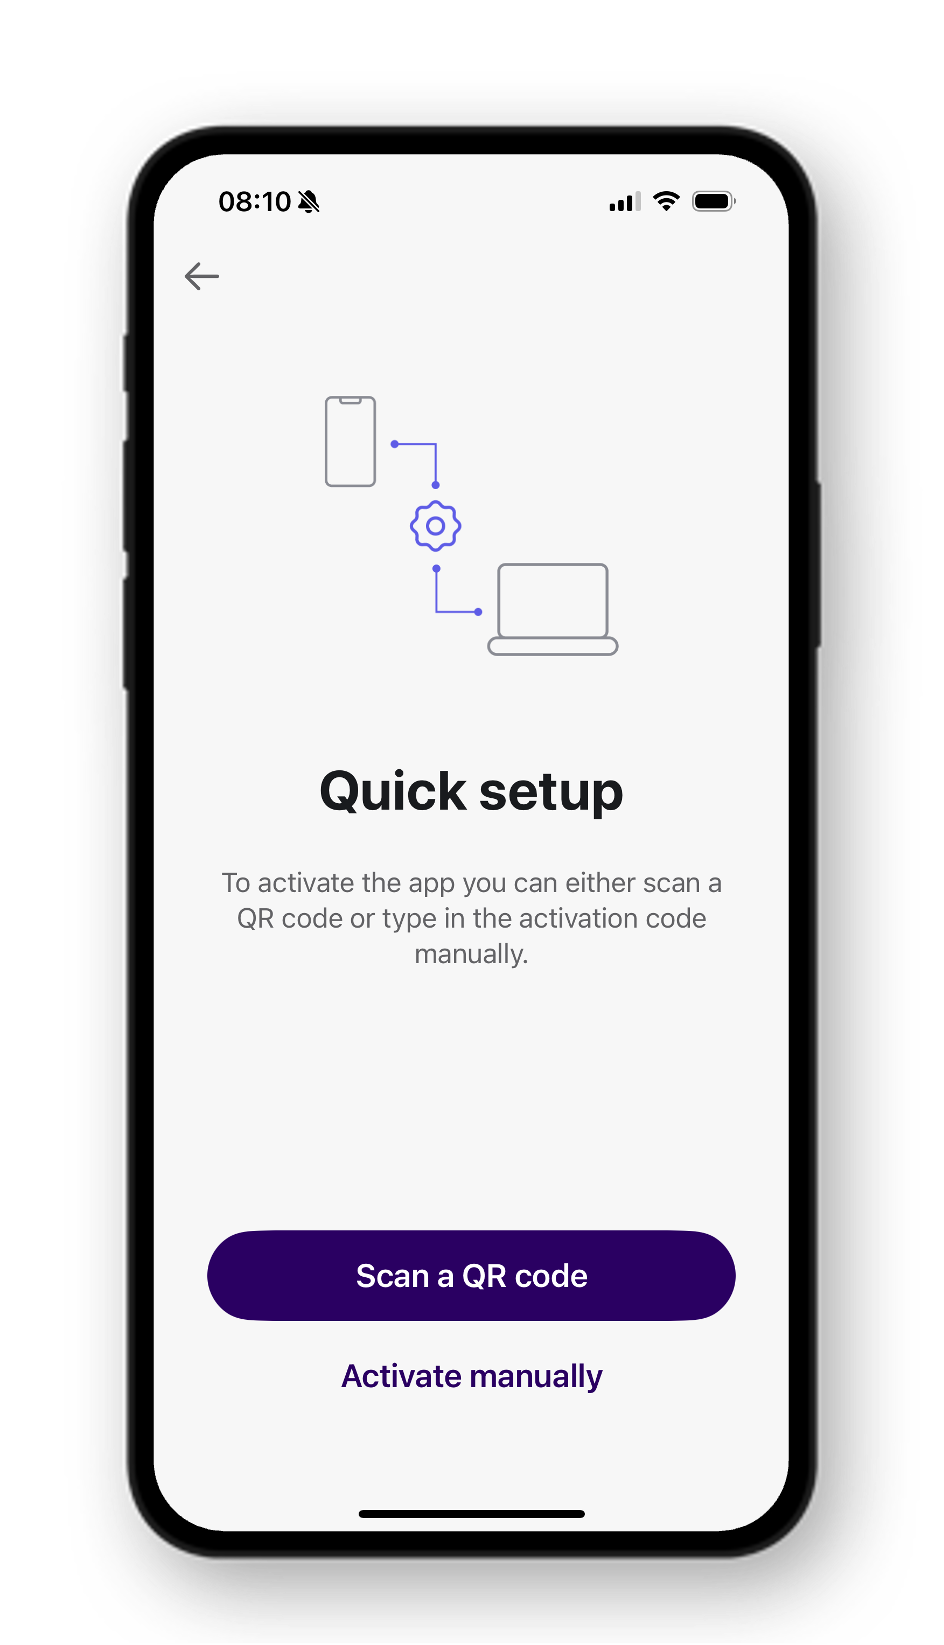
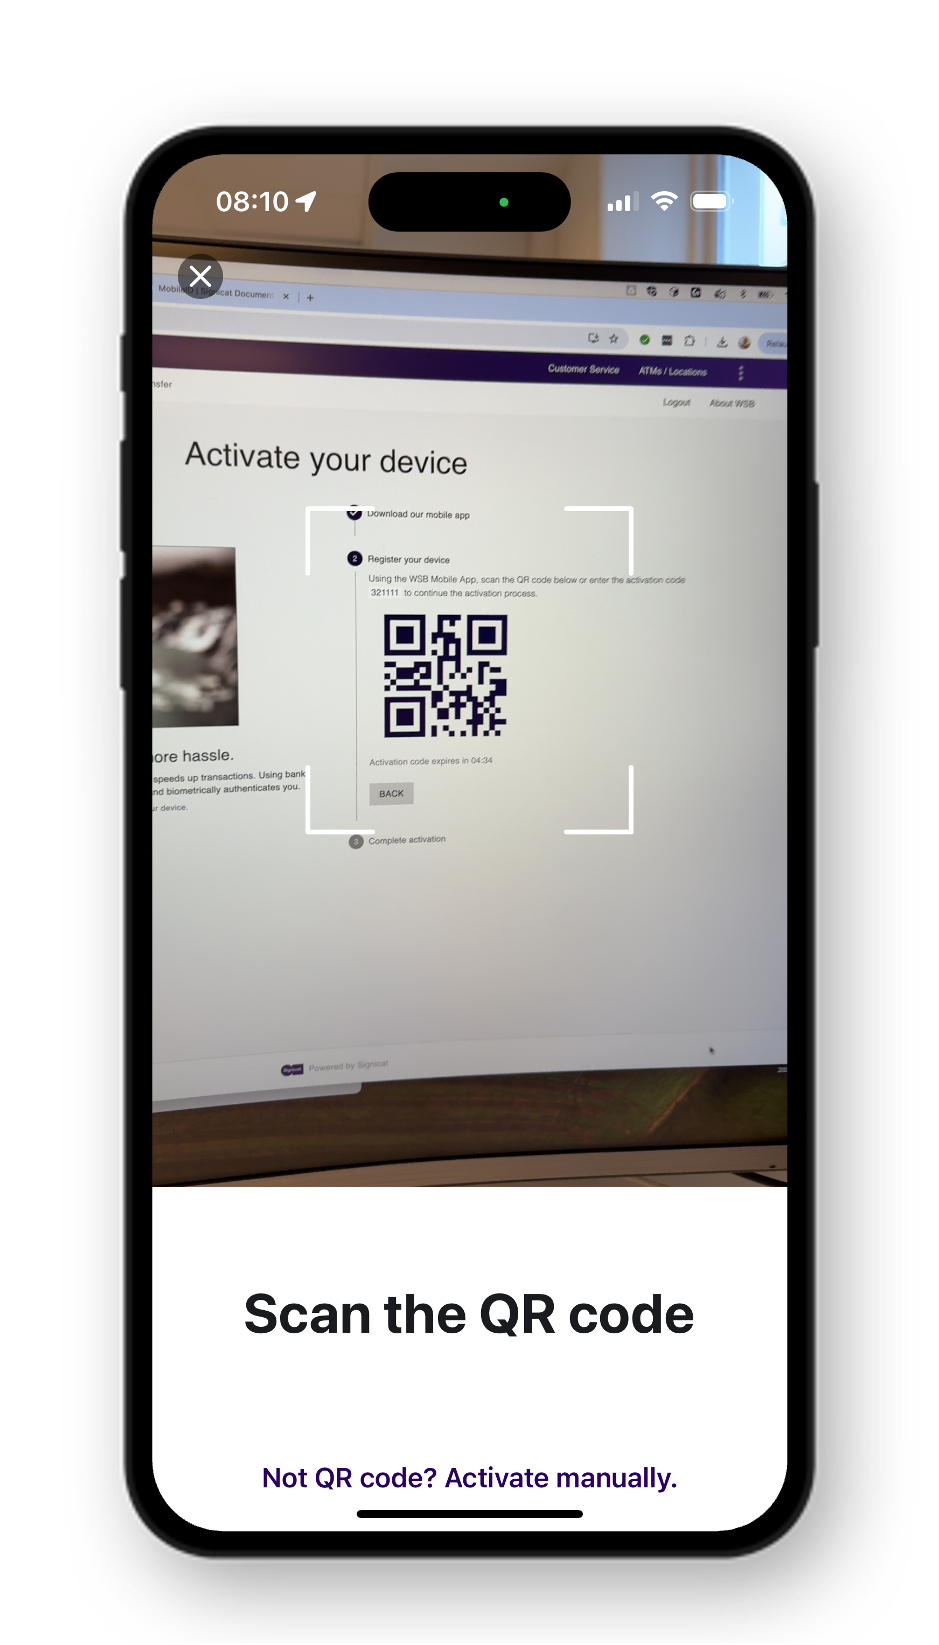
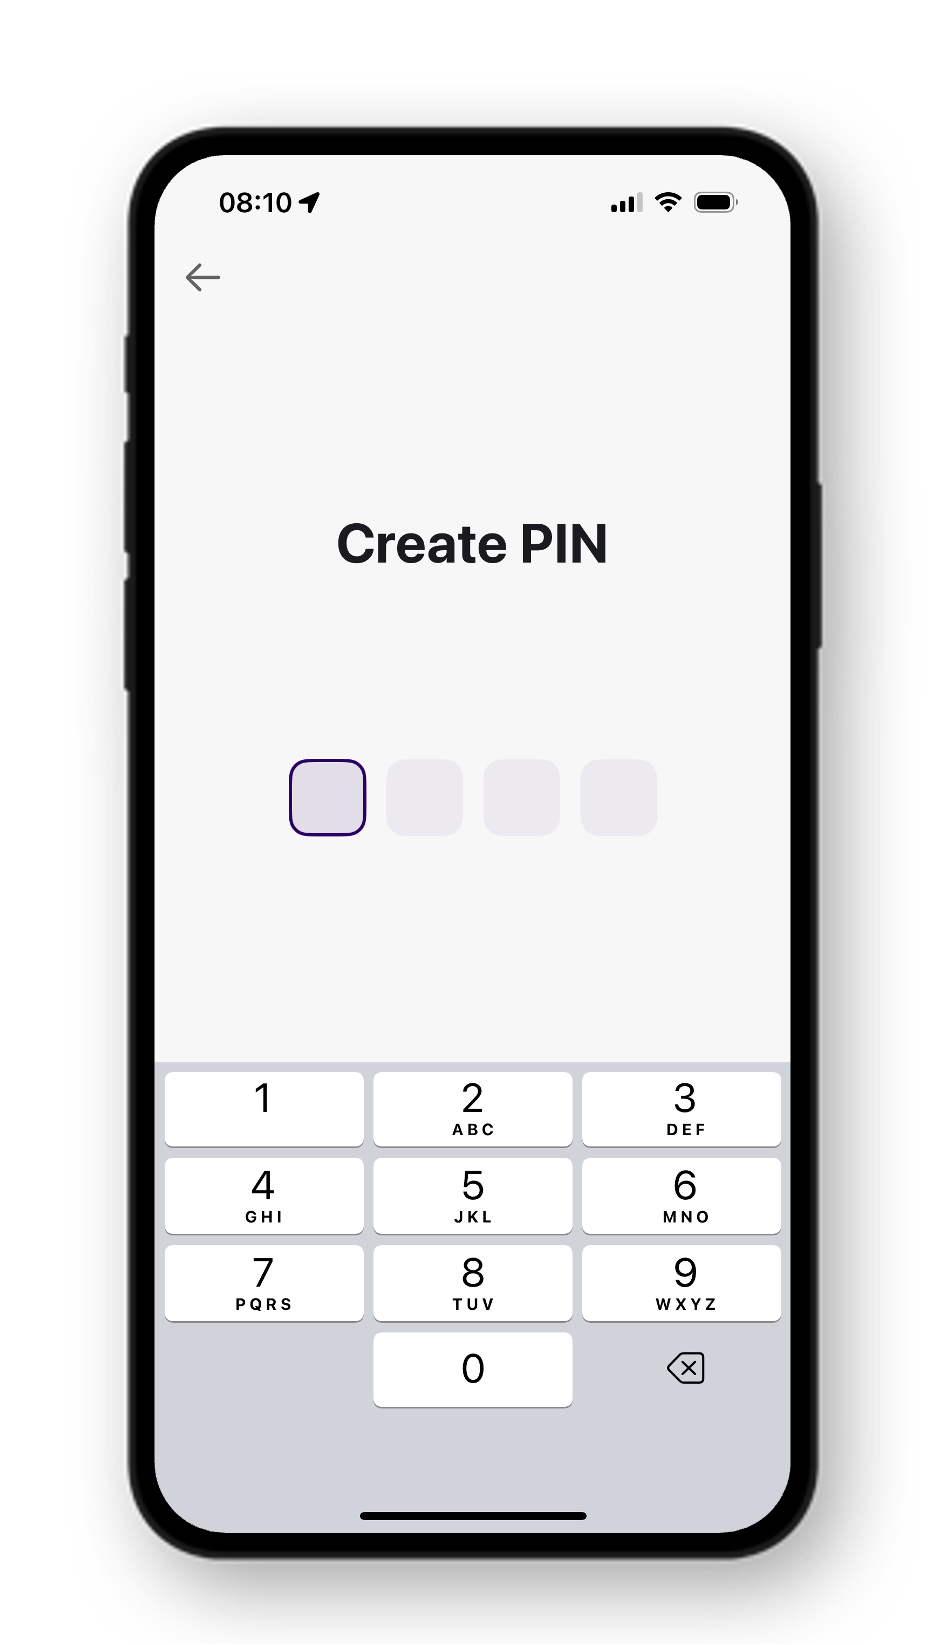
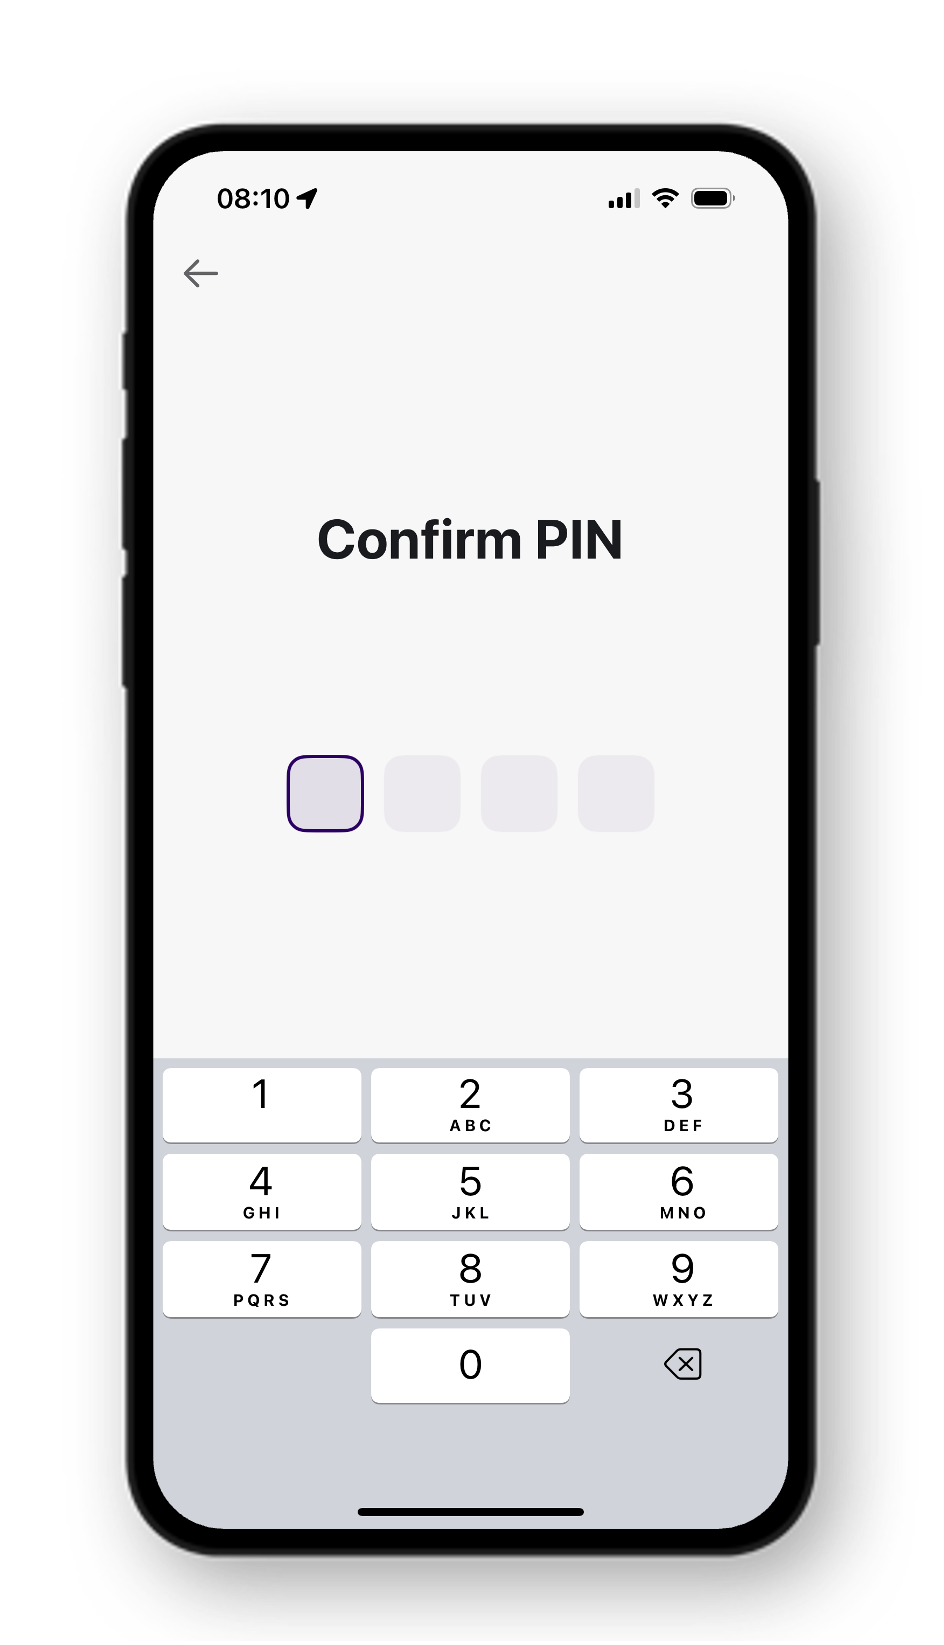


Sequence diagram

Sequence diagram for ReuseID onboarding with our Authenticator App
1. Start onboarding
To start a ReuseID onboarding, you must carry out the following request:
POST https://api.signicat.com/reuseid/id-onboardings
Show activation code as QR code in Postman
To get the best the user experience, Postman can show the activation code as a QR code. This means that you do not have to manually type the code in the Authenticator App.
To do this, add the following snippet to Script > Post-response in the POST request:
let response = pm.response.json();

let qrcTemplate = '<img width="250" height="250" src="https://qrcode.tec-it.com/API/QRCode?data=' + encodeURIComponent(response.data.activationCode) + '">';
pm.visualizer.set(qrcTemplate, {});
Request body
The ReuseID onboarding does not require any input data, but it is possible to specify the following optional parameters in the request:
If you do not specify any document types when you start the VideoID process, then a list of all available documents will be shown in the wizard.
You can find an example of the request body below:
- Request body with list of documents
- Minimal request body
{
  "externalRef": "000-000-000",
  "input": {
    "eidProviderOptions" : {
      "docTypes" : [138,169,147,245,277],
      "defaultId" : 138
    }
  }
}
{
  "input": {
  }
}
2. Response
If the API call is successful, then a response is returned to you.
{
  "data": {
    "transactionId": "e35ebbf7-9631-4966-9762-ae939c80eda1",
    "userId": "a1e26081-35b4-4557-a46a-ef50bc91672f",
    "activationCode": "8954685641",
    "status": "Pending"
  }
}
What does this example mean?
You can find a table of descriptions for the response object parameters below:
3. Get the result
To get the result of an ReuseID onboarding, you must carry out the following request:
GET https://api.signicat.com/reuseid/id-onboardings/<transactionId>
4. Response
If the API call is successful, then a response is returned to you.
{
  "data": {
    "transactionId": "e35ebbf7-9631-4966-9762-ae939c80eda1",
    "userId": "a1e26081-35b4-4557-a46a-ef50bc91672f",
    "activationCode": "8954685641",
    "deviceId": "b1g73121-55c4-9238-l39j-ek60dc91872g",
    "proofingId": "30745db7-4403-4403-aa7e-cb35435ee565",
    "dossierId": "3d563ac4-9d26-4a6a-b58d-5a29cacfe015",
    "processId": "2f54b0a4-1a77-42e2-98d8-369116ef2055",
    "status": "Completed",
    "userData": {
      "firstName": "JANE",
      "lastName": "SMITH",
      "dateOfBirth": "1990-01-01",
      "gender": "F",
      "nationality": "NOR"
    }
  }
}
What does this example mean?
You can find a table of descriptions for the response object parameters below:
Flow type 2: ReuseID step-up
A ReuseID step-up flow:
- Performs a MobileID authentication.
- Performs a VideoID Substantial proofing.
- Creates a strong binding between the MobileID user and the VideoID process.
- Adds identity attributes to the MobileID user.
End-user flow

Sequence diagram

Sequence diagram for ReuseID step-up with our Authenticator App
1. Start step-up
Before you can trigger a ReuseID step-up, you need to have a MobileID user with a registered MobileID device.
To get this, you can either:
To start a ReuseID step-up, you must carry out the following request:
POST https://api.signicat.com/reuseid/id-stepups
Request body
The ReuseID step-up requires input data, therefore you must specify the following parameters in the request:
It is also possible for you to specify the following optional parameters in the request:
If you do not specify any document types when you start the VideoID process, then a list of all available documents will be shown in the wizard.
You can find an example of the request body below:
- Request body with list of documents
- Minimal request body
{
  "input": {
    "userId": "a1e26081-35b4-4557-a46a-ef50bc91672f",
    "deviceId": "b1g73121-55c4-9238-l39j-ek60dc91872g",
    "eidProviderOptions" : {
      "docTypes" : [138,169,147,245,277],
      "defaultId" : 138
    }
  }
}
{
  "input": {
    "userId": "a1e26081-35b4-4557-a46a-ef50bc91672f",
    "deviceId": "b1g73121-55c4-9238-l39j-ek60dc91872g"
  }
}
2. Response
If the API call is successful, then a response is returned to you.
{
  "data": {
    "transactionId": "e35ebbf7-9631-4966-9762-ae939c80eda1",
    "userId": "cdf82275-1bbb-4756-9cb6-7e51ac3f480b",
    "deviceId": "3a1ba38a-0303-4de9-a696-1dc2a6d13614",
    "status": "Pending"
  }
}
What does this example mean?
You can find a table of descriptions for the response object parameters below:
3. Get the result
To get the result of a ReuseID step-up, you must carry out the following request:
GET https://api.signicat.com/reuseid/id-stepups/<transactionId>
4. Response
If the API call is successful, then a response is returned to you.
{
  "data": {
    "transactionId": "e35ebbf7-9631-4966-9762-ae939c80eda1",
    "userId": "cdf82275-1bbb-4756-9cb6-7e51ac3f480b",
    "deviceId": "3a1ba38a-0303-4de9-a696-1dc2a6d13614",
    "proofingId": "30745db7-4403-4403-aa7e-cb35435ee565",
    "dossierId": "3d563ac4-9d26-4a6a-b58d-5a29cacfe015",
    "processId": "2f54b0a4-1a77-42e2-98d8-369116ef2055",
    "status": "Completed",
    "userData": {
      "firstName": "JANE",
      "lastName": "SMITH",
      "dateOfBirth": "1990-01-01",
      "gender": "F",
      "nationality": "NOR"
    }
  }
}
What does this example mean?
You can find a table of descriptions for the response object parameters below:
Review the identity proofing process
The identity proofing is handled by our ID Document and Biometric Verification products. The stored result is linked to the ReuseID that performed the process.
You can use our APIs to:
- Get all identity proofings for an end-user.
- Get the full data set for the process.
You can learn how to carry our these operations in our API reference documentation:
Reuse the ReuseID
The first iteration of ReuseID leverages MobileID to make the user reusable. This means that you can leverage all functionality and features from our MobileID product in your ReuseID solution.
You can learn about how to get started with our MobileID product and the features that it offers in our MobileID developer documentation:
Manage the users
The ReuseID users are stored in the MobileID identity store. With our MobileID APIs, you can manage your end-users and their devices.
You can learn how to carry our these operations in our API reference documentation: