About VideoID
You can use VideoID to capture a video recording of an ID document and/or the end-user's face, with actions to prove liveness (for example, smile to the camera).
Supported features
VideoID performs the following automated checks:
- Face biometric scoring
- Liveness detection (anti-spoofing)
- ID document matching
VideoID can be used either in a web or in a native (mobile) context.
Level of Assurance (LoA)
Depending on the LoA requirements for your service, VideoID offers different levels of assurance (LoA): Substantial or High.
VideoID Substantial
The end-user captures their ID document and selfie through a continuous video recording. This is suitable for many risk scenarios, meeting the eIDAS "substantial" assurance level.
When using substantial LoA, you can choose between two process types, either substantial or substantialFullyAuto. In both cases, the Assure API produces a final status based on the information retrieved from VideoID.
substantialFullyAuto: The final status will always be eitheracceptedorrejected. Unlikesubstantial, this case never producesinconclusiveresults.RecommendedsubstantialFullyAutois the recommended option, since it always produces a conclusive decision.substantial: The final status can beaccepted,rejectedorinconclusive. Use this option only if you prefer to review the inconclusive cases yourself and decide whether they should be accepted or rejected.
For more details about how each status is calculated, see Final result status.
VideoID High
VideoID High includes all steps of VideoID Substantial, plus a review step where a support agent manually inspects the recorded video and the ID document. This agent can either be from a Signicat Registration Authority or you can have your own team of agents performing the review.
VideoID High offers a higher level of confidence than Substantial, providing the highest level of assurance for customer onboarding. This is designed for the most demanding use cases, including high-risk scenarios and meeting AML-compliant standards. It meets the eIDAS "high" assurance level.
User flows
VideoID Substantial
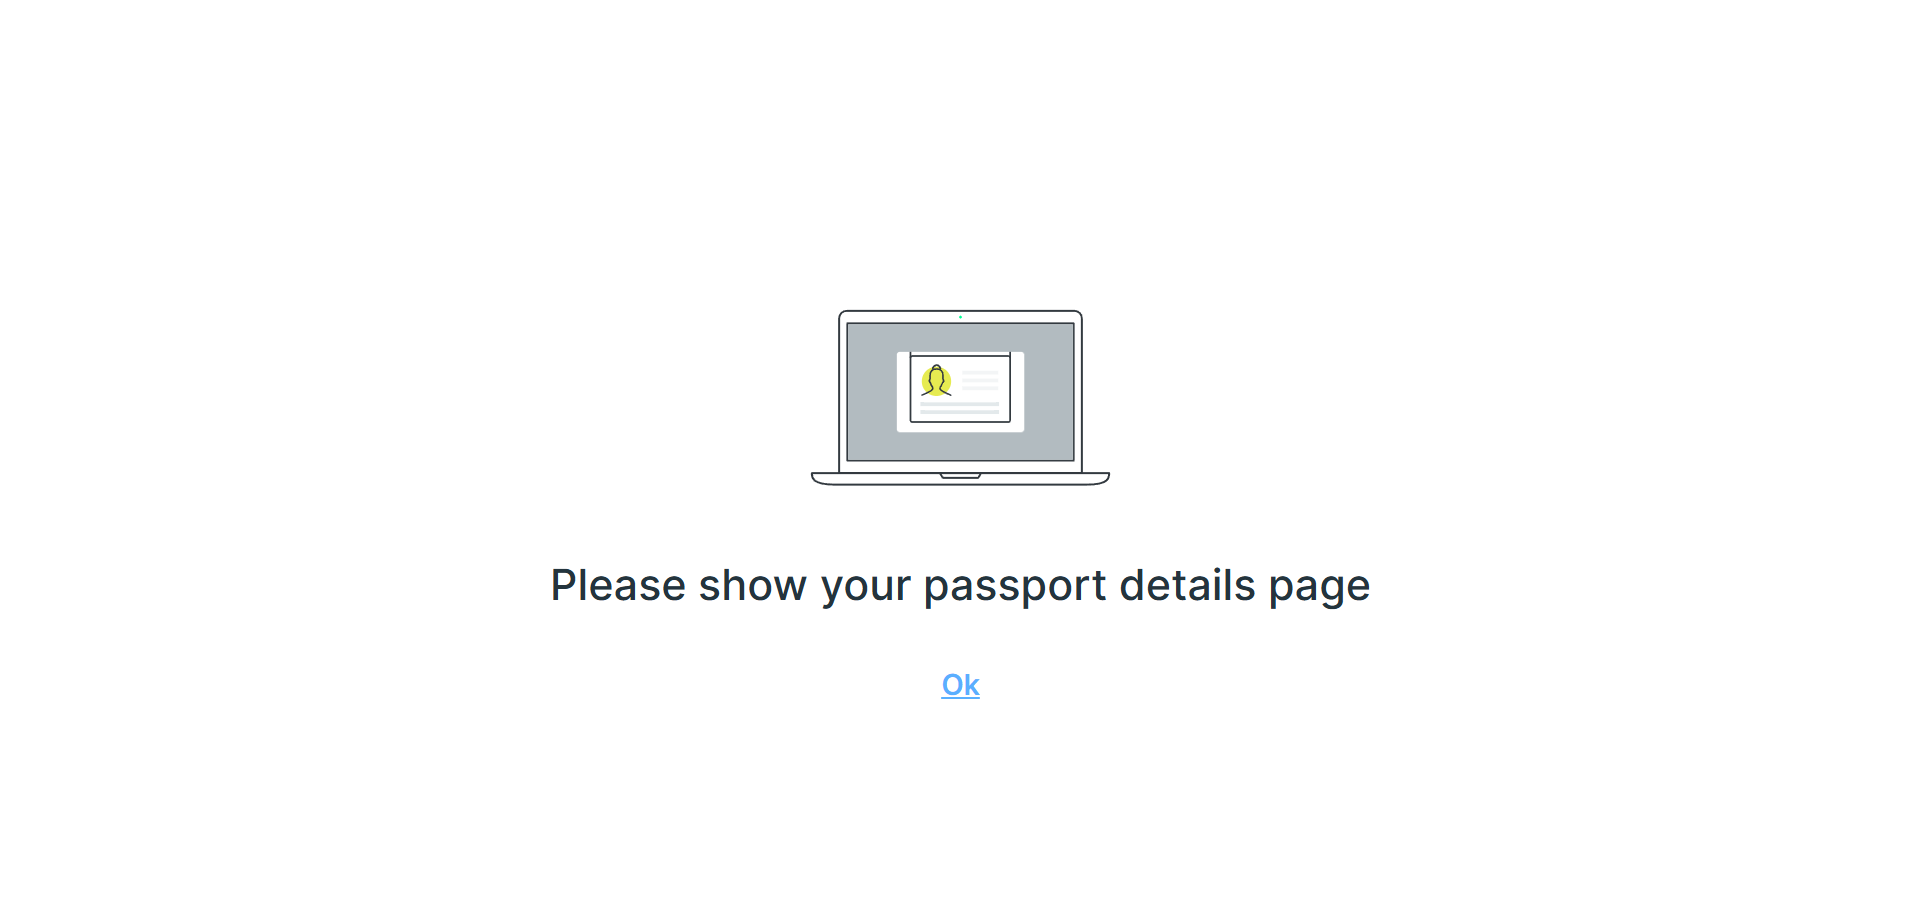
The following example shows a typical user flow of VideoID’s SDK. With a default configuration, the end-user goes through the following steps:
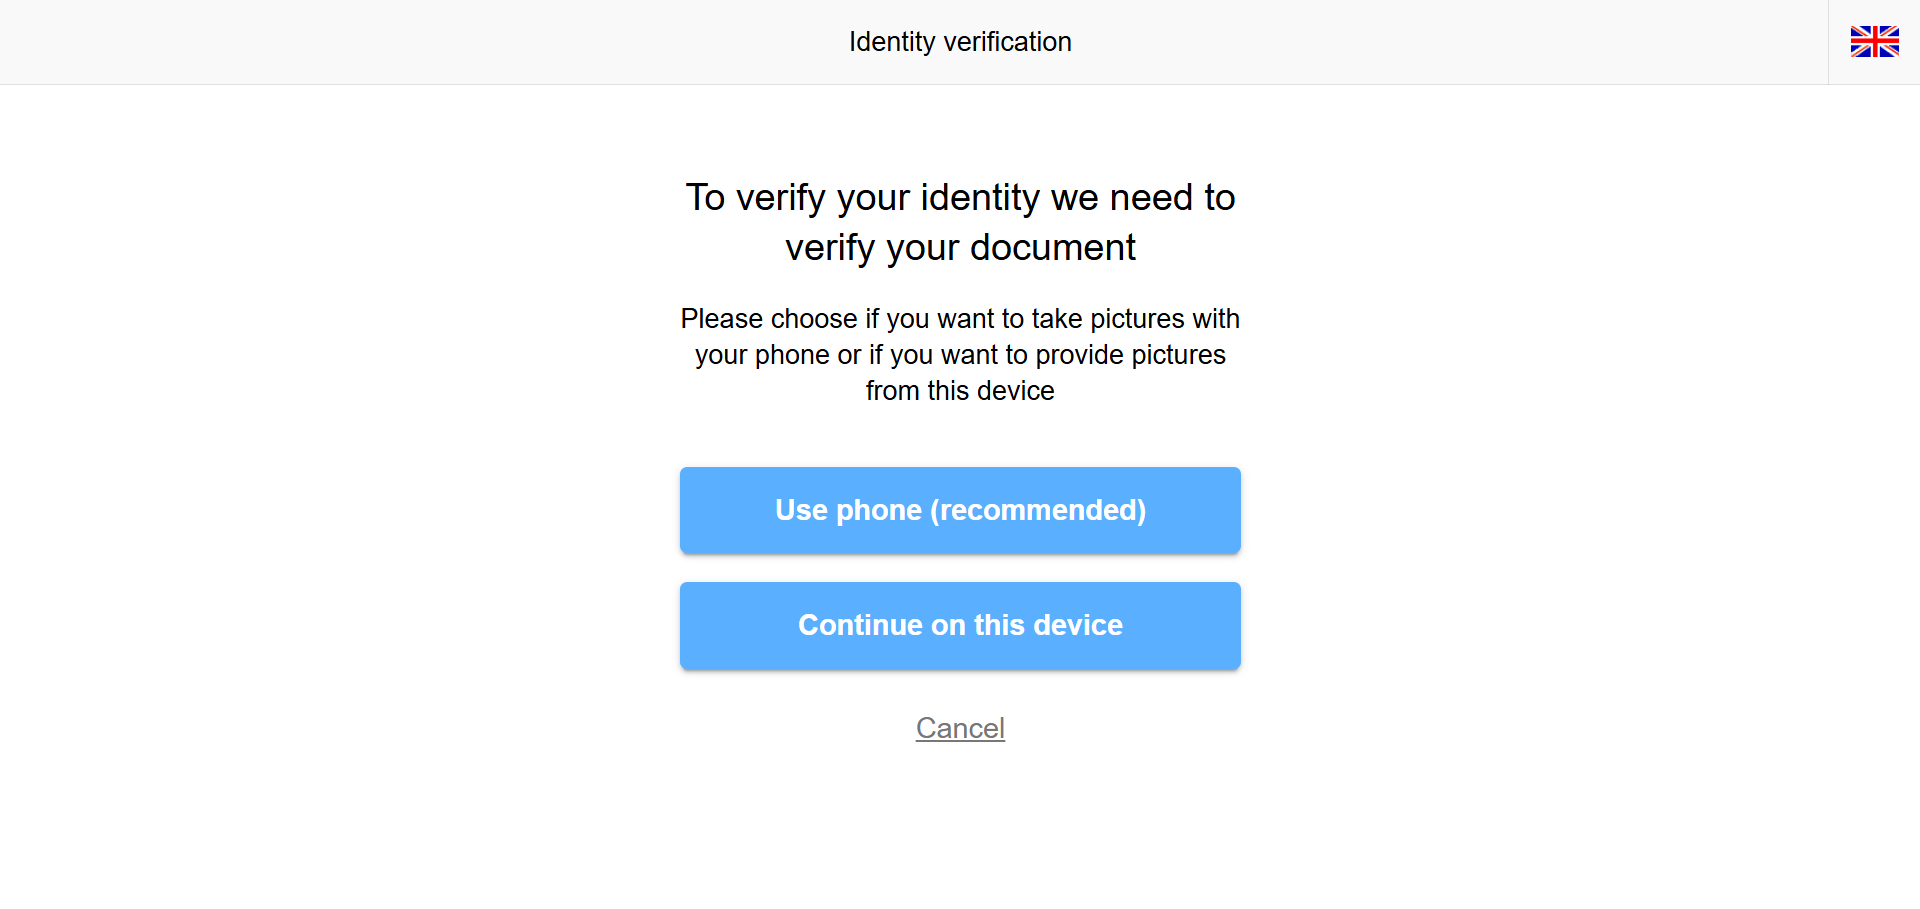
- Select device, either phone or web.
Phone is recommended
Phone gives a better user experience when capturing images of the ID document. When selecting phone, you are asked to enter your mobile number and click a link in the returned SMS to get access to the identity verification.
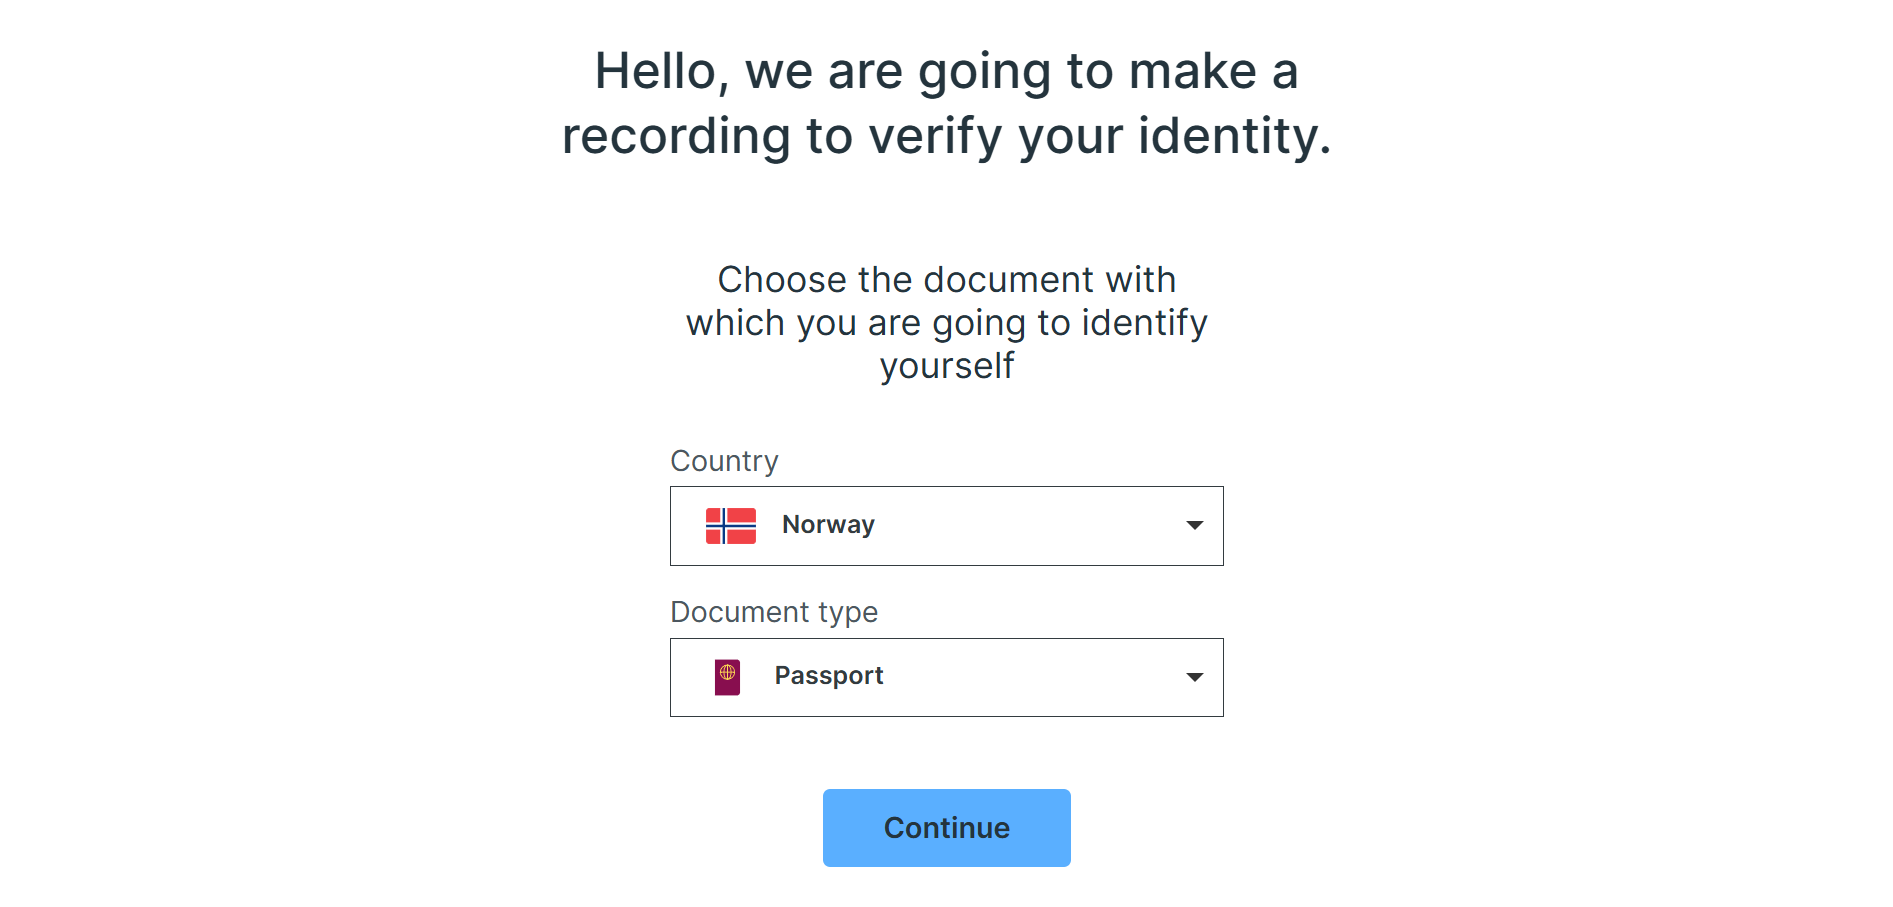
- Select issuing country for the ID document and document type (passport, identity card, driving licence).
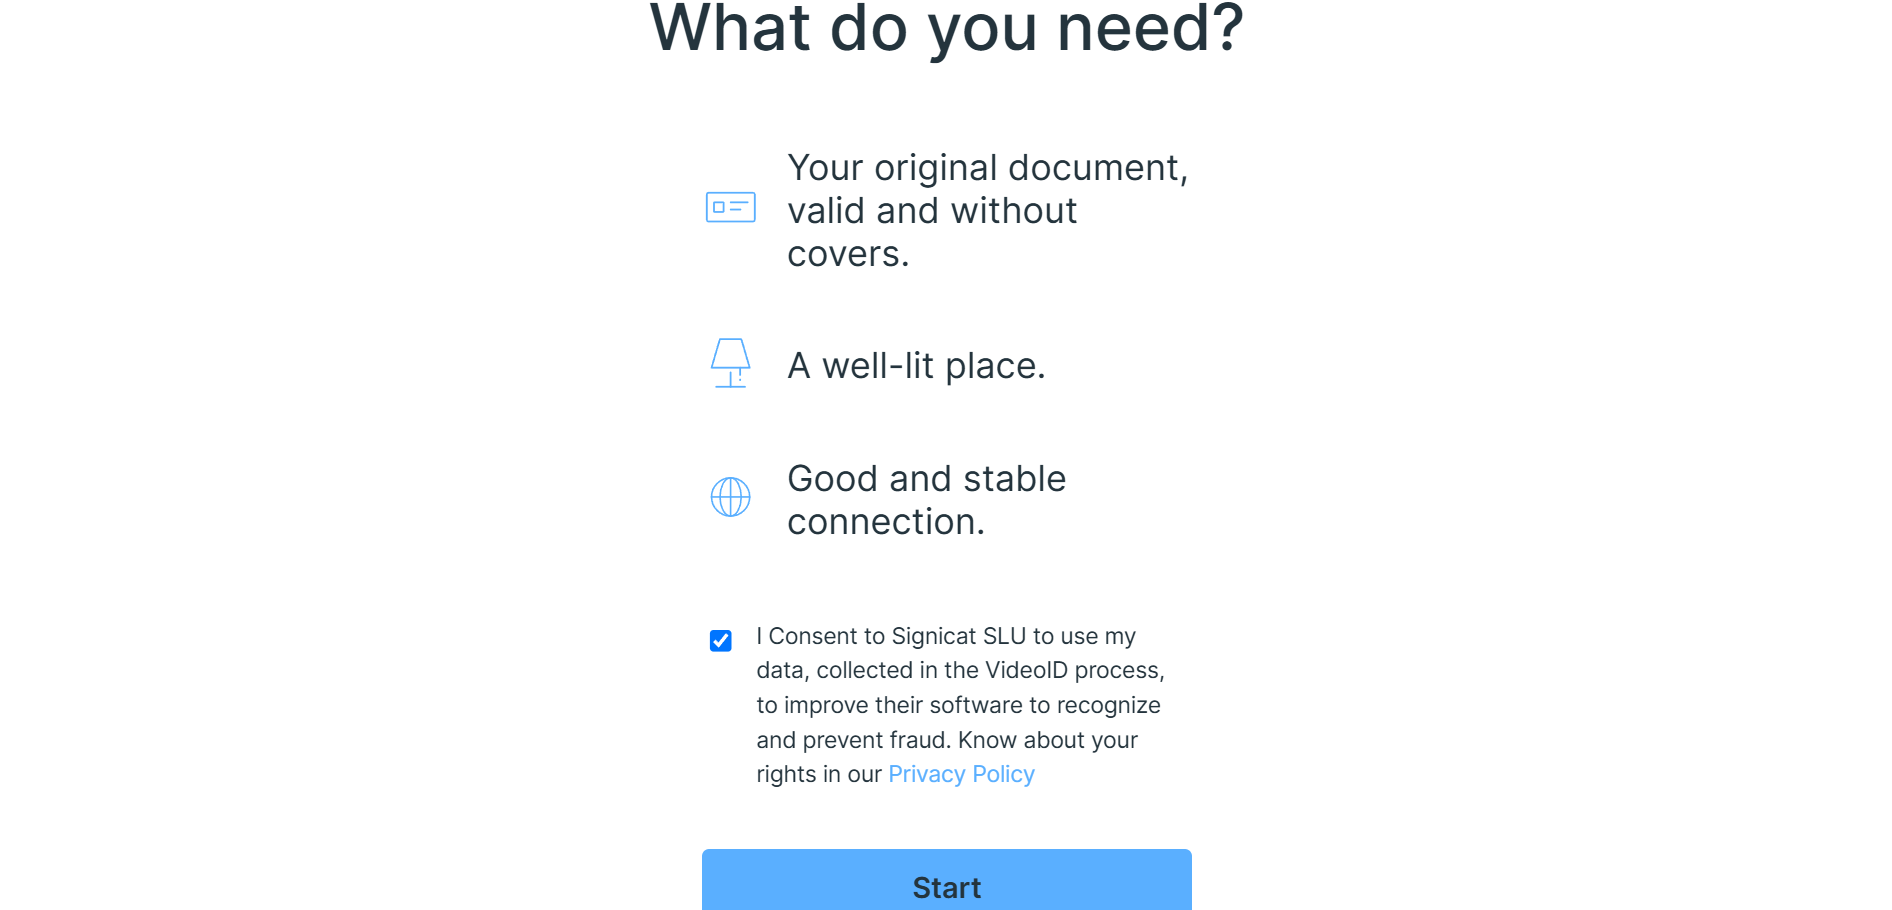
- Read tips about what is needed before the video recording (have ID document ready, good lighting, stable internet).
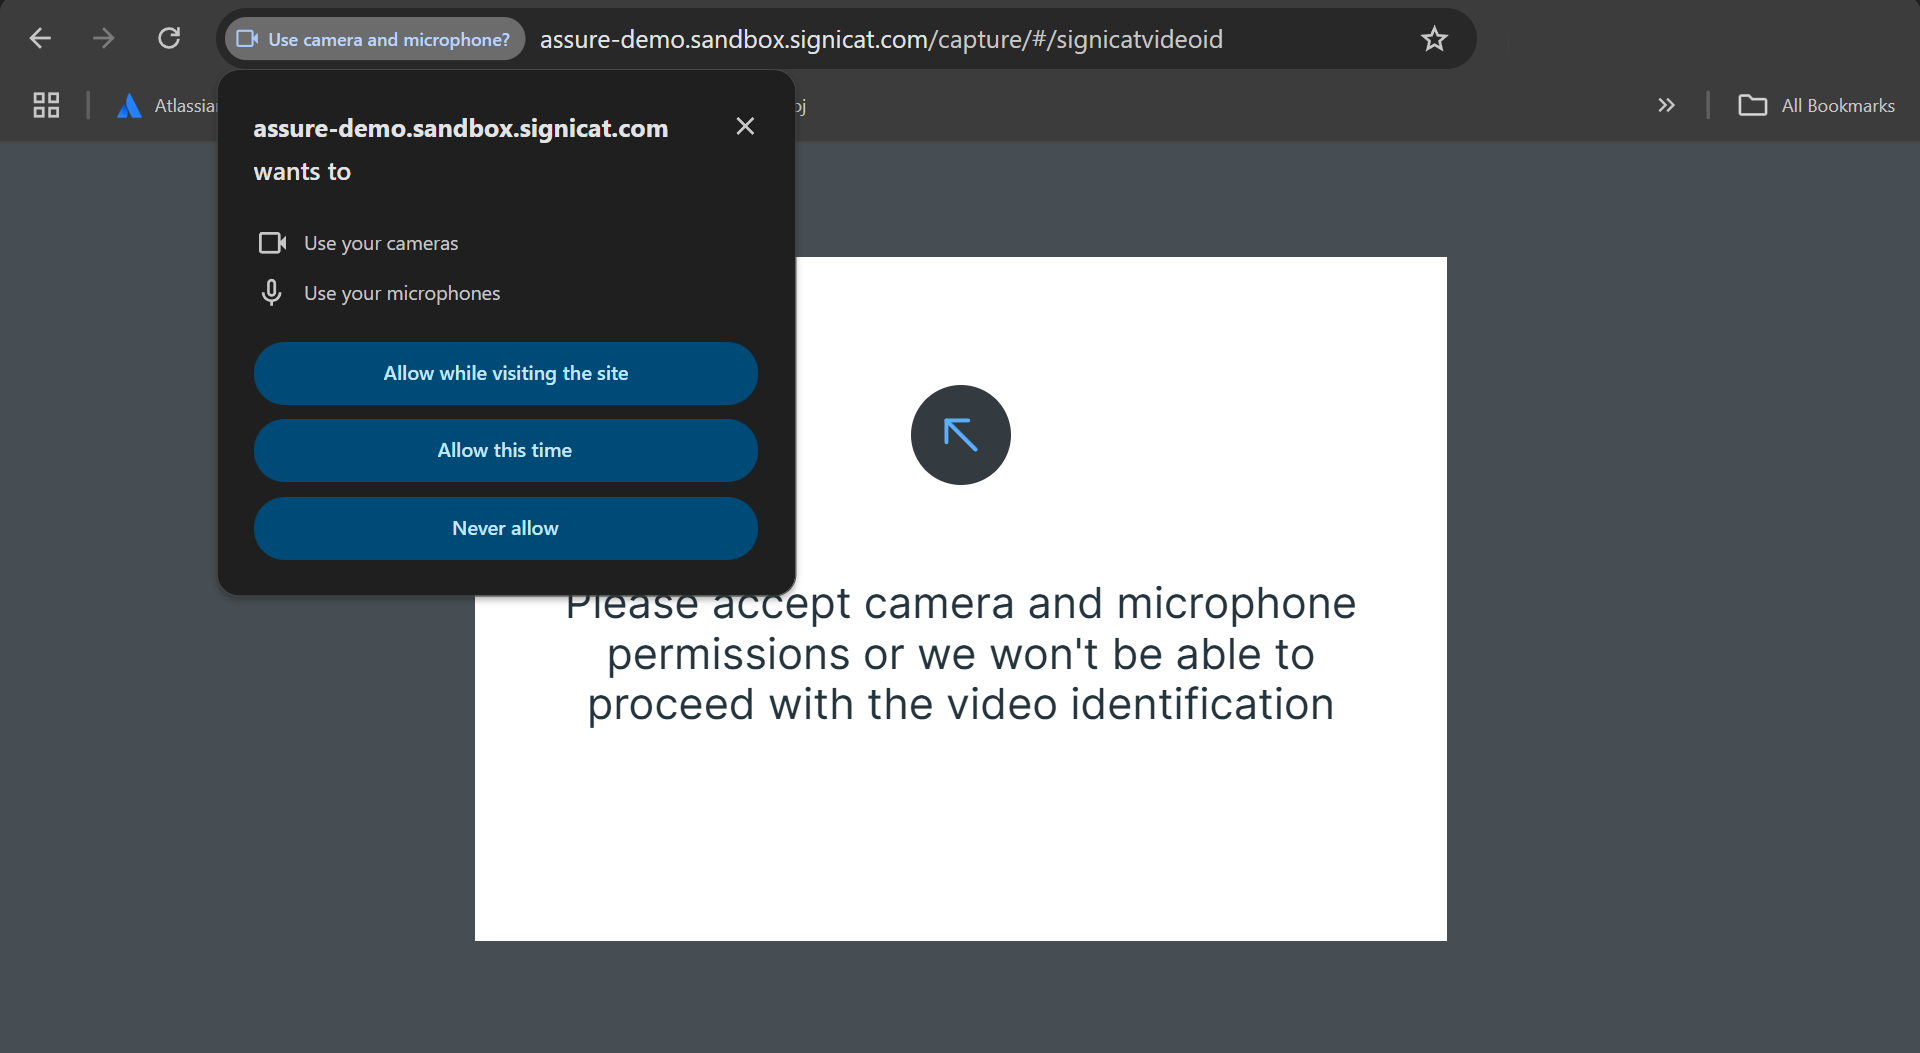
- Allow camera and microphone access for the video recording (if not allowed earlier).
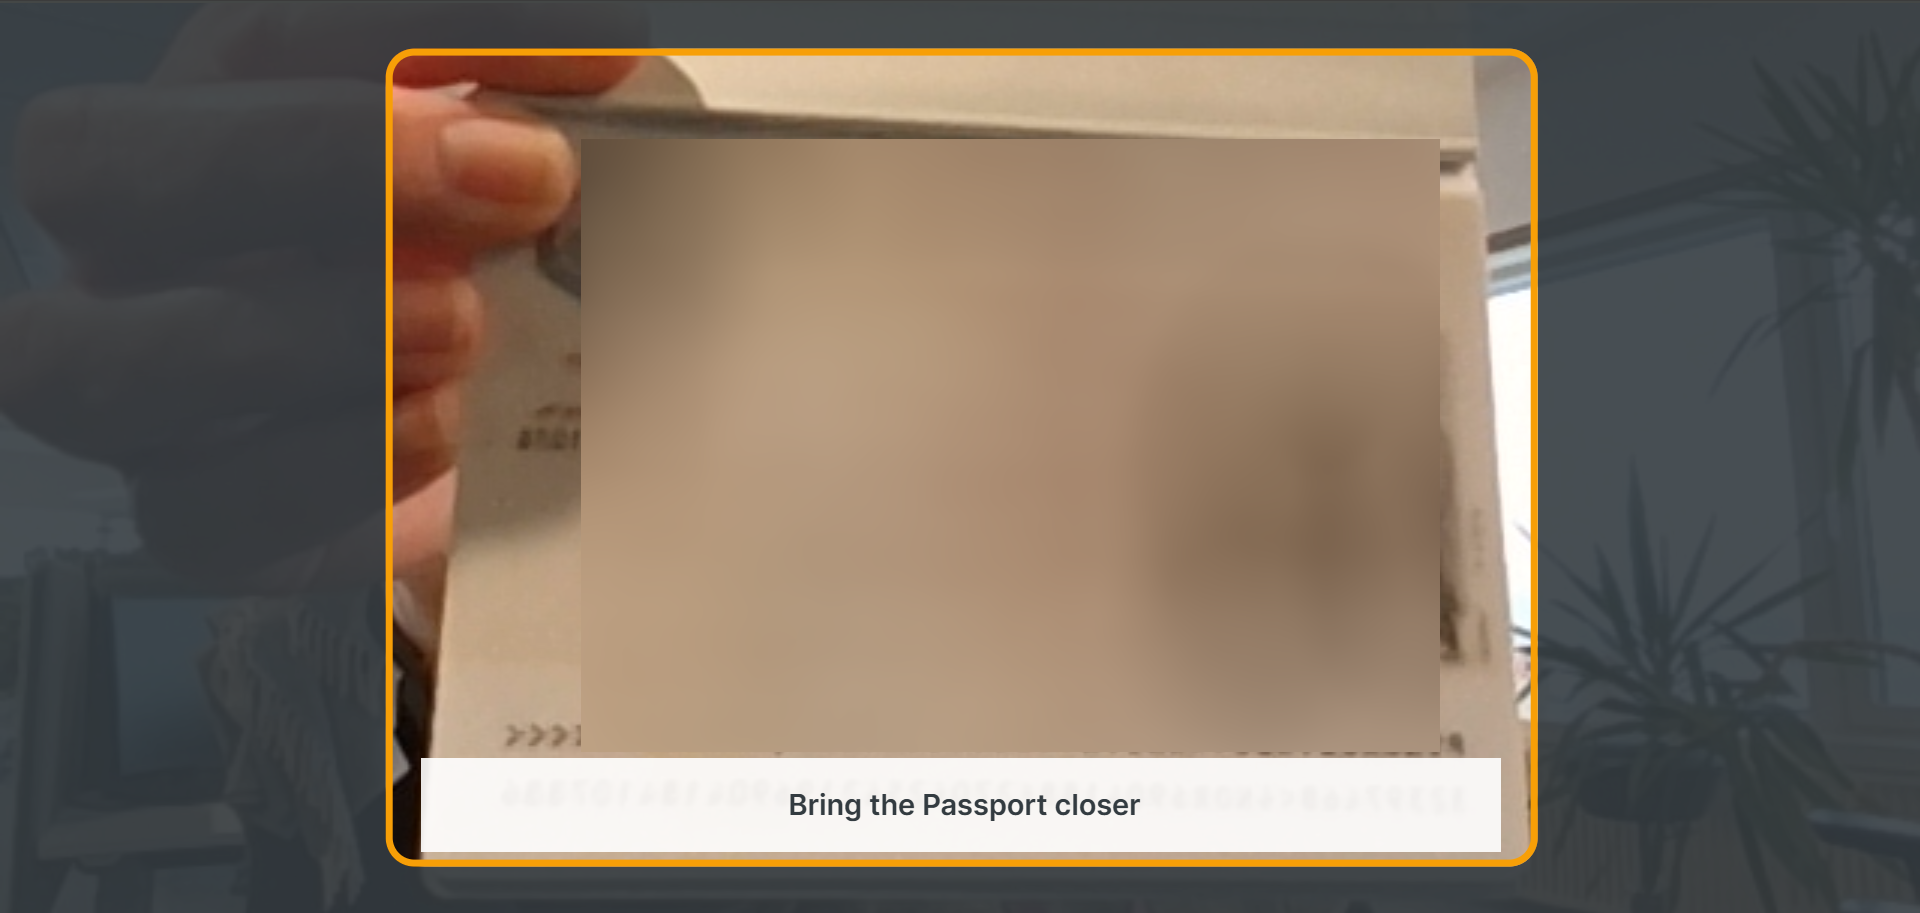
- Take a photo of the ID document. This is usually the photo ID page. Some ID documents also have a backside and the end-user might be asked to take a photo of the backside as well.
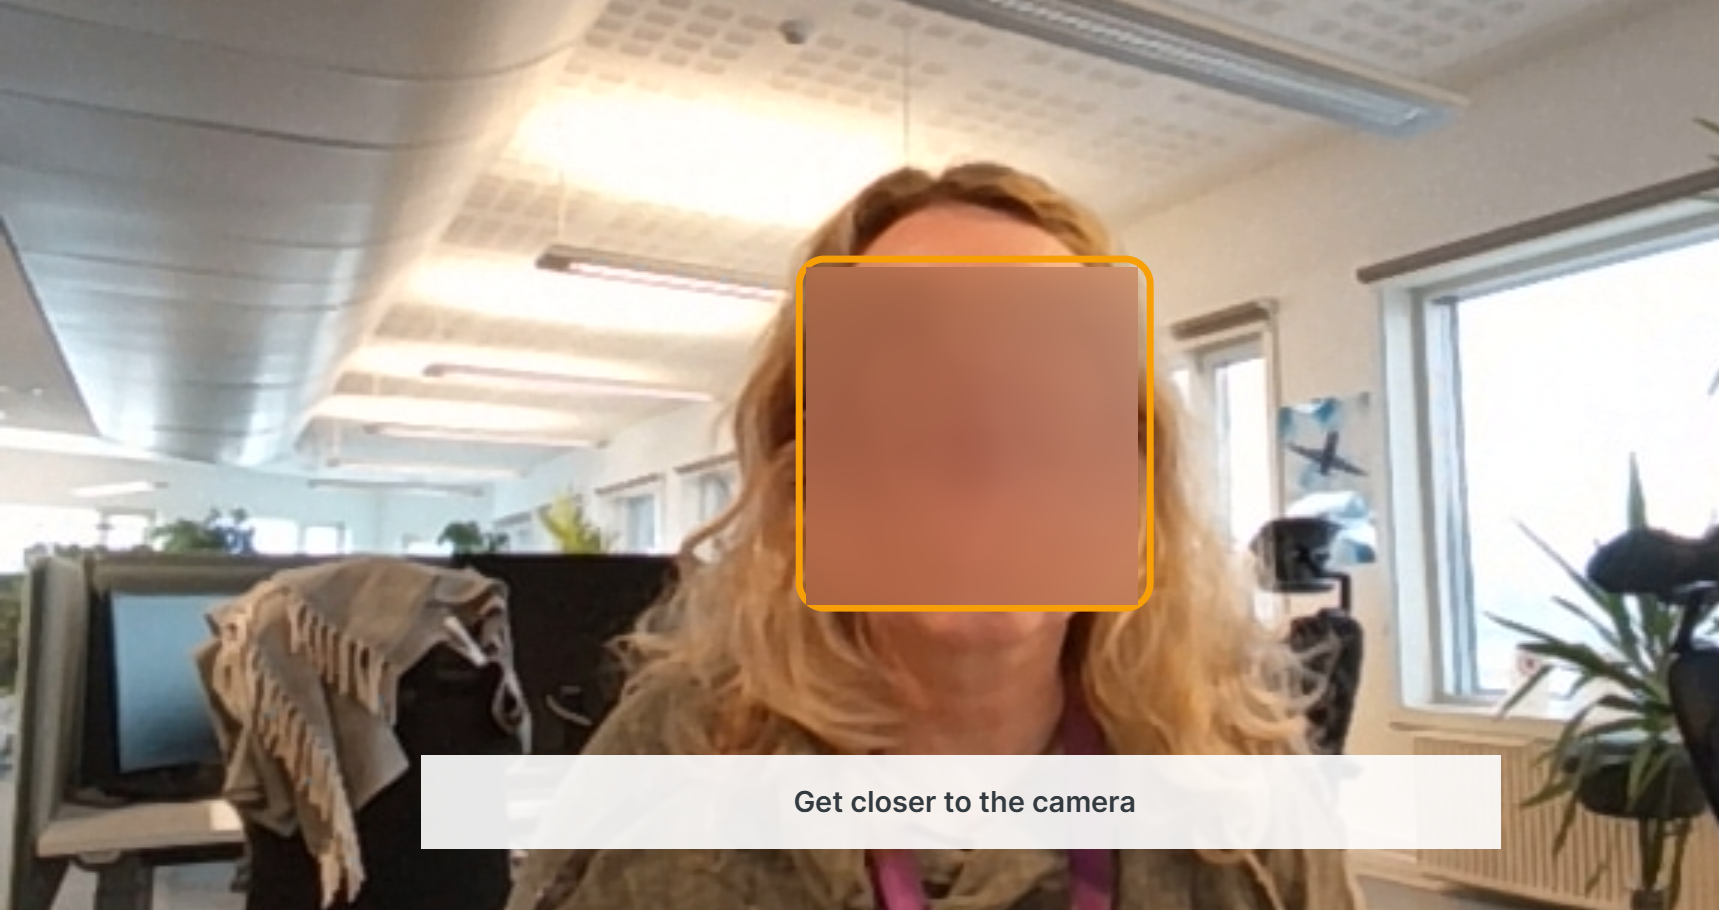
- Take a selfie.
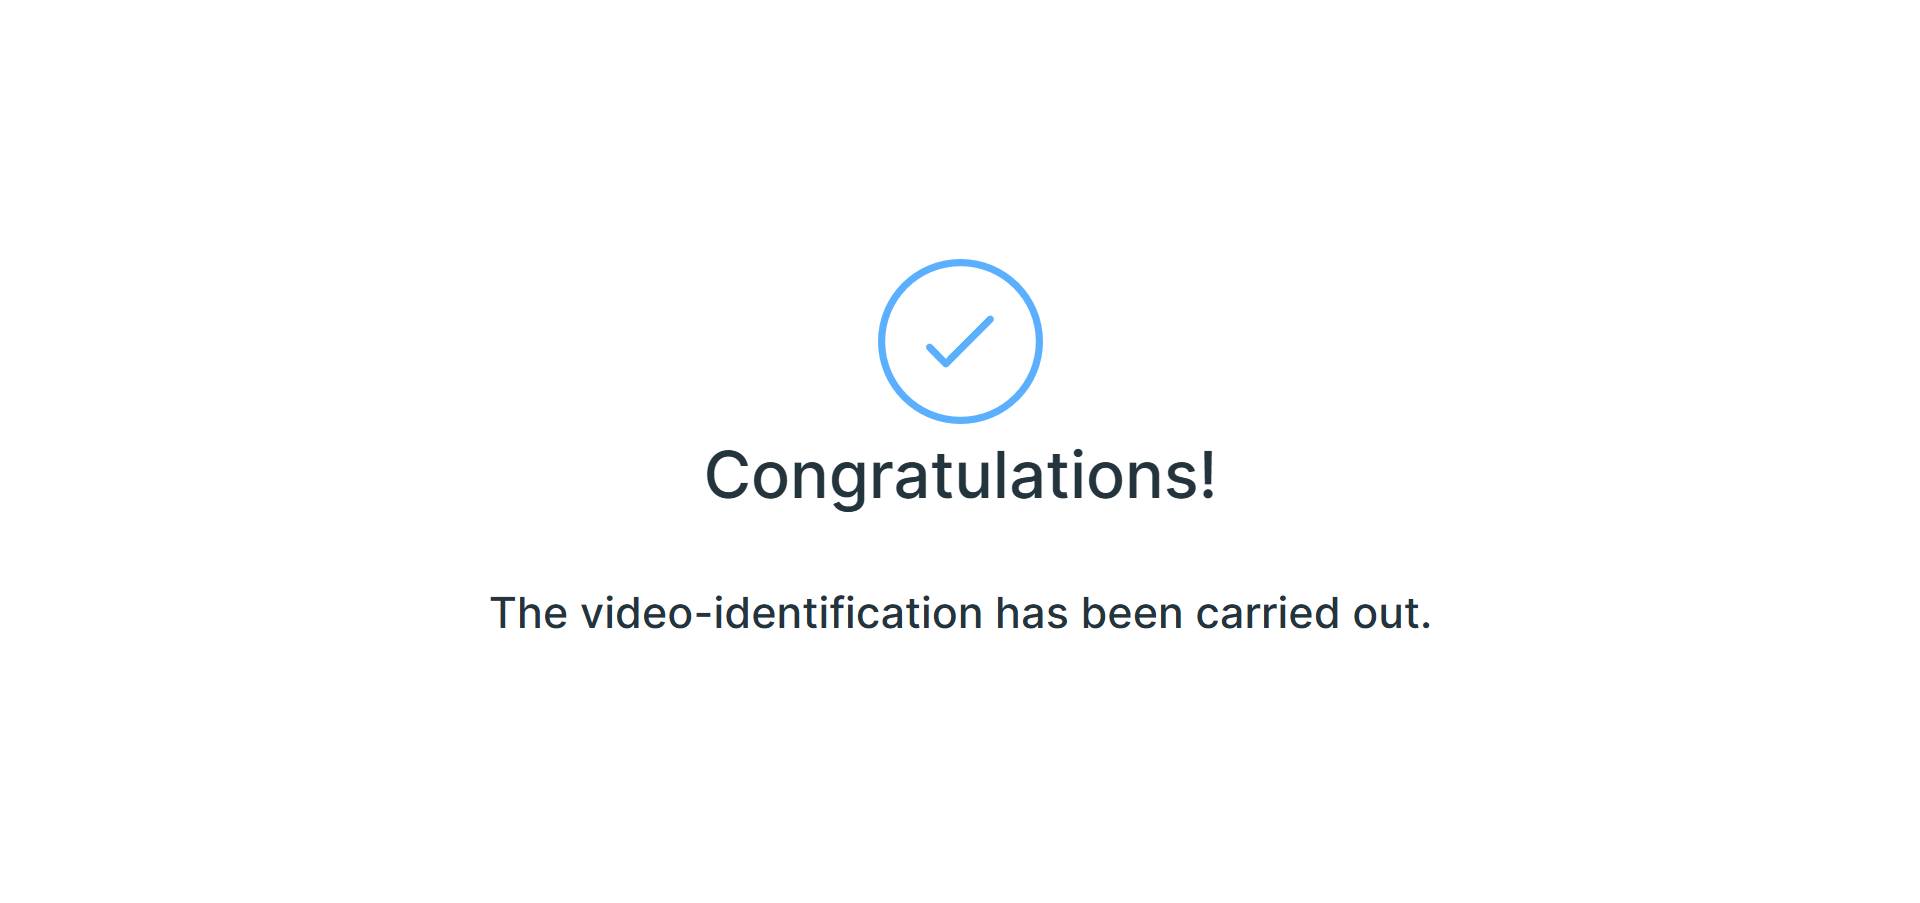
- Successful identity verification!
In this example, the images are from a web environment. The steps are the same on a mobile device:
VideoID High
VideoID High starts with the same user flow as Substantial (see step 1-6 above). In addition, the VideoID High requires a manual approval of the evidence from the identity verification. This happens after the video capture, where a support agent reviews the process in the Signicat Registry app.
Manual approval with the Registry App
You can either ask Signicat to do the manual inspection of the identity verification, or you can do it yourself if you have your own support apparatus.
In any case, the manual inspection must be done through the Registry app.
If you prefer to do the manual inspection yourself, you need access to the Registry app. Please, contact us by creating a support ticket in the Signicat Dashboard.
Here are the (most important) steps for the manual approval in the Registry app:
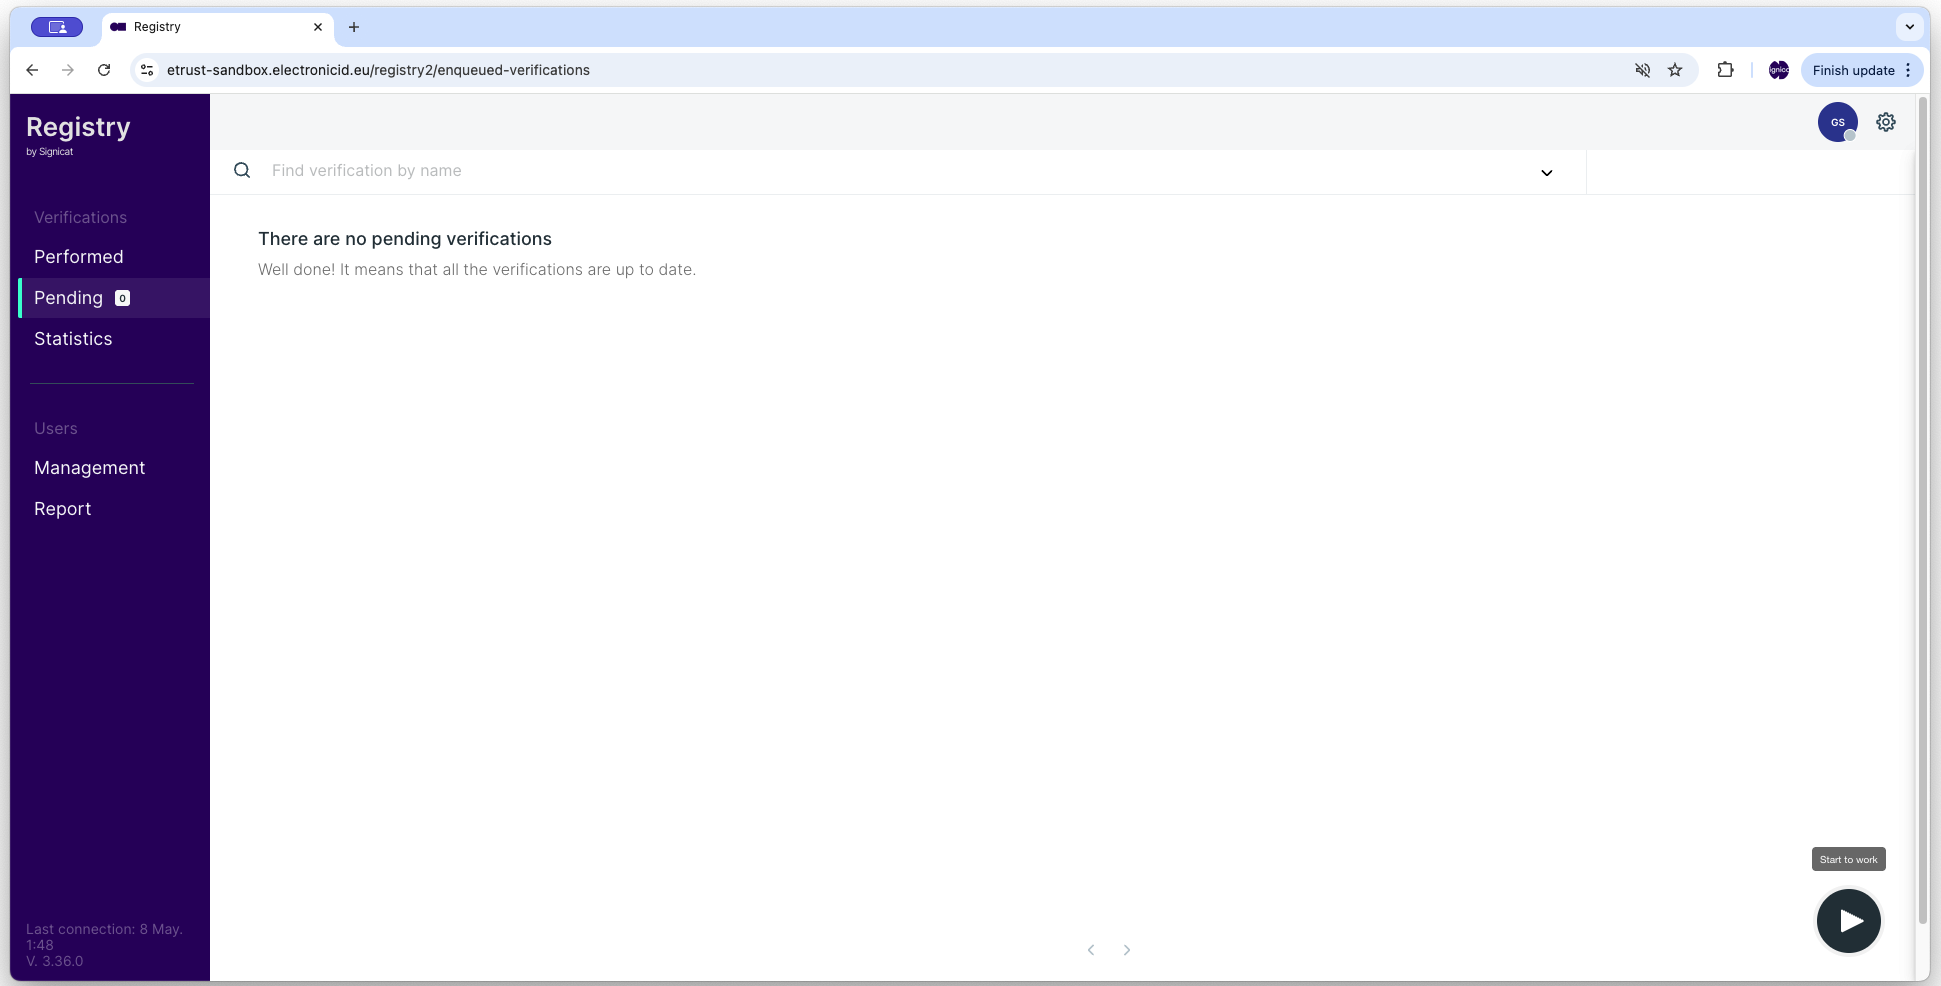
- Log into the Registry app with your username (email) and password.
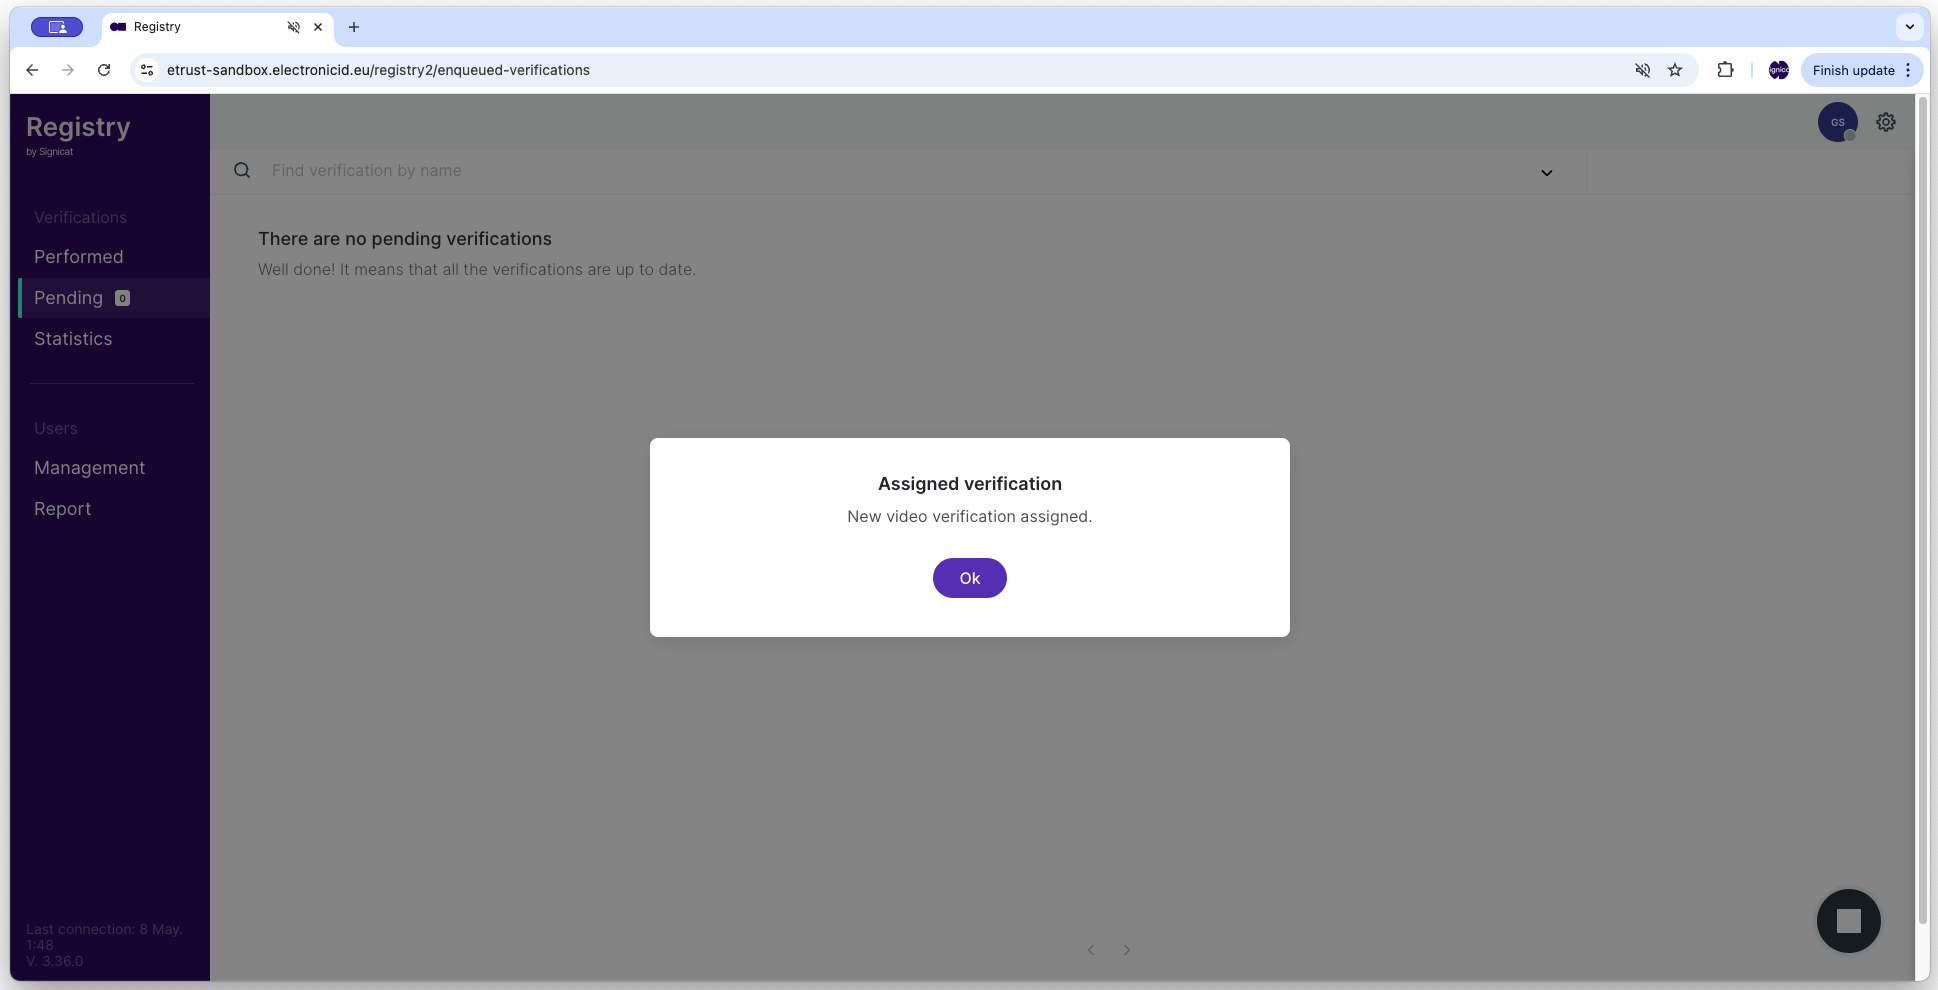
- In the lower right pane, select the Start to work (play) button to activate the verification queue. This displays the Assigned verification dialogue box.
- Select OK to assign the first available identity verification in the queue to yourself.
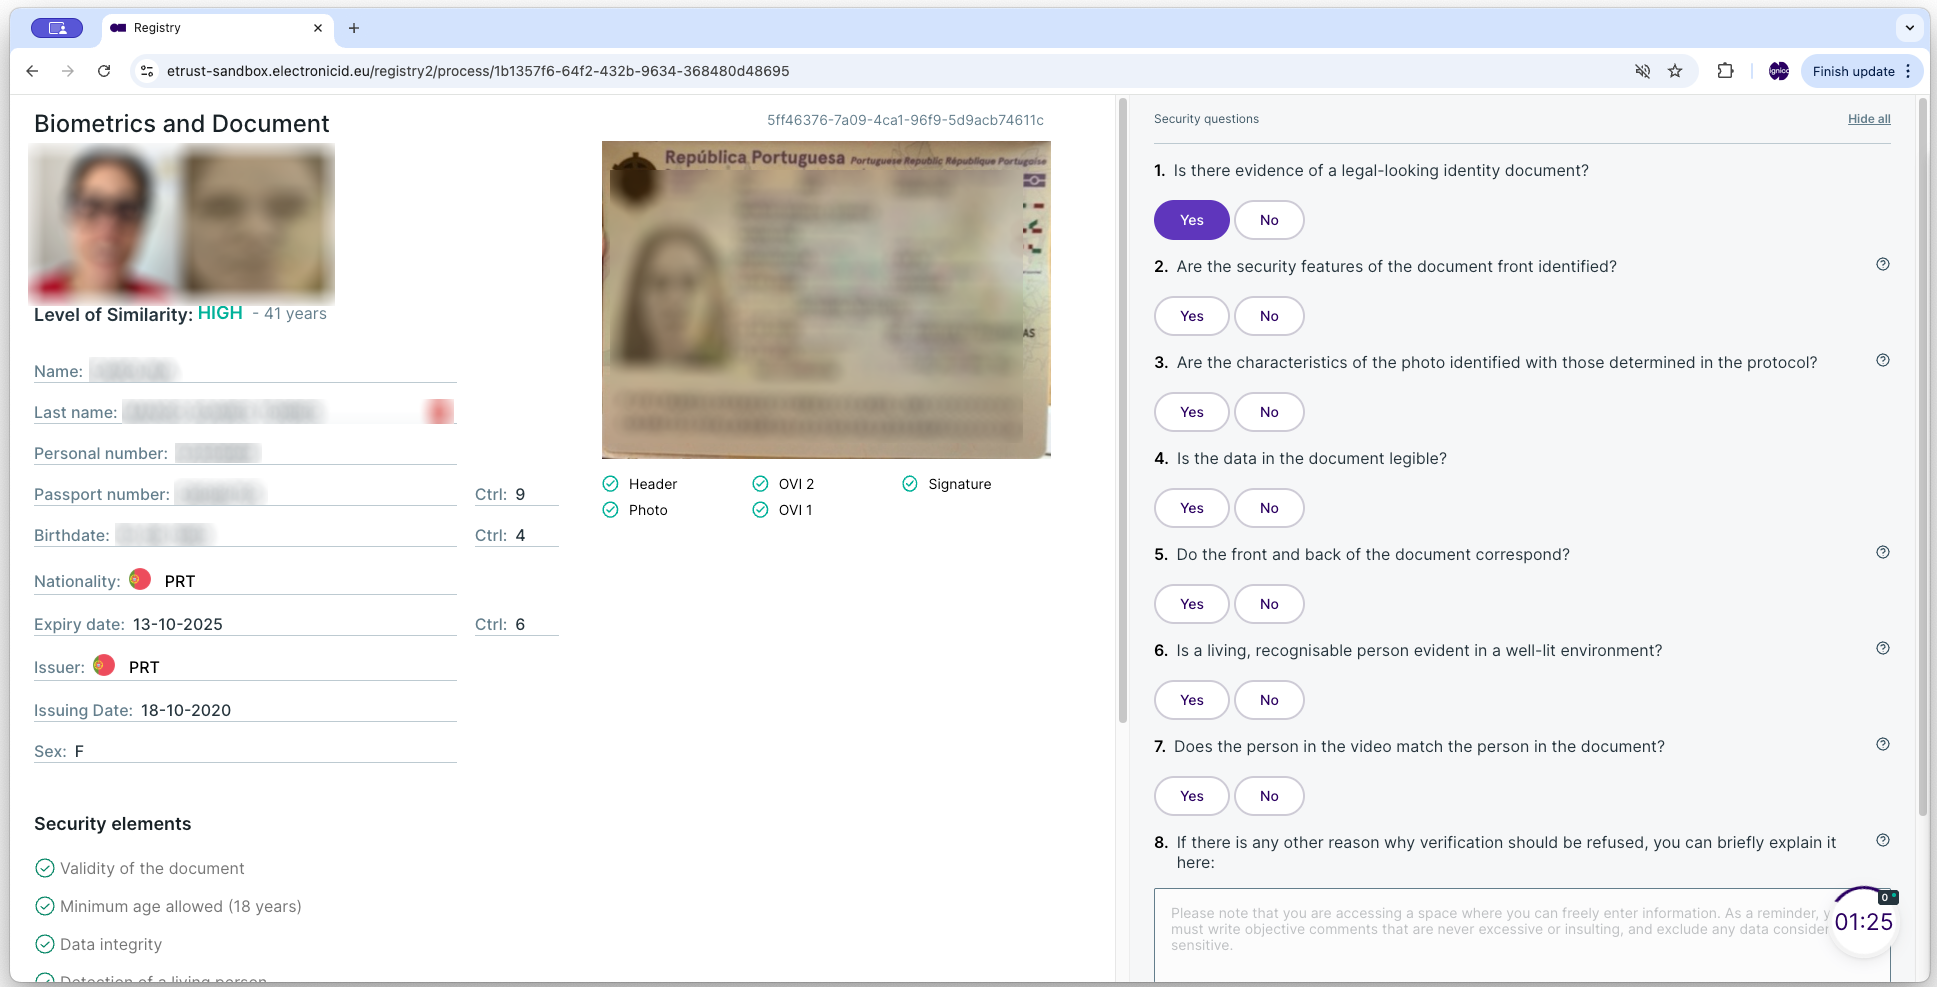
- Inspect the evidence on the Biometrics and Document page. This page is divided into two main areas:
- Document area (left): Shows the captures of the ID document and selfie for comparison, including status icons (check mark) for the performed security checks.
- Video area (right): Here you can watch the whole video recording and answer the security questions.
Error situationsThe Registry app clearly assists you whenever there is something wrong with the extracted information through error icons and messages. Errors can happen due to many reasons, for example:
- Expired document
- User is underage
- Inconsistency with the information (in case of false documents)
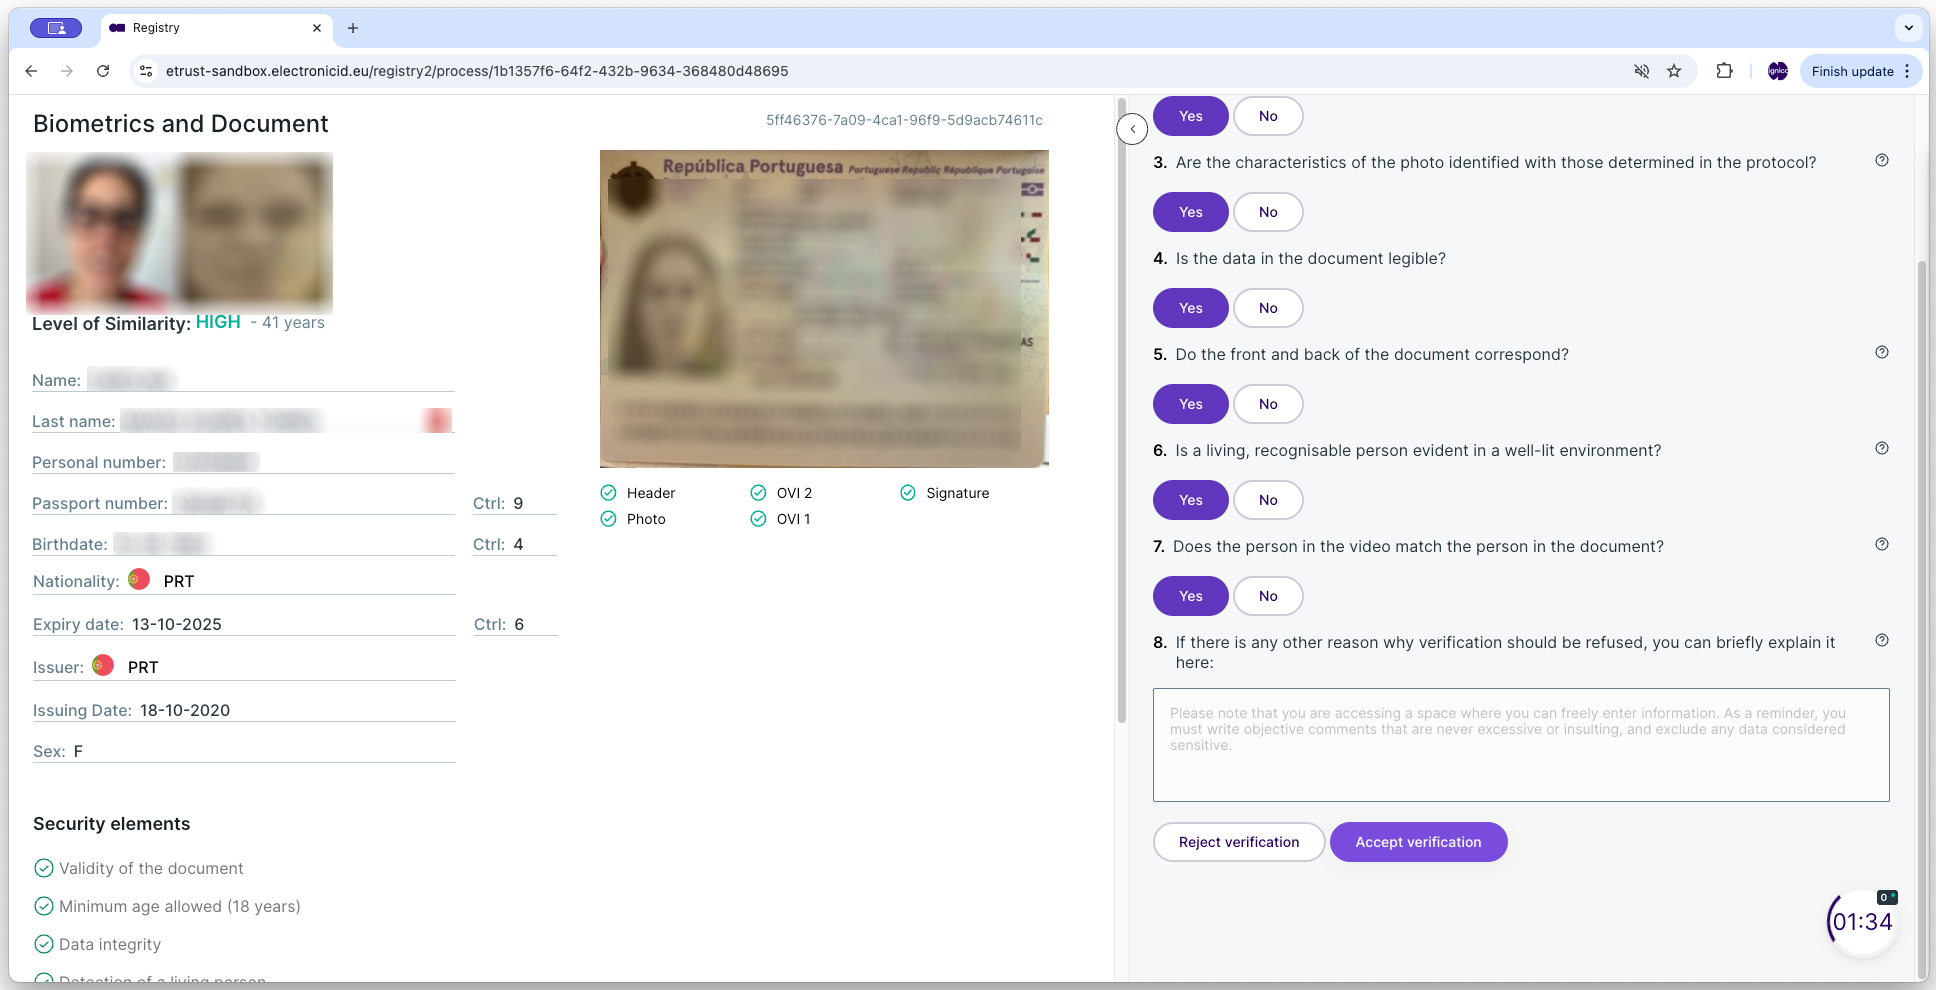
- Answer all the security questions below the video area by selecting Yes or No. You can also add a rejection reason manually.
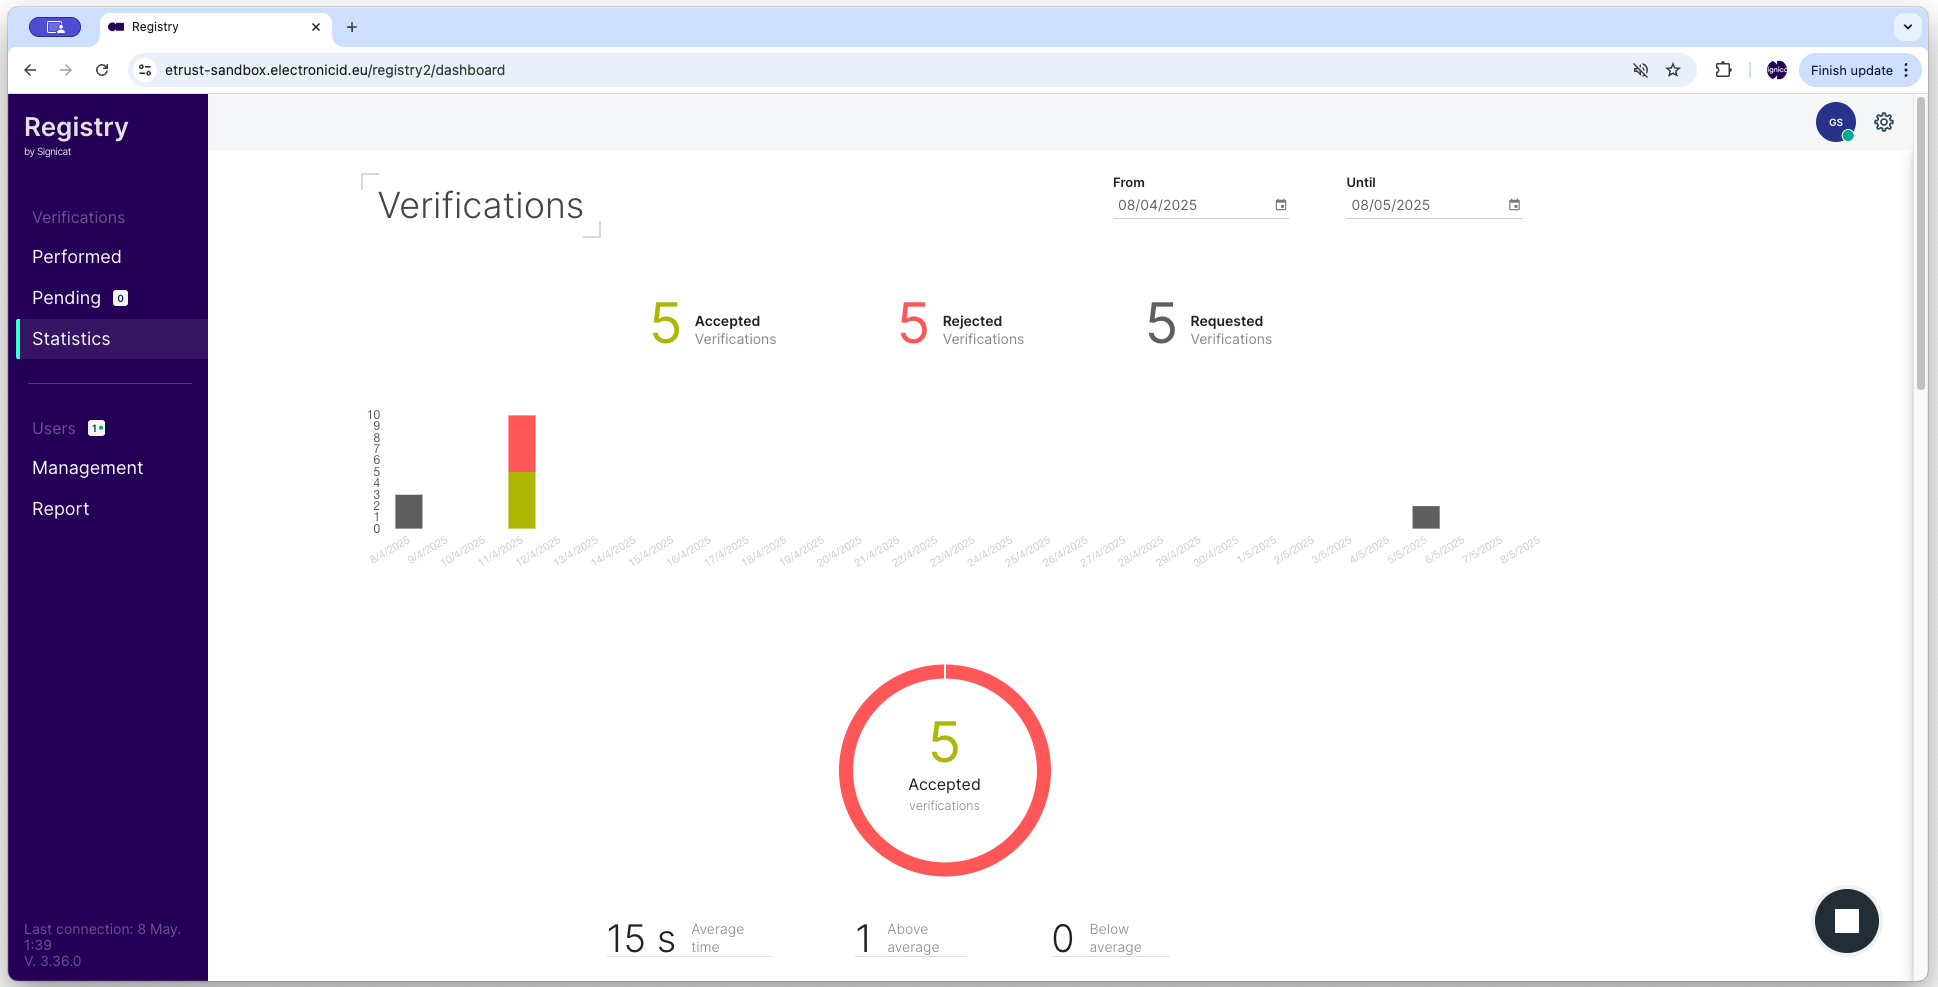
- At the end of the security questions, select either Accept verification or Reject verification. This redirects you to the Verification page, showing a statistical overview of the manual reviews (number of accepted, rejected, requested identity verifications).
Here are some screen captures of the above steps:

For a more detailed description of the Registry app, see the separate Registry user guide.