IdP scoping
IdP scoping allows you to define which eIDs to make available for authentication to your users.
One of the advantages of using IdP scoping is the ability to show only eIDs that are relevant to your users, thus shielding the other eIDs active in your Signicat account. This feature is also known as IdP discovery or IdP routing rules.
How it works
Let's imagine a scenario where you have implemented a login button on your web application, registered it with Signicat eID and Wallet Hub, and have configured multiple eIDs in your account, such as Norwegian BankID and eHerkenning.
When a user wants to log in to your app, they click the login button to authenticate with their personal eID credentials. IdP scoping allows you to automatically route the user to the appropriate eIDs (for example only eHerkenning) and shield them from seeing the other eIDs active in your account (in this case Norwegian BankID). You may want to do this for a multitude of reasons, such as geographical relevance.
If you specify only one eID in your request, you automatically redirect the user to the authentication page of the eID, thus skipping the provider selection screen.
IdP scoping allows you to control the following aspects of an authentication session:
- eID scoping: Defines which eIDs are available for authentication to the user.
- Provider scoping: Further specifies the provider, bank or issuer to make available for an eID. For example, with iDIN you can choose to direct the end-user to one of the issuing banks. Note that only certain eIDs support provider scoping.
The rest of this document describes and shows examples to handle both cases.
eID scoping
To use eID scoping, you provide the list of eIDs you want to offer as parameters in the authorisation request. How you specify the eIDs varies per authentication protocol. Here, select the tab of the authentication protocol you use in your integration:
- OpenID Connect
- SAML 2.0
- Authentication REST API
When using the OIDC, you can specify the eIDs in the acr_values parameter of your authorisation request. In particular, you need to use the idp key in the acr_values with the format acr_values=idp:idp_name,other_idp_name.
For example, to display Email OTP and FTN to your end-users, the authorisation request could look like this:
https://<YOUR_SIGNICAT_DOMAIN>/auth/open/connect/authorize?
  &client_id=<OIDC_CLIENT_ID>
  &response_type=<GRANT_TYPE_CODE>
  &redirect_uri=<REDIRECT_URI>
  &scope=openid%20profile
  &state=<STATE>
  &code_challenge=ABC123
  &code_challenge_method=S256
  &acr_values=idp:otp-email,ftn
To learn more about acr_values, see the acr_values documentation.
At the start of an authentication flow, the end-user will be able to choose between Email OTP and FTN in the provider selection screen.
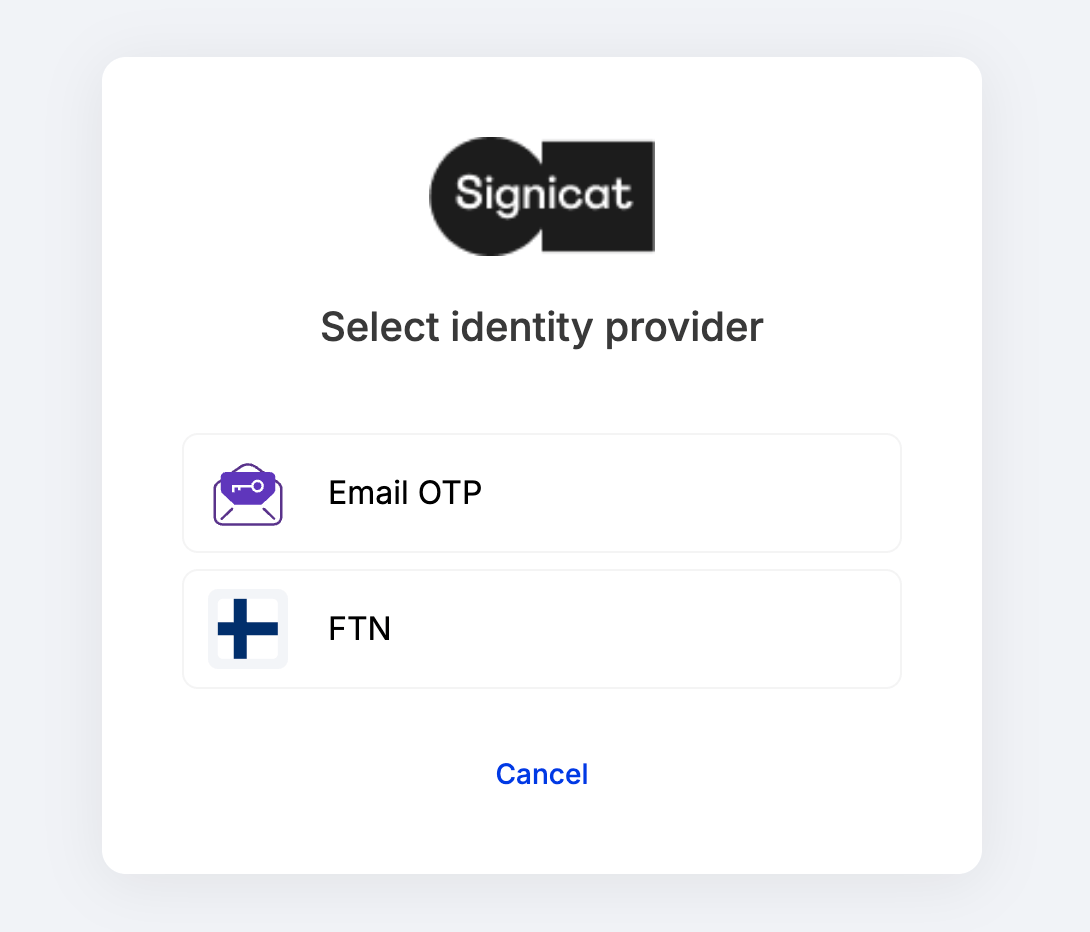
Provider selection screen
When using IdP scoping, you can specify only eIDs that are active in your account.
You can find scoping codes for your active eIDs in the Signicat Dashboard > Products > eID and Wallet Hub > eIDs page.
You can view a list of codes for the most common eIDs in the eID scoping codes section below.
Skip eID selection screen
If you define only one eID with IdP scoping, then the end-users are automatically routed to the IdP-specific authentication page, thus skipping the IdP selection screen — the page where all your active eIDs are typically displayed at the beginning of end-user authentication.
For example, to automatically direct the end-user to SMS OTP, build your authorisation request as shown below. Select the tab according to the authentication protocol you want to use:
- OpenID Connect
- SAML 2.0
- Authentication REST API
To automatically direct the end-user to SMS OTP with OIDC, you need to define acr_values=idp:otp-sms in your authorisation request:
https://<YOUR_SIGNICAT_DOMAIN>/auth/open/connect/authorize?
  &client_id=<OIDC_CLIENT_ID>
  &response_type=<GRANT_TYPE_CODE>
  &redirect_uri=<REDIRECT_URI>
  &scope=openid%20profile
  &state=<STATE>
  &code_challenge=ABC123
  &code_challenge_method=S256
  &acr_values=idp:otp-sms
The examples shown above allow you to shield the end-user from seeing other eIDs that are active in your account and route the end-user directly to the eID of your choice.
Provider scoping
Certain eIDs are comprised of a network of identity providers (or issuers), such as banks, that are responsible for authenticating their own customers. Your application can route your end-users automatically to one specific identity provider, by scoping the identity provider in the authentication request.
In the table below, you can find parameters for the eIDs that support provider scoping:
For examples of requests with provider scoping, choose the appropriate authentication protocol tab below:
- OpenID Connect
- SAML 2.0
- Authentication REST API
To route your end-users directly to a bank/issuer authentication portal, you can specify the provider code in the acr_values parameter. For authentications with the Finnish Trust Network (FTN), you can specify the FTN provider with the ftn_idp parameter in the ACR values.
The following example show how to route authentication to the Aktia Bank portal by customising the query parameter in your authorisation request:
acr_values=ftn_idp:fi-aktia,fi-pop,fi-op
For more examples and parameters, see the respective eID documentation:
eID scoping codes
You can view the most common eIDs scoping codes in the table below.
You can find scoping codes for your active eIDs in the Signicat Dashboard > Products > eID and Wallet Hub > eIDs page.
* The simulator is a tool for testing. Learn more in the simulator documentation.